Linked Accounts#
Mailytica can perform many automated tasks in your email inbox besides replying to messages. For example, Mailytica can automatically label incoming messages as to-do or done, forward them to your project manager for approval, or even create a new folder for each client.
However, in order for Mailytica to perform any of these actions on your behalf, your email account needs to be linked to a specific project. In Mailytica’s Online Platform, this feature is called Linked Accounts.
Add Linked Account#
If you have not previously connected an email account to Mailytica, it is required that you do before starting this guide.
Note
If you need any additional help to connect to an account, please contact the Mailytica support team at support@mailytica.com.
Please follow the account connection instructions in the Connectors section. This will ensure that your account is available across the entire Online Platform and inside any projects you create.
Tip
What’s the difference between connecting and linking and account to Mailytica?
Connecting an account to Mailytica allows you to use the platform’s functionalities and make use of our AI classification models and Smart Responses.
Linking an account with a particular project will make specific actions available in your inbox, such as assigning labels or creating folders.
Follow these steps to link an account:
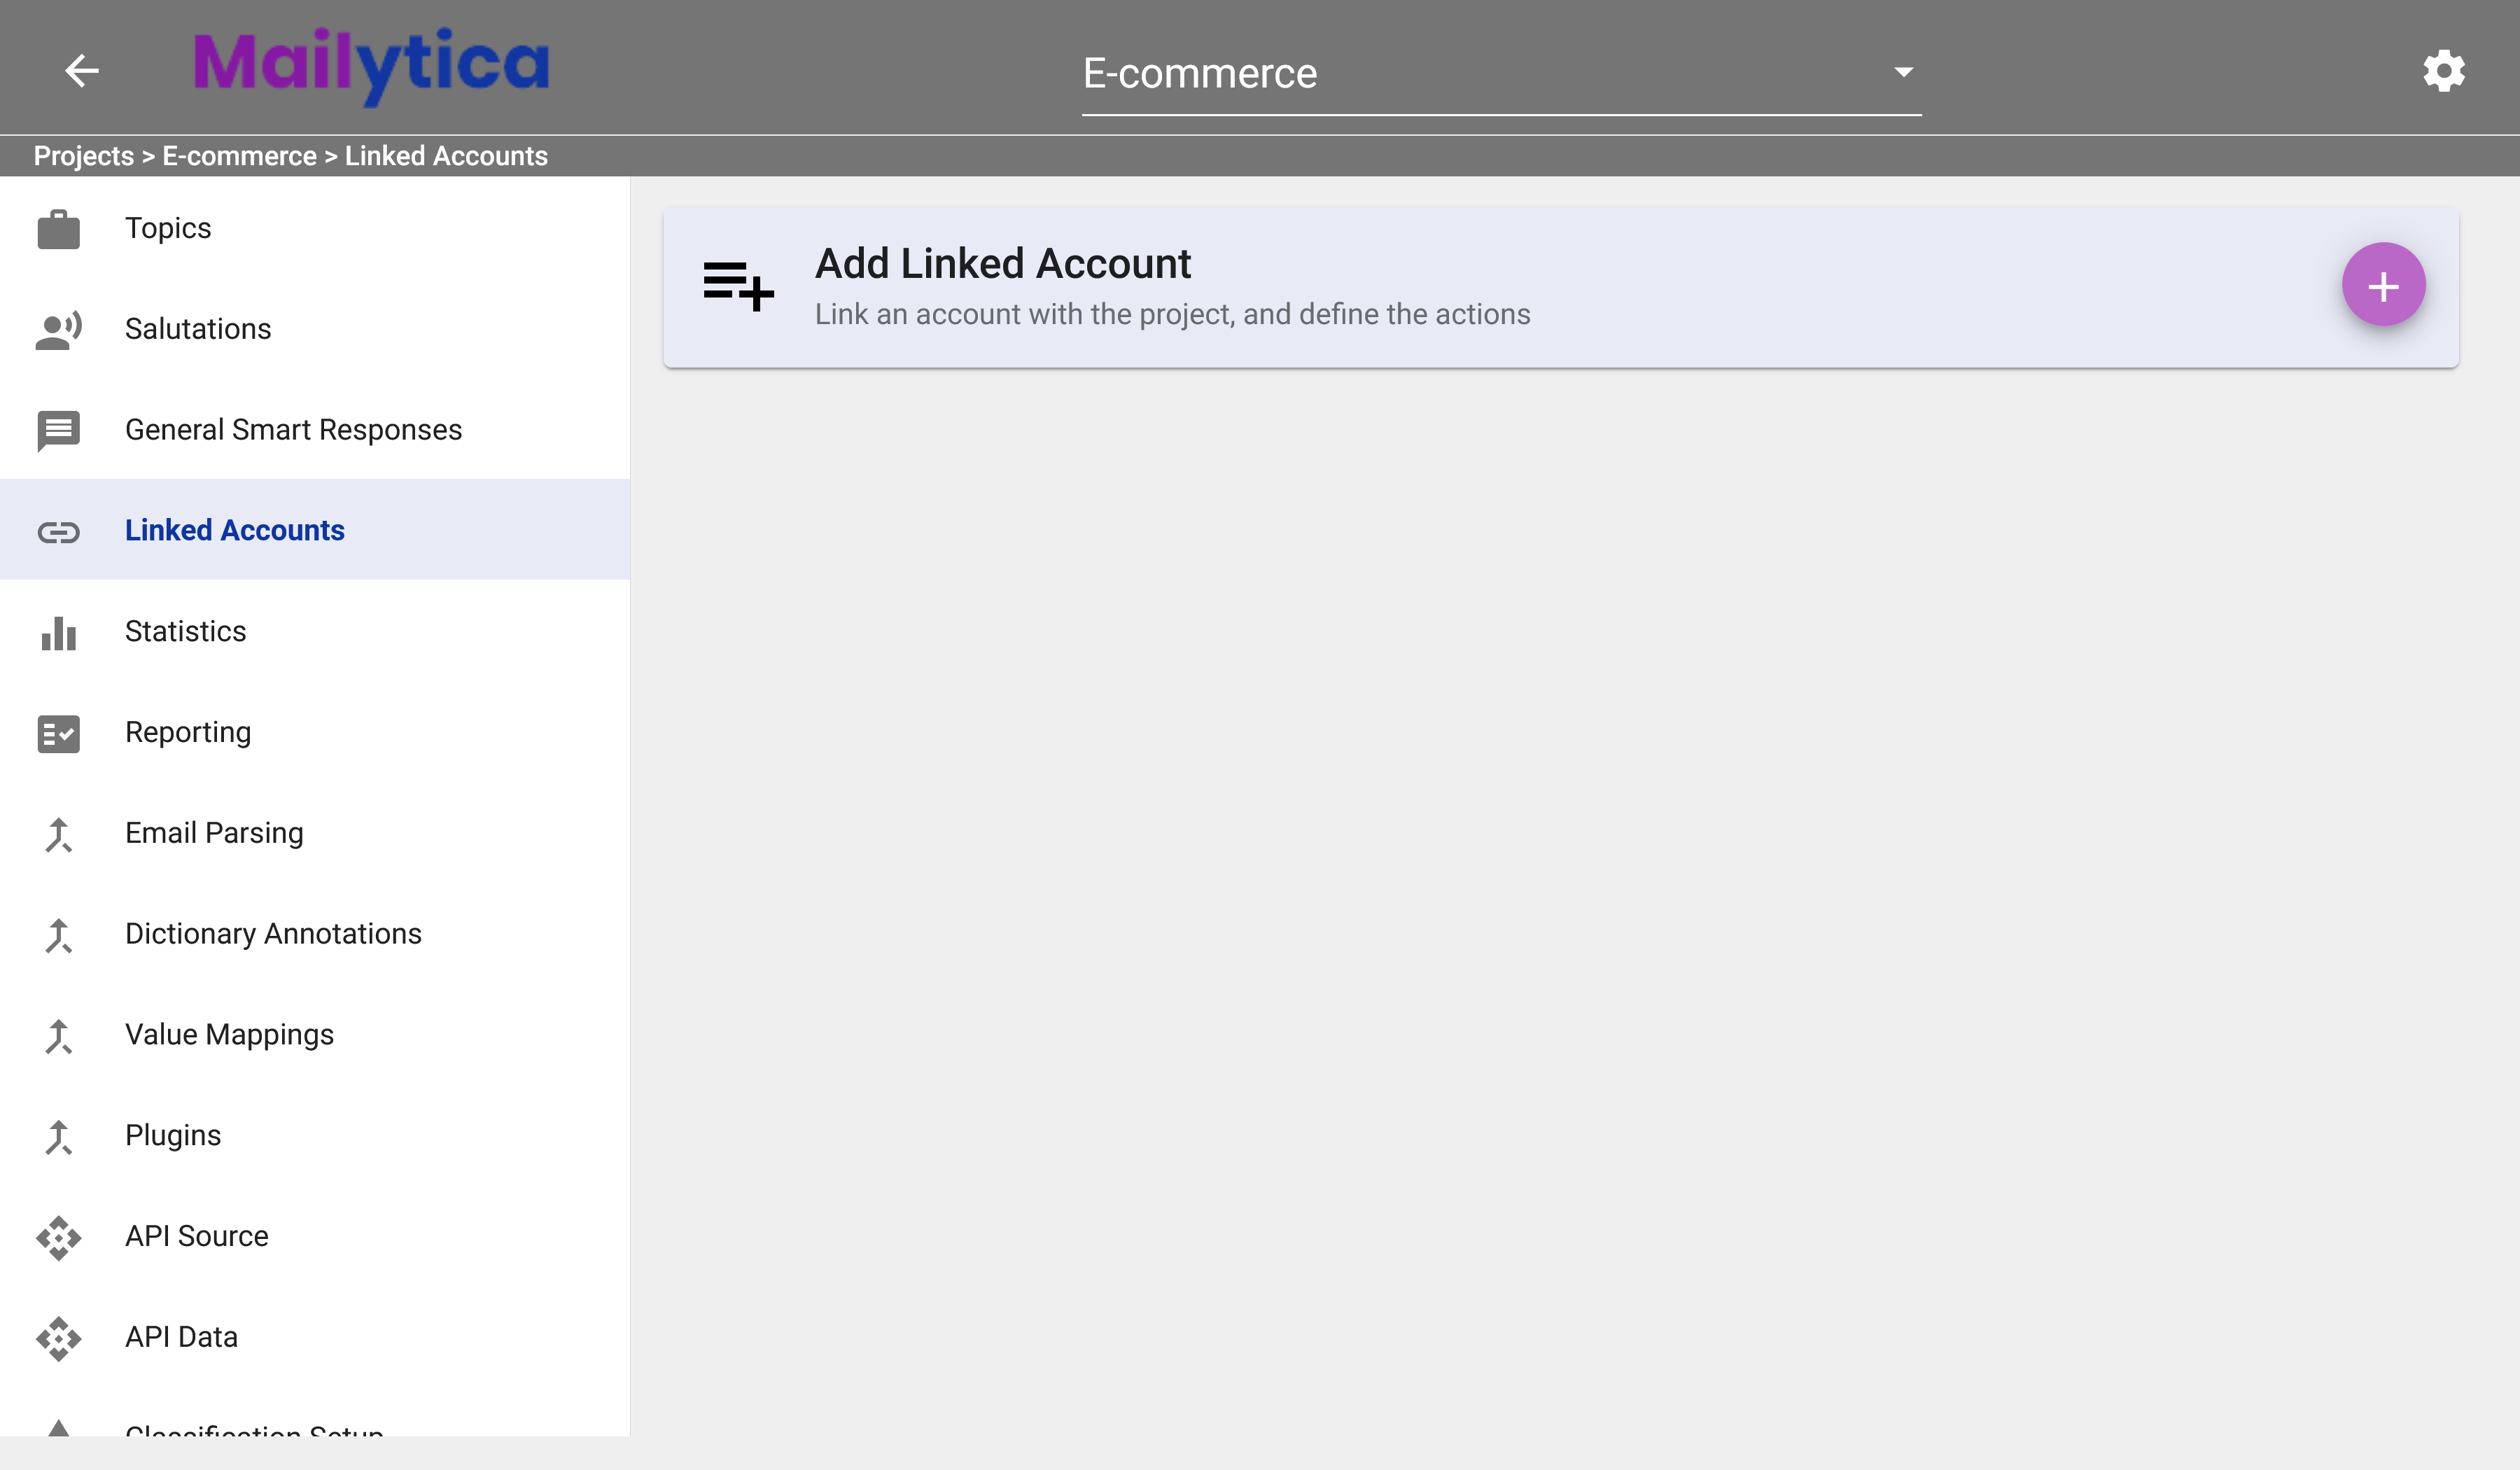
First, choose your project from Mailytica’s Online Platform. Select Linked Accounts on the left-side panel, and then click on the button next to Add Linked Account.
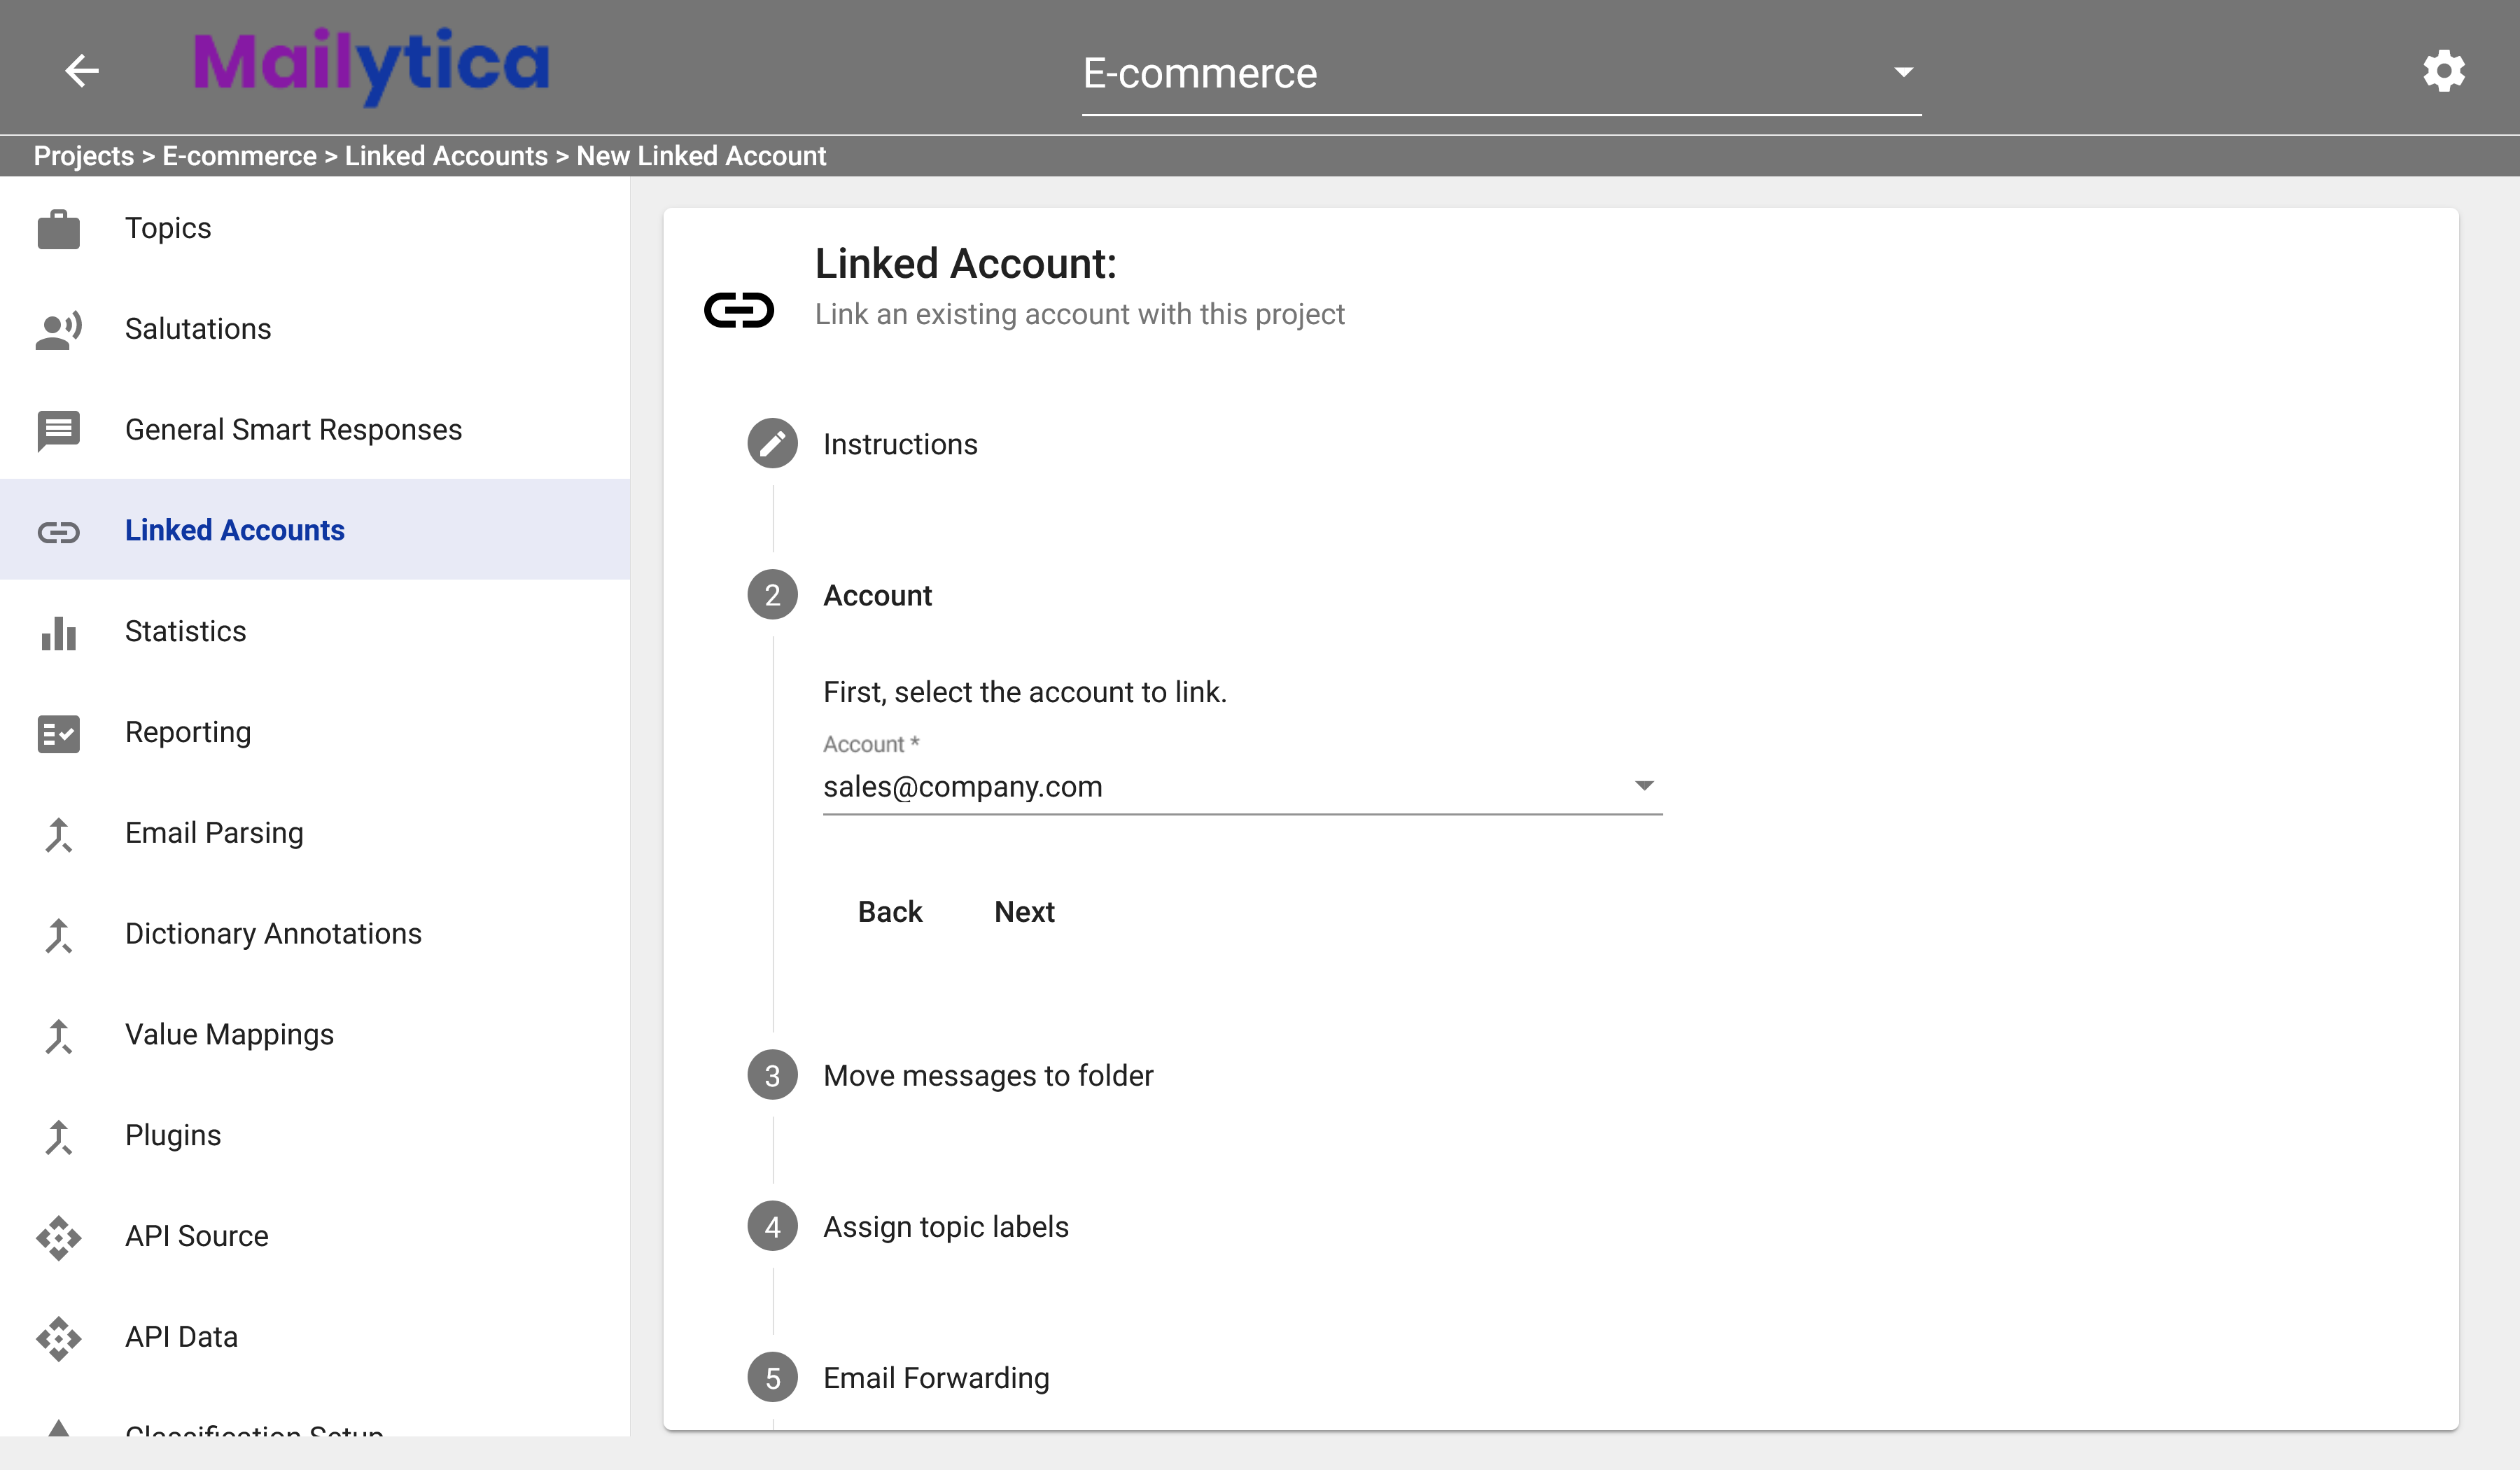
Next, in Account select from the dropdown menu the email address that you wish to link to the project. If the dropdown is empty, it means that no accounts have been connected.
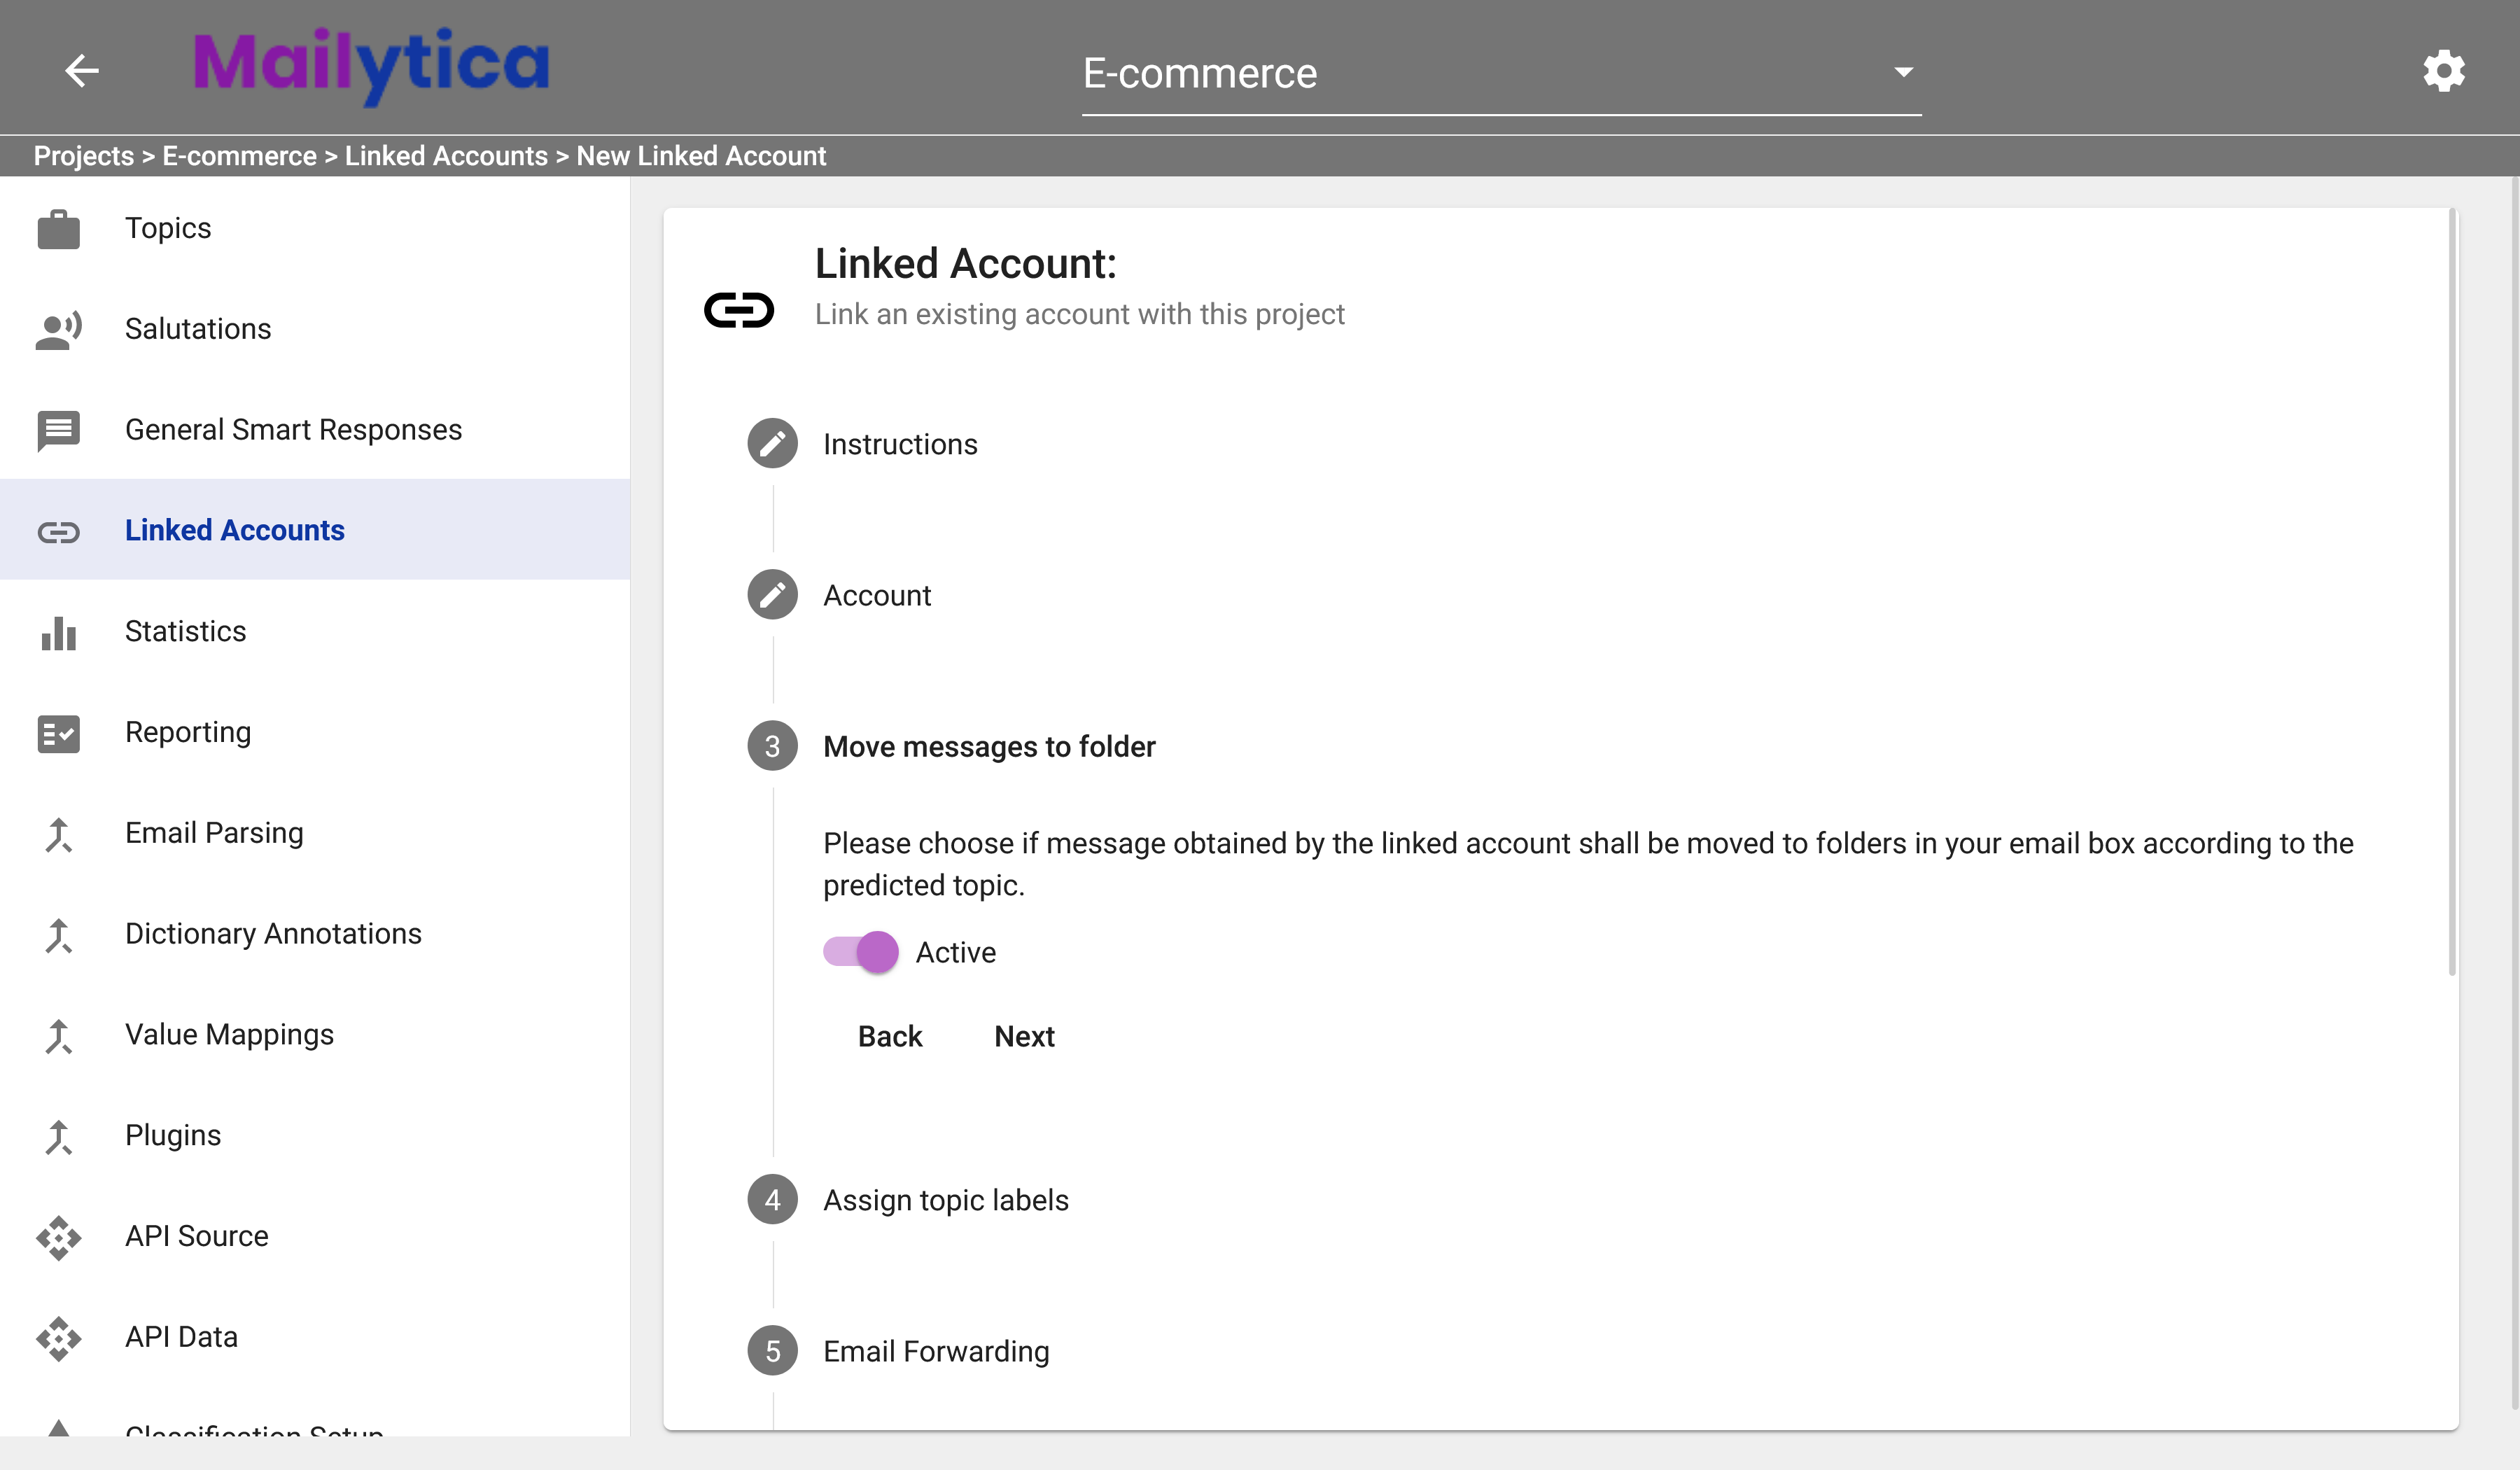
The Move Messages to Folder feature allows Mailytica to sort your email into folders, according to the topic of each message. To enable this feature, select Active (recommended). Otherwise, leave this option Inactive. This option only gives Mailytica the permission to move folders in your inbox, but does not create the rules itself—for that, visit the Actions section.
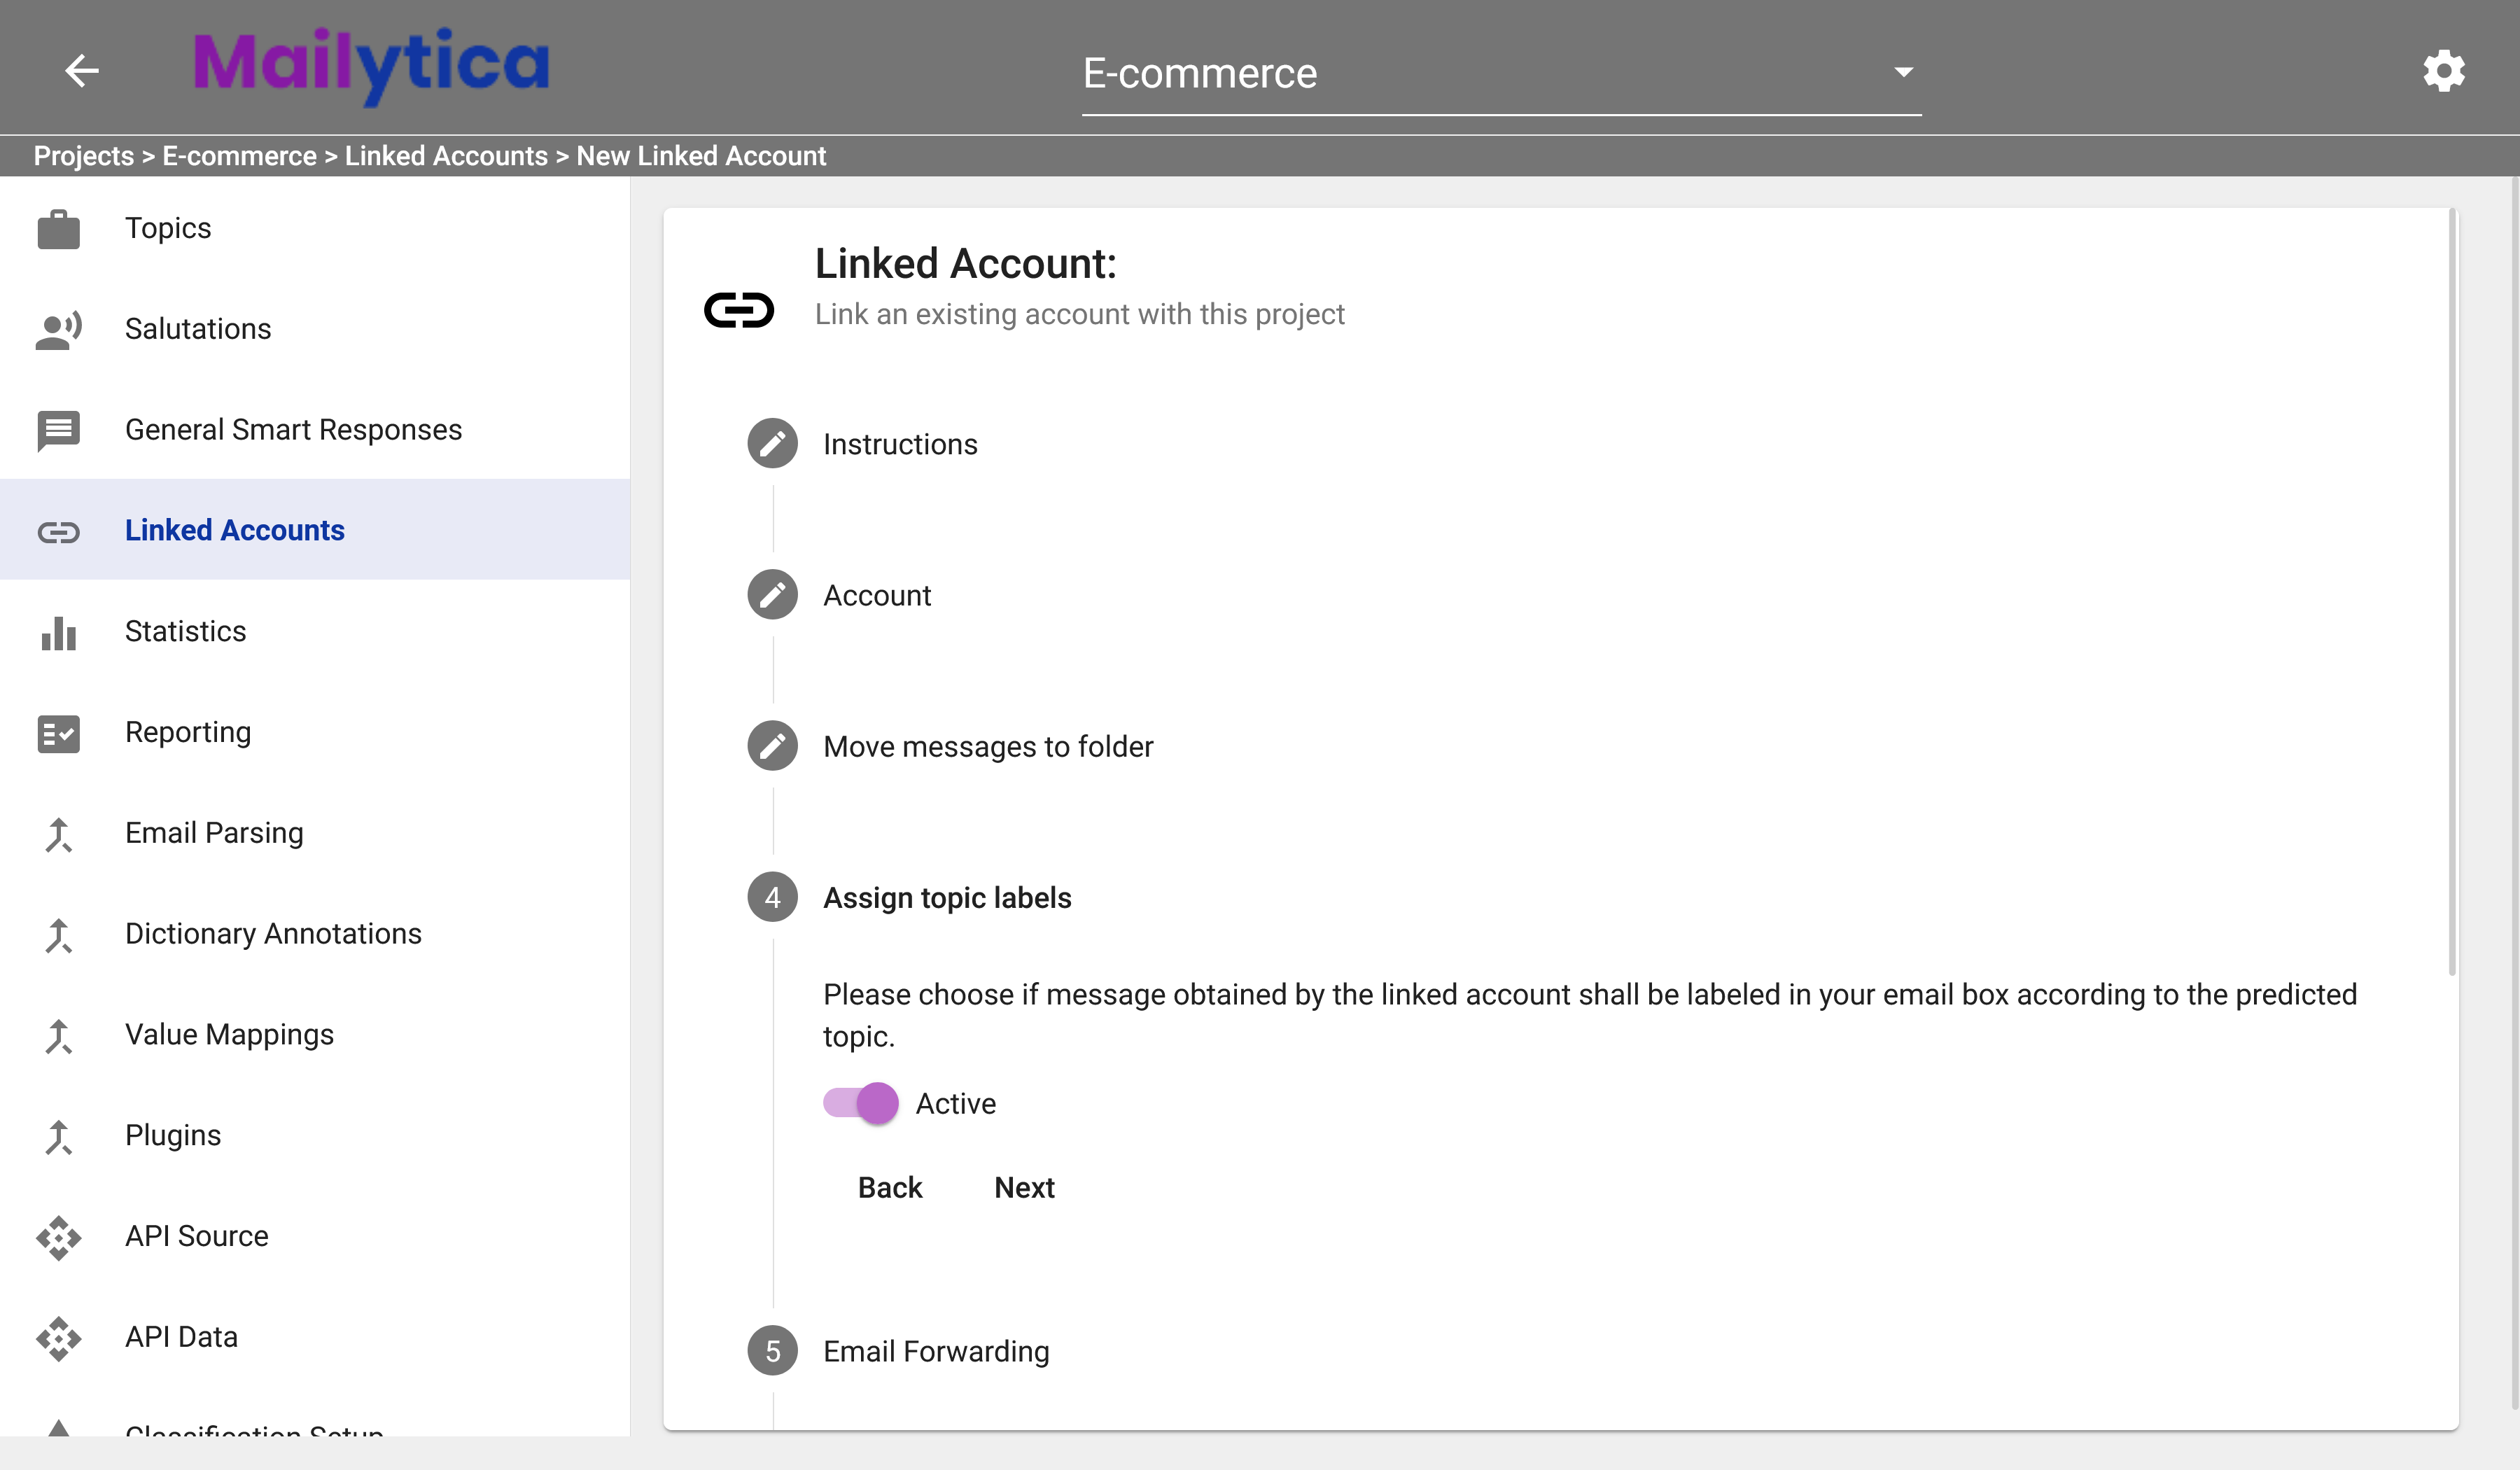
Under the Assign Topic Labels section, you can decide whether Mailytica will automatically label incoming messages with their corresponding topics or not. Labels are like tags that you can add to your email messages. All popular email clients support the use of labels, including Gmail and Outlook. If you want Mailytica to automatically assign labels, make sure this option is set to Active. This option only gives Mailytica the permission to assign labels in your inbox, but does not create the rules itself—for that, visit the Actions section.
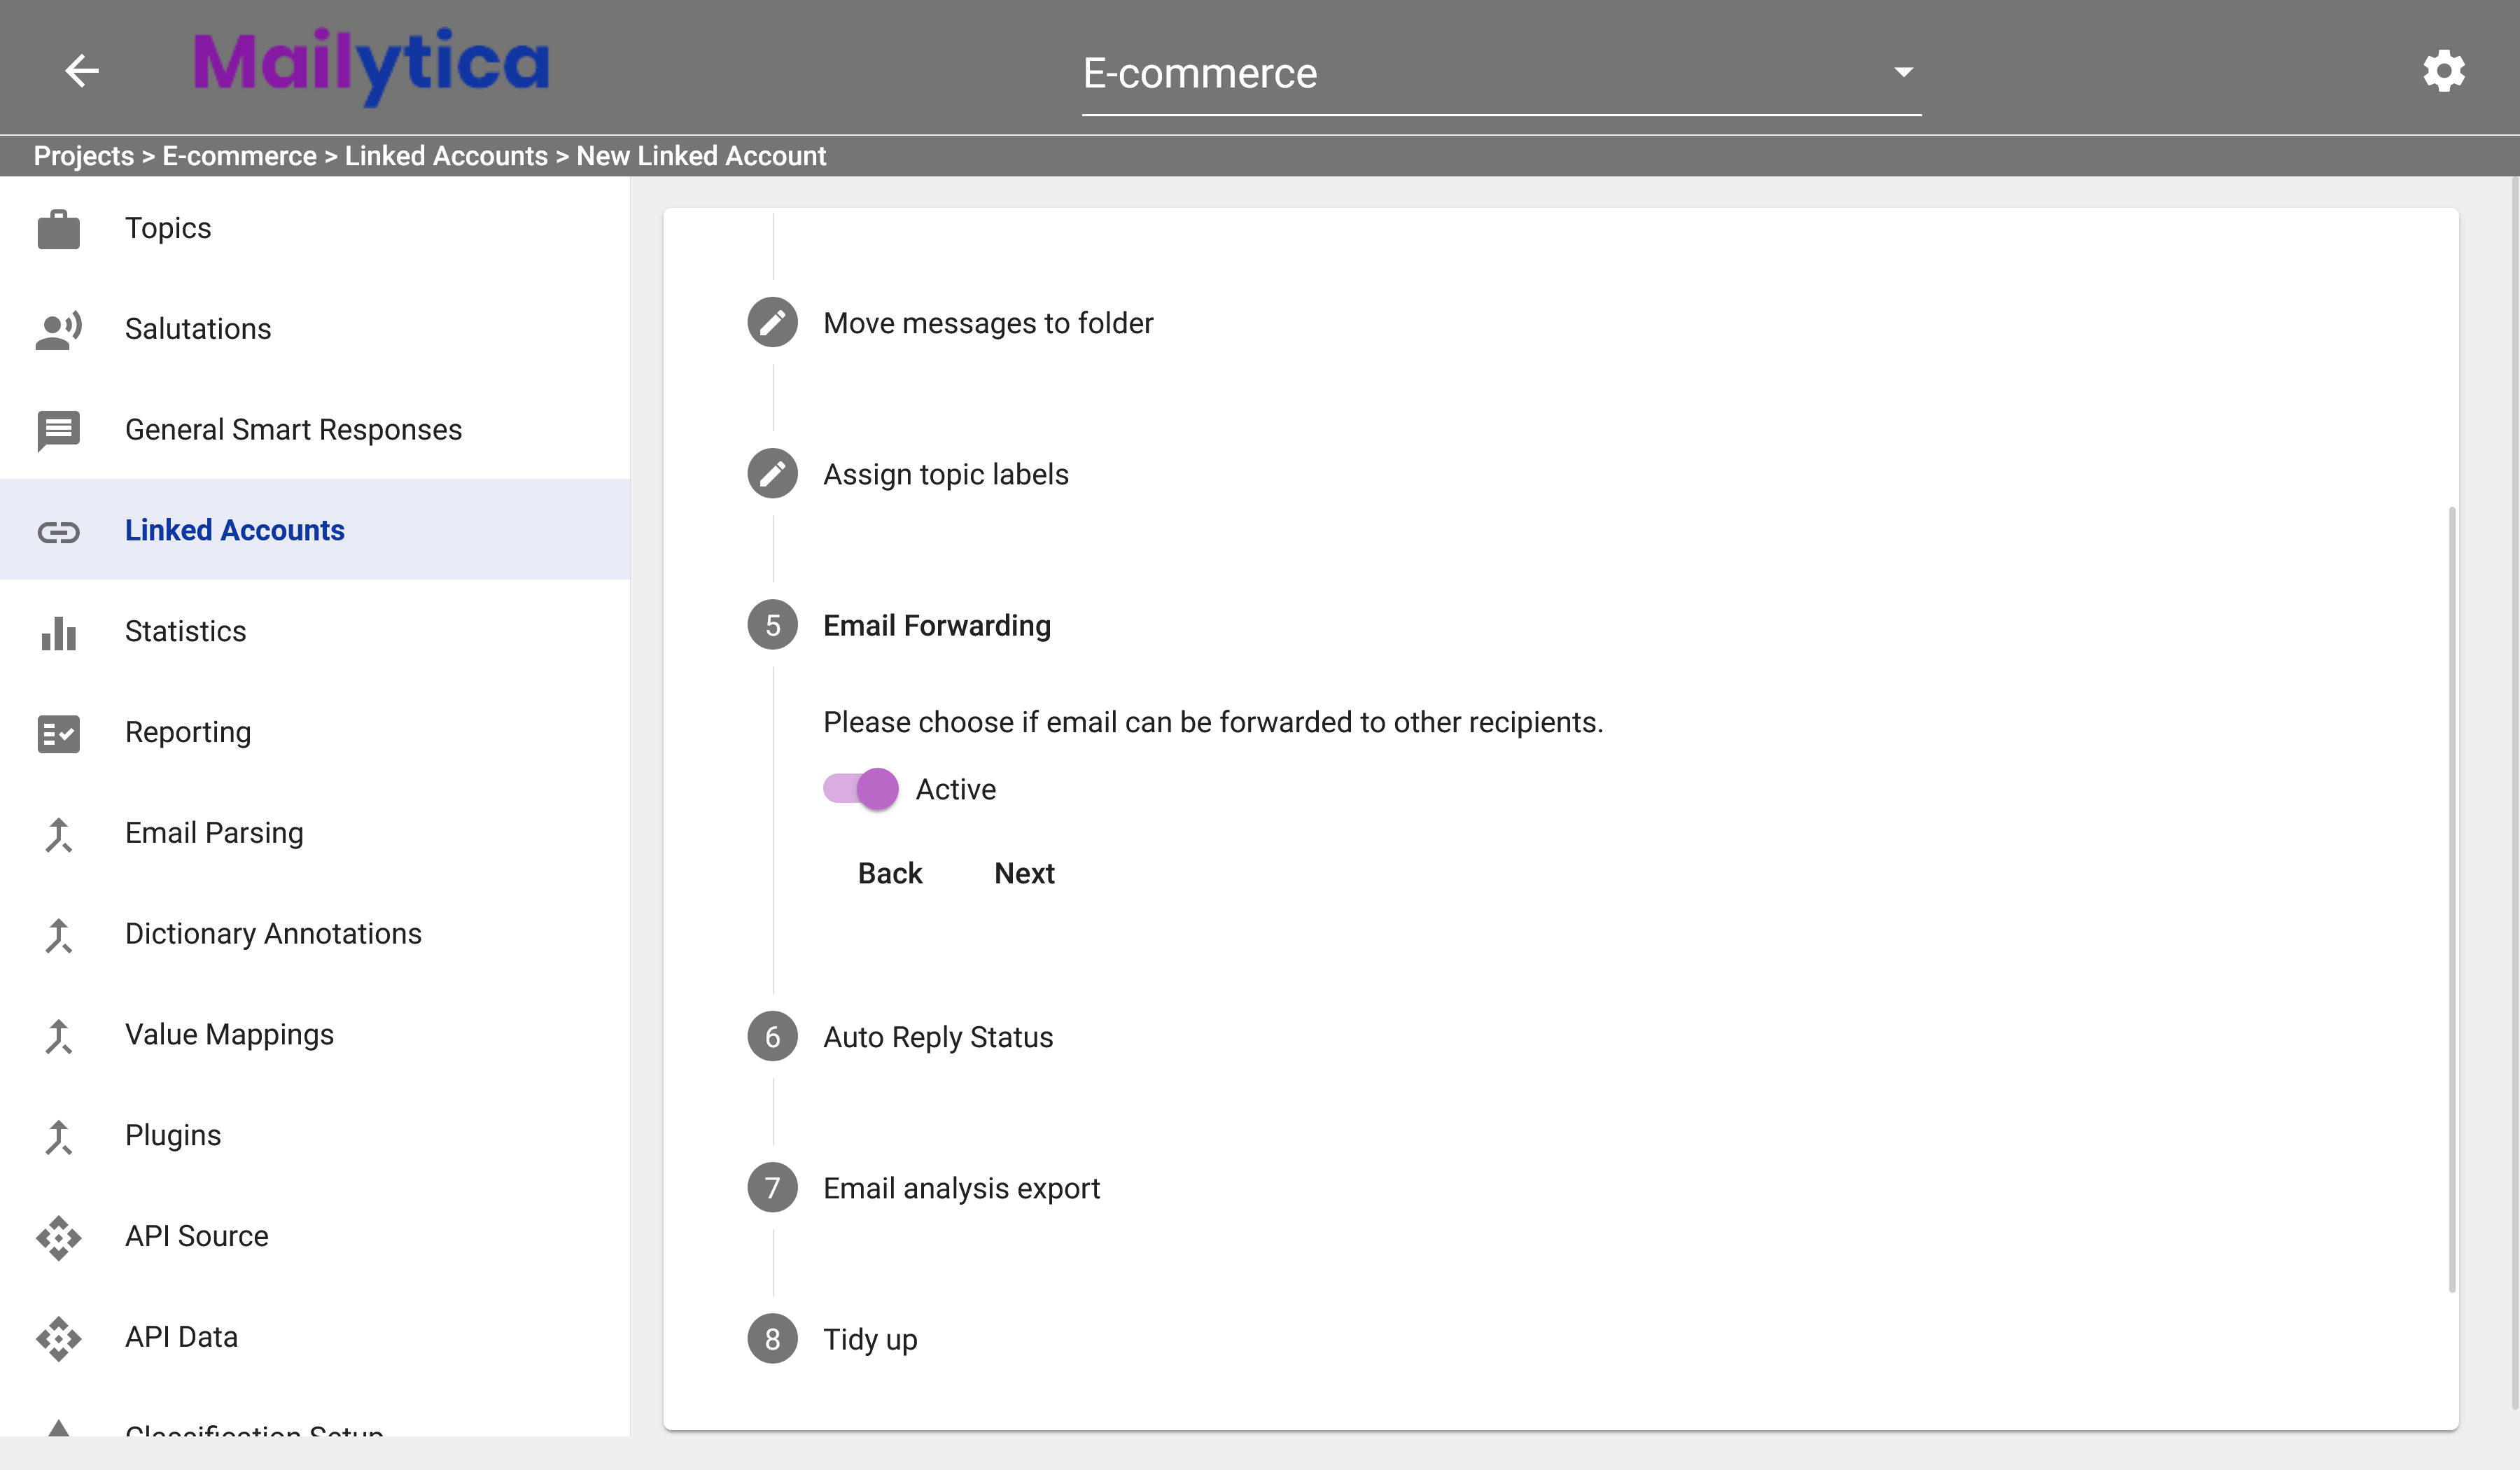
Next, to enable email forwarding, toggle the Active option under Email Forwarding. This allows Mailytica to automatically forward incoming email to recipients based on user-defined criteria. This option only gives Mailytica the permission to forward your incoming messages, but does not create the rules itself—for that, visit the Actions section.
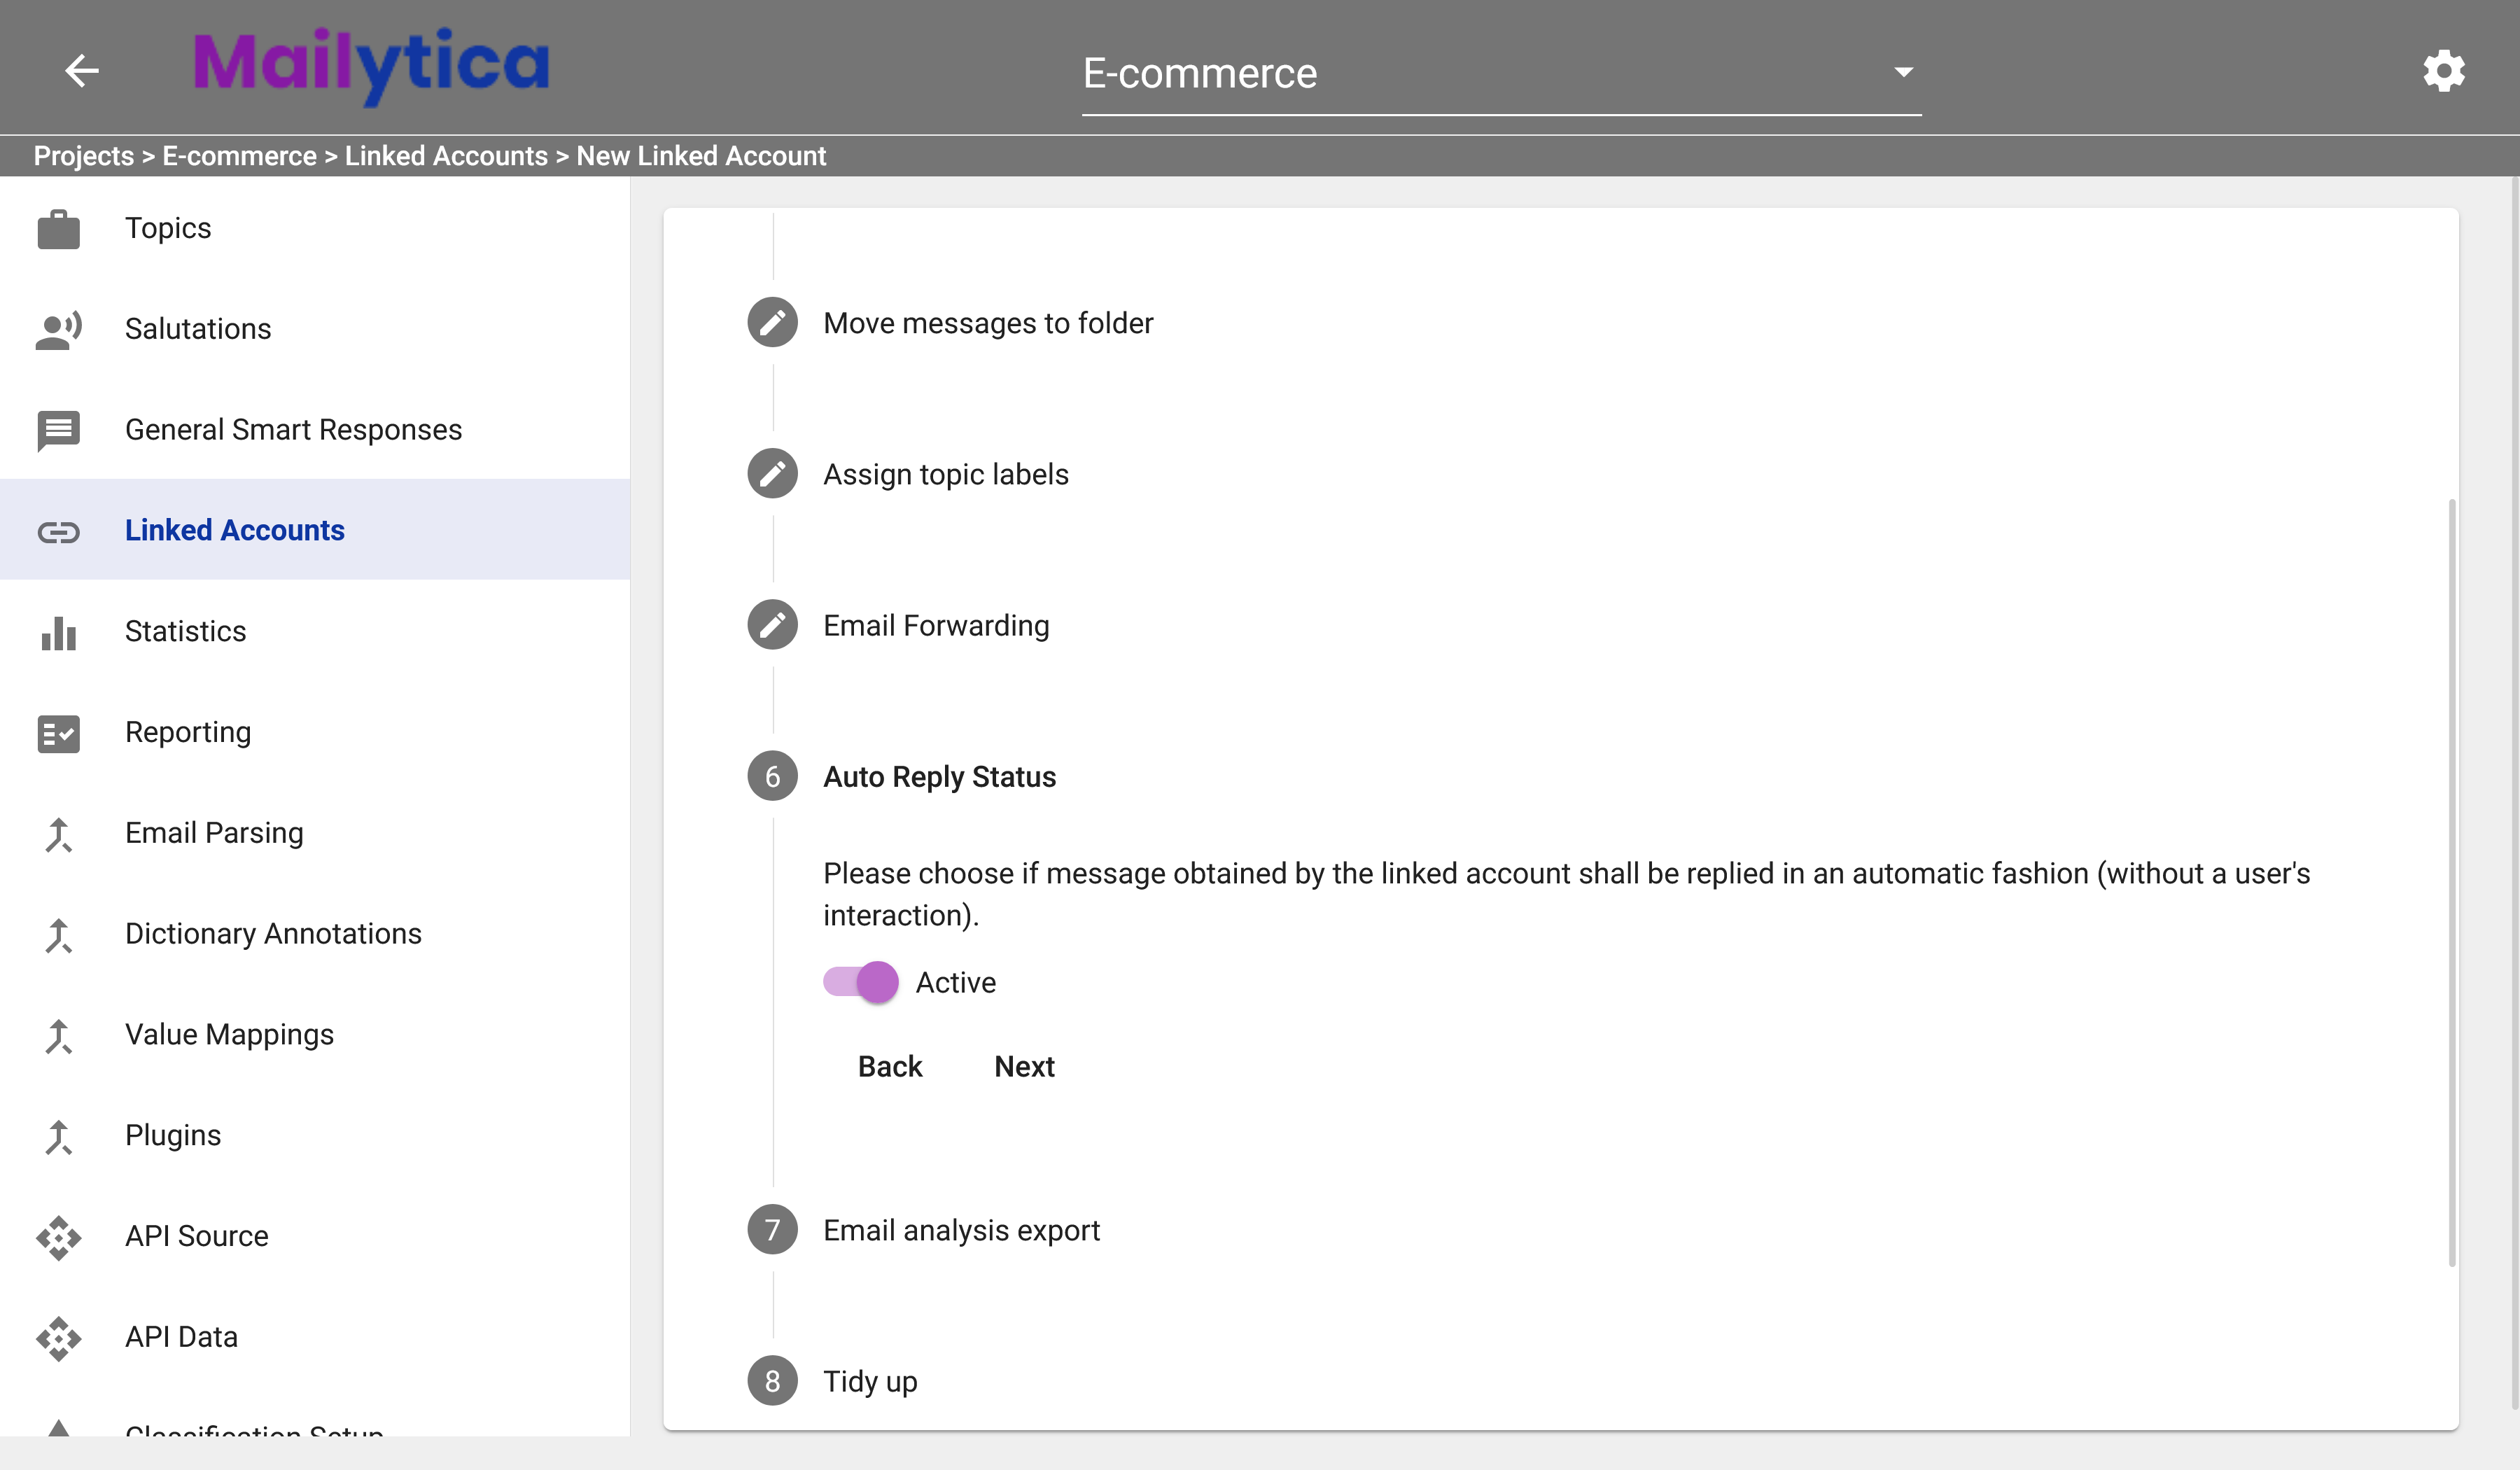
Following, in the Auto Reply Status section, select whether Mailytica should be able to automatically reply to messages received on your linked account. If set to Active, Mailytica will automatically respond on your behalf when you receive an email. If set to Inactive, Mailytica will only make suggestions and will not send the replies automatically. This option only gives Mailytica the permission to reply to your incoming messages, but does not create the rules itself—for that, visit the Actions section.
Tip
It is recommended to set the Auto Reply Status option to Inactive when you first start using Smart Responses, and then turn it to Active once Mailytica has been trained with enough email data.
Then, in Email Analysis Export you can choose whether Mailytica should be allowed to export your analytics results. The results of the analysis can be requested by users through secure API points and include data such as message subject lines, recipient email addresses, time stamps and more. If you want to be able to export your analytics results, then select Active, otherwise, select Inactive.
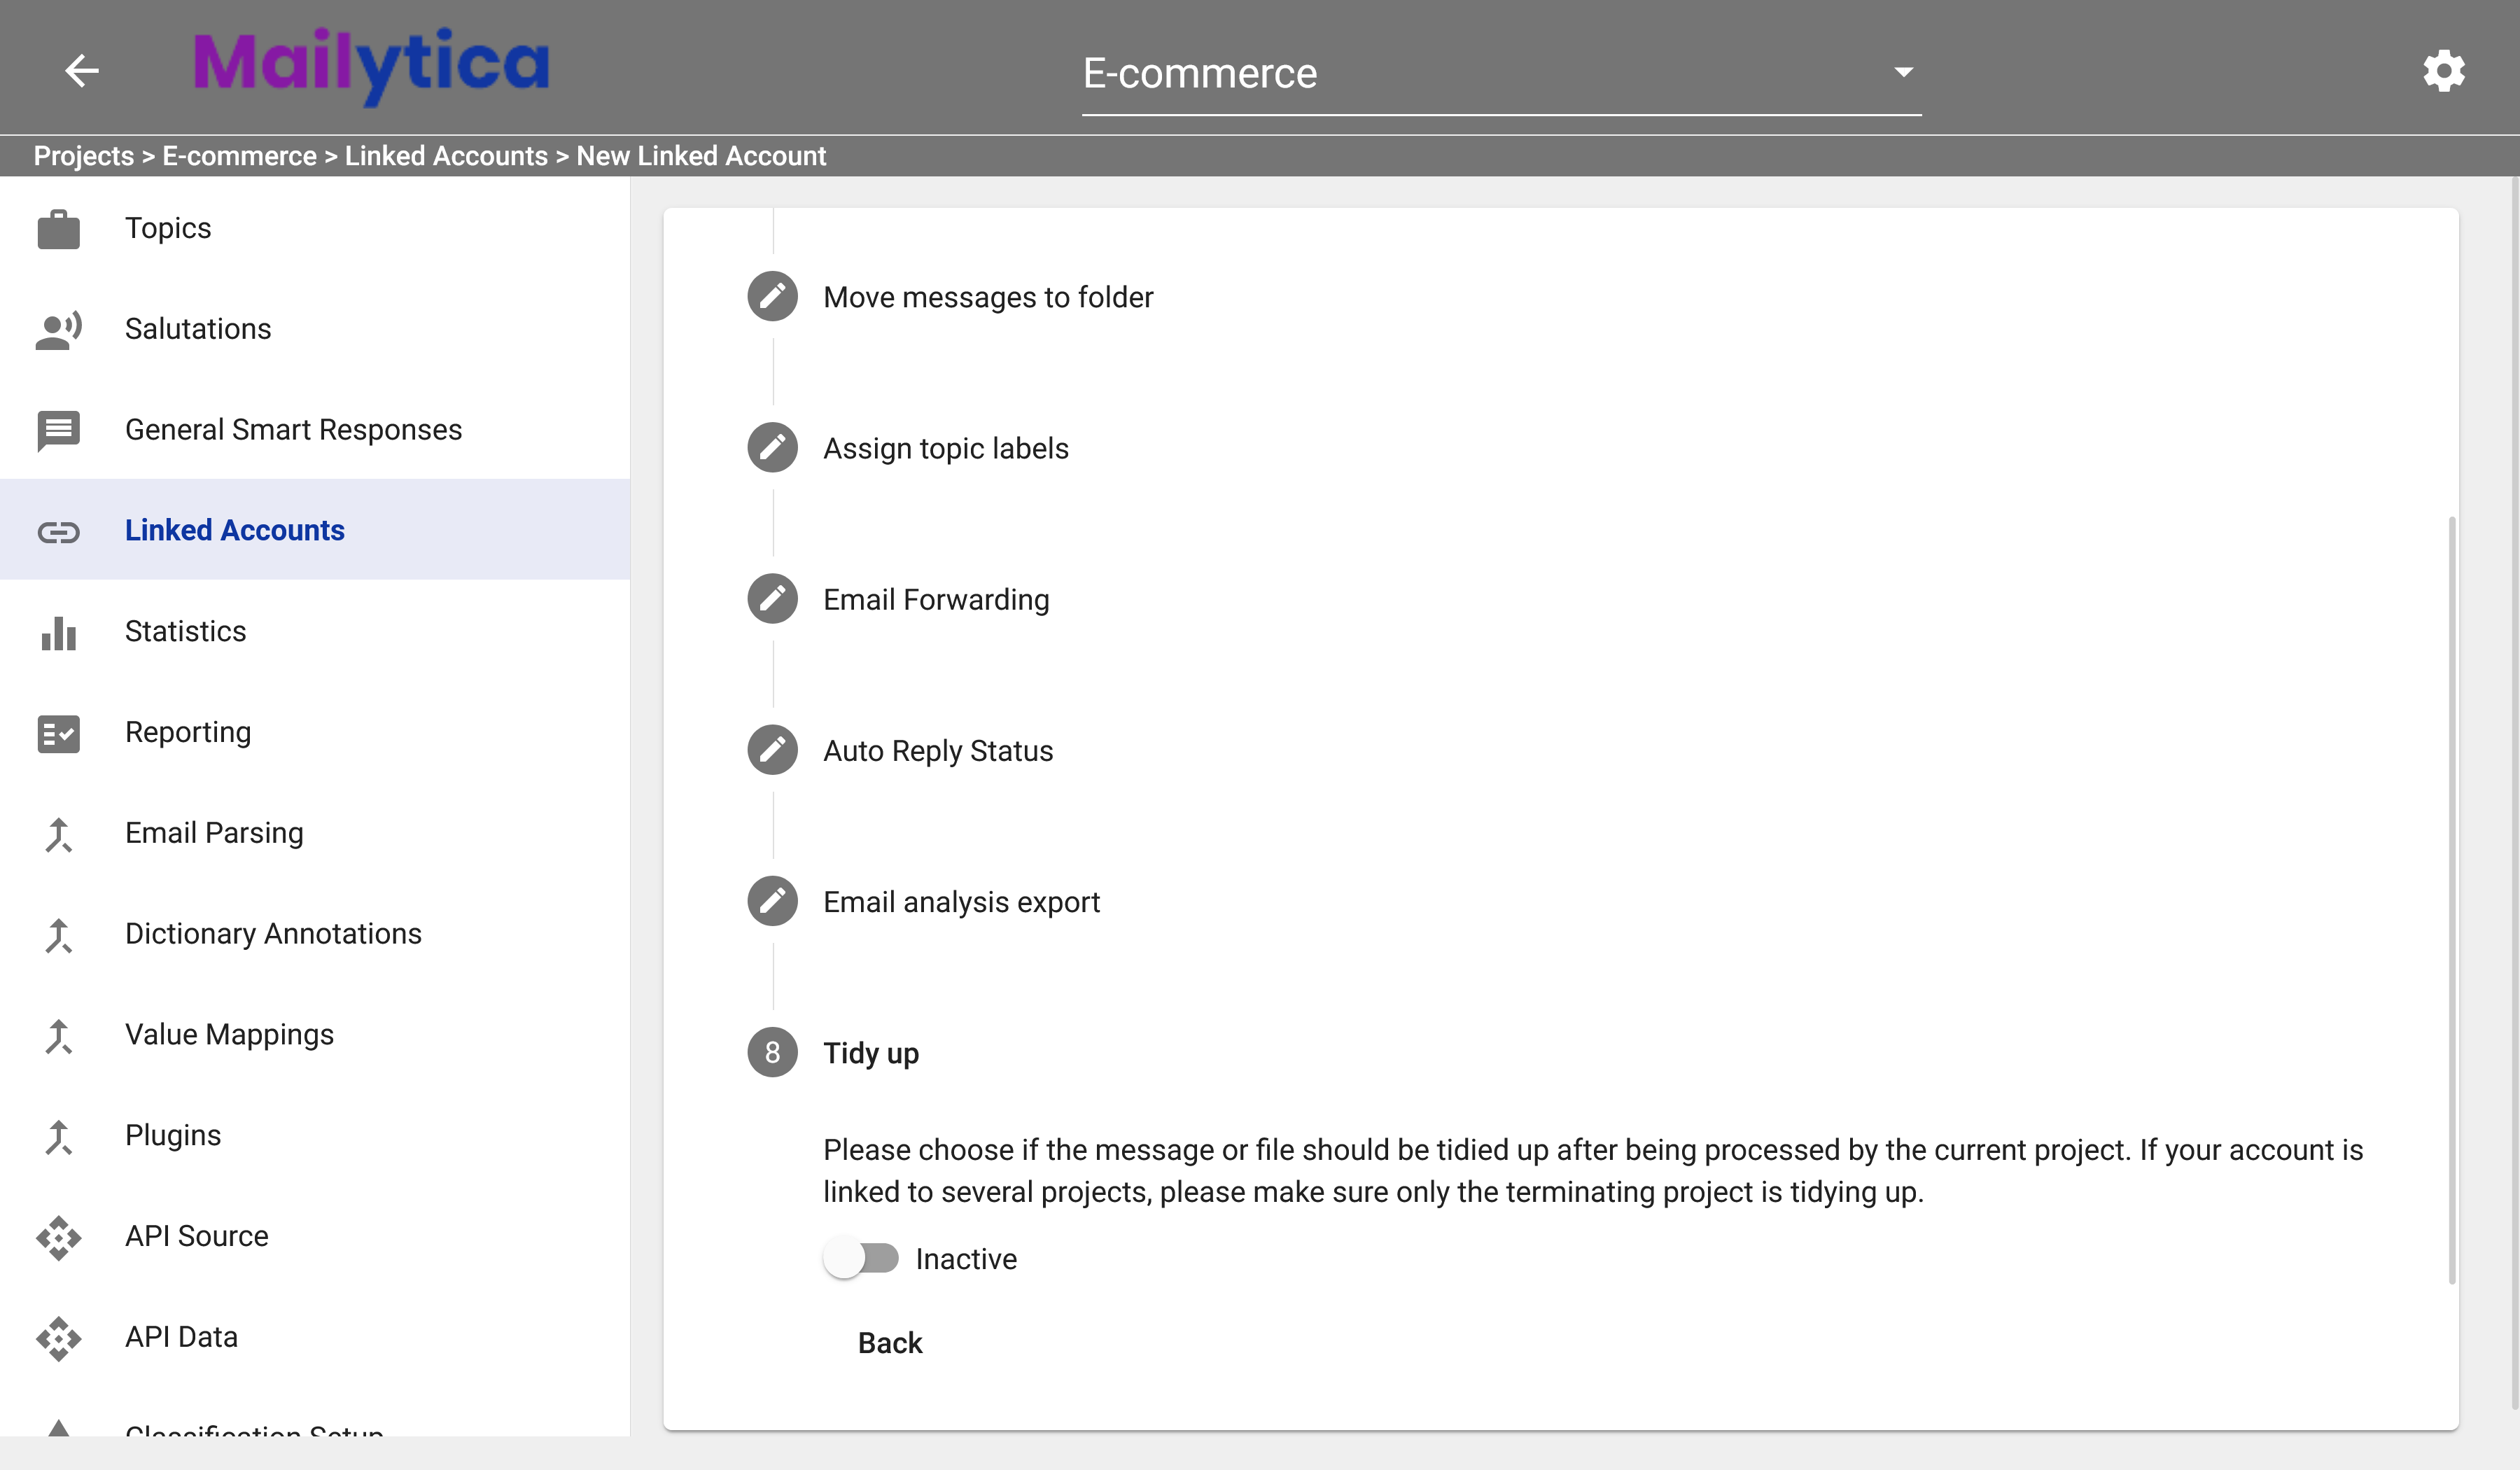
Finally, under Tidy Up select if the message or file should be moved after being successfully processed by the current project. This is an advanced option that works just like moving messages to folders (Step 5)—except it’s only available for Server Message Block (SMB) accounts in order to process files. If you are using SMB, the recommended value is Active, otherwise leave this option Inactive. However, if your account is linked to multiple projects—such as a final project and an intermediary one—please make sure that this option has been activated only for the main or final project.
After you’ve completed these steps, click Add and your account should now be linked to your project. Now you can make use of Mailytica’s Actions and full features.