Zendesk#
Zendesk is a popular customer service platform designed to manage customer interactions, support tickets, and offer support through various channels, including email. Integrating Zendesk with Mailytica ensures a seamless workflow by bringing Mailytica’s AI-powered features directly into your Zendesk ticketing system.
By using Mailytica’s Zendesk integration, you can effortlessly classify tickets by topic and quickly deliver automated responses, resulting in efficient customer support that saves valuable time.
Before you begin, make sure you meet the following requirements:
Have an active Zendesk Professional account.
Have an active Mailytica account with your account-specific API details, including the API token for your project.
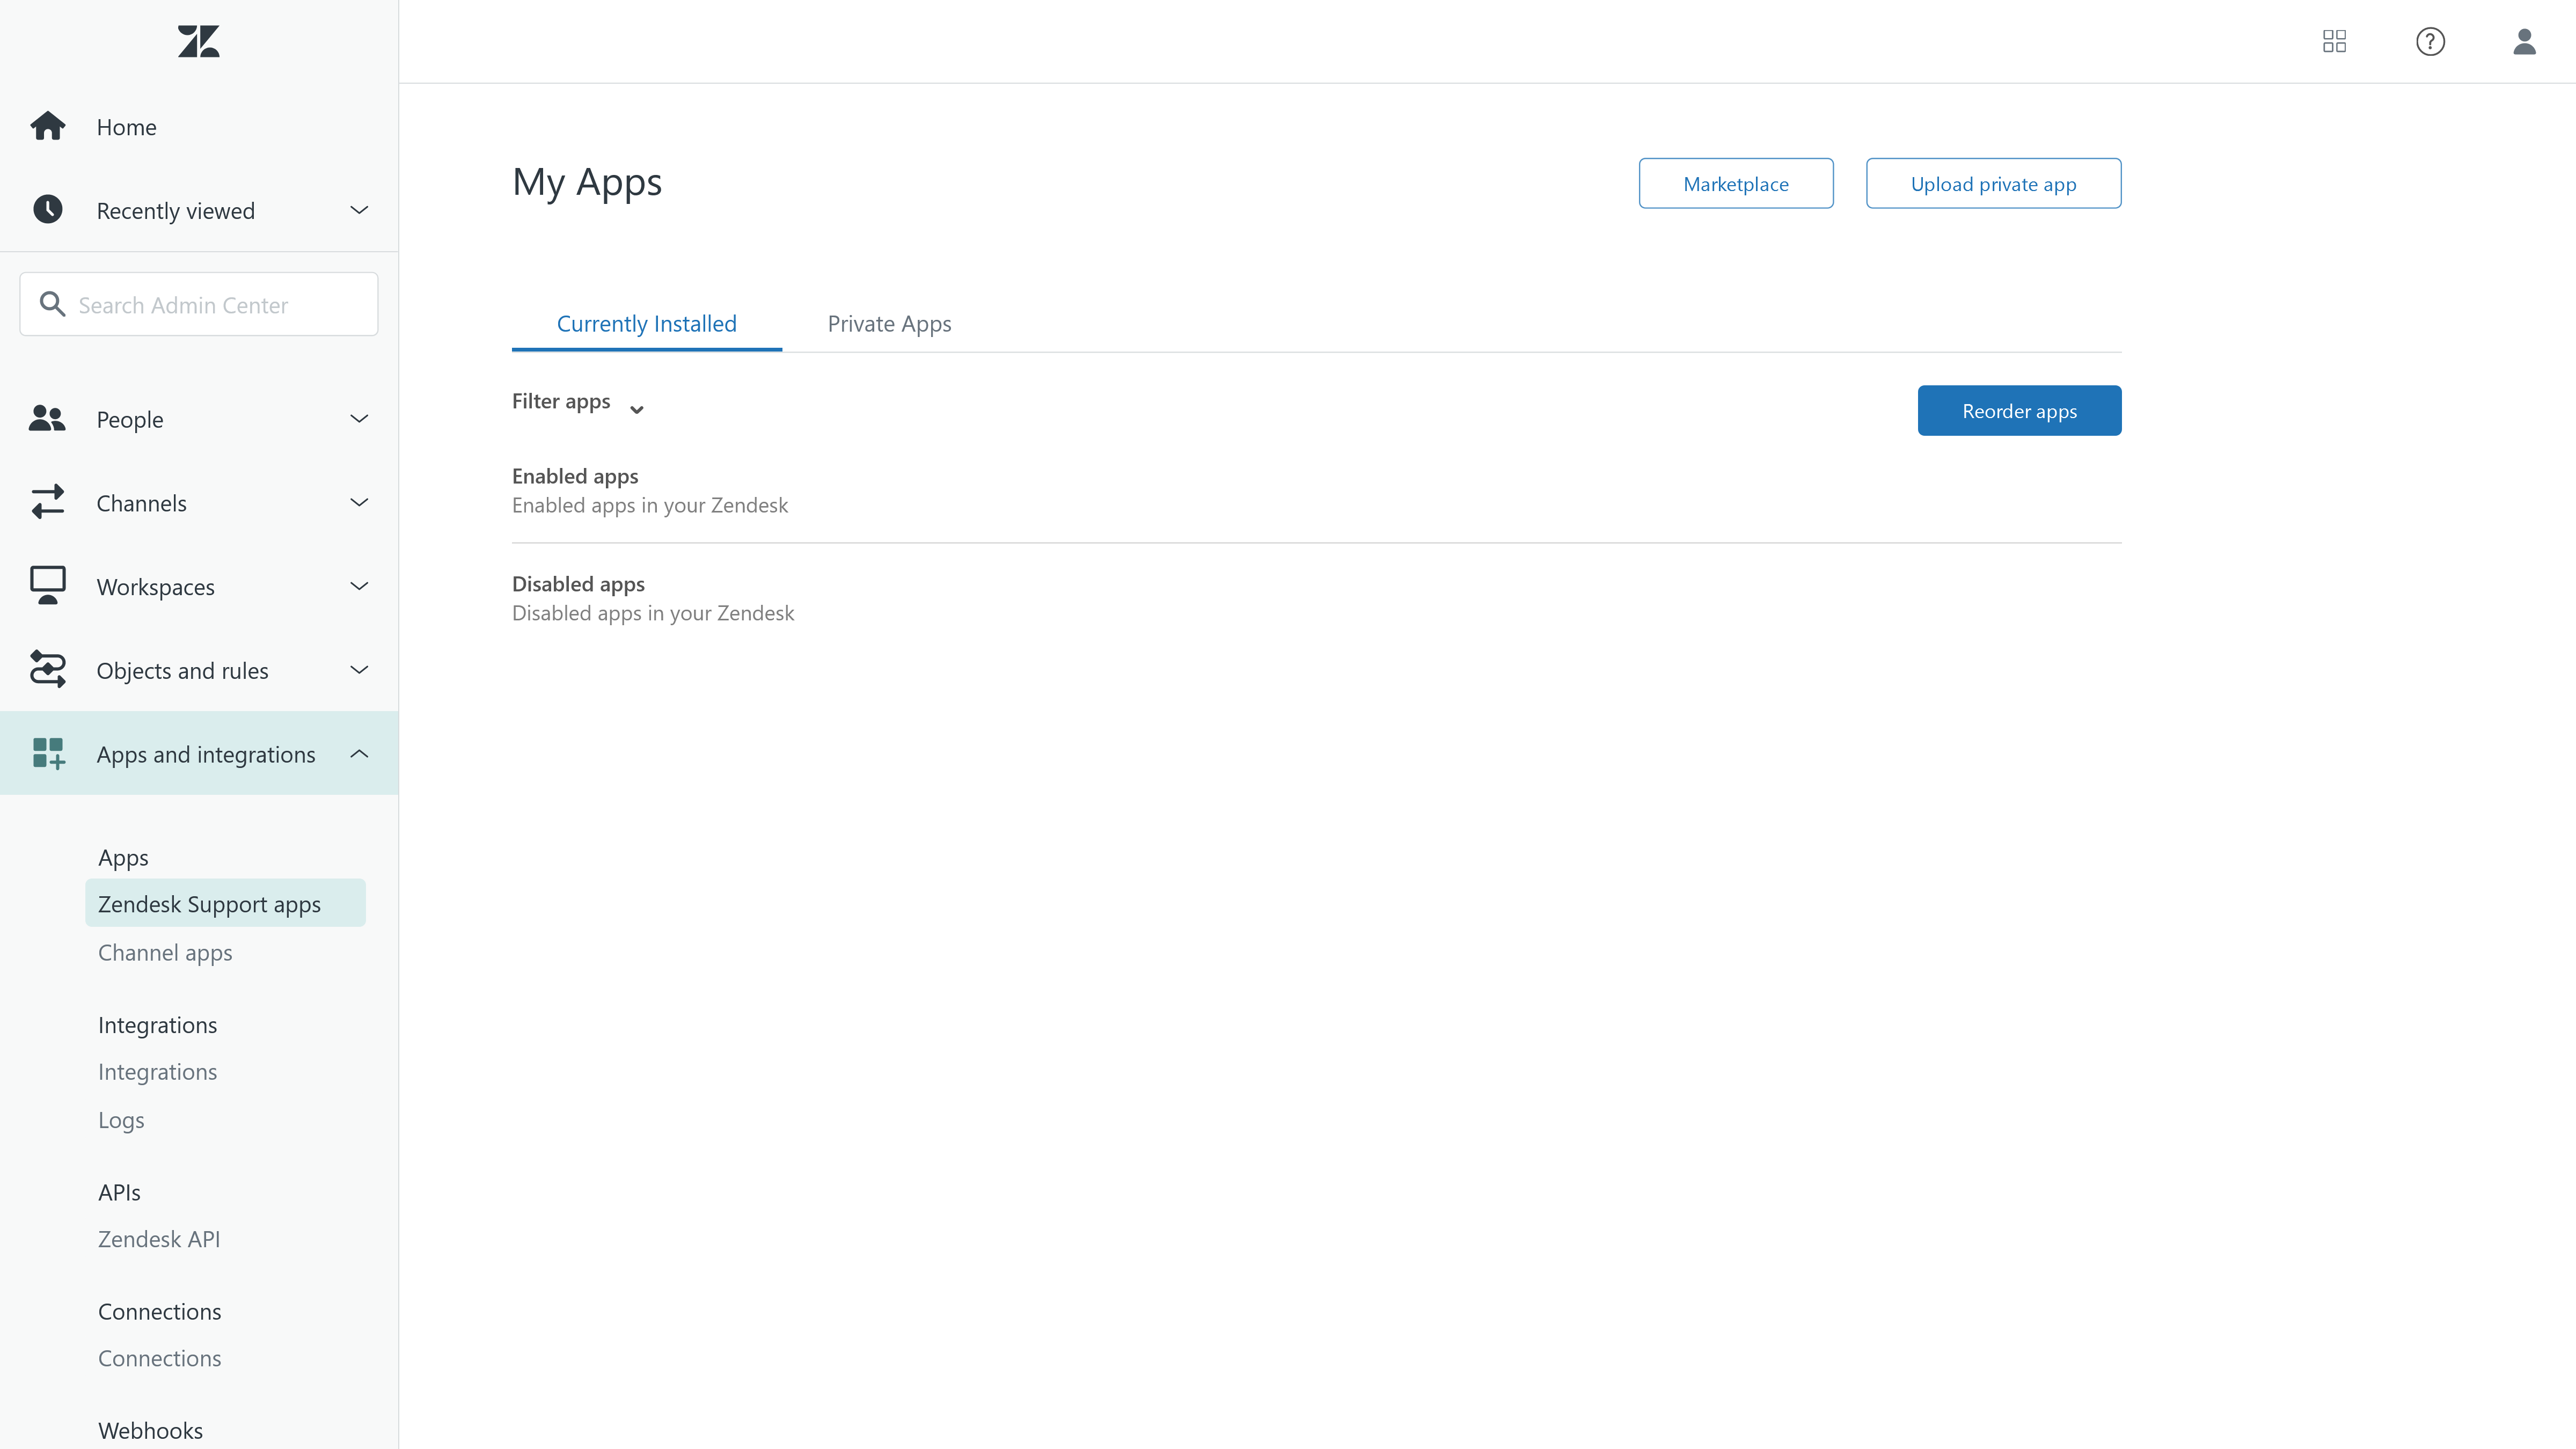
Zendesk Installation Files#
You can easily download the necessary files to install Mailytica’s Zendesk integration:
Installation files
Zendesk Installation#
Before installing the Zendesk integration, you must first generate your own Mailytica API token. Here’s how you can do that:
Log into Mailytica’s Online Platform and select the project that you will be using with Zendesk.
On the left menu, scroll down until you find the AI & NLP Classification Setup section.
Within the AI & NLP Classification Setup section, select API-Tokens from the top tab bar.
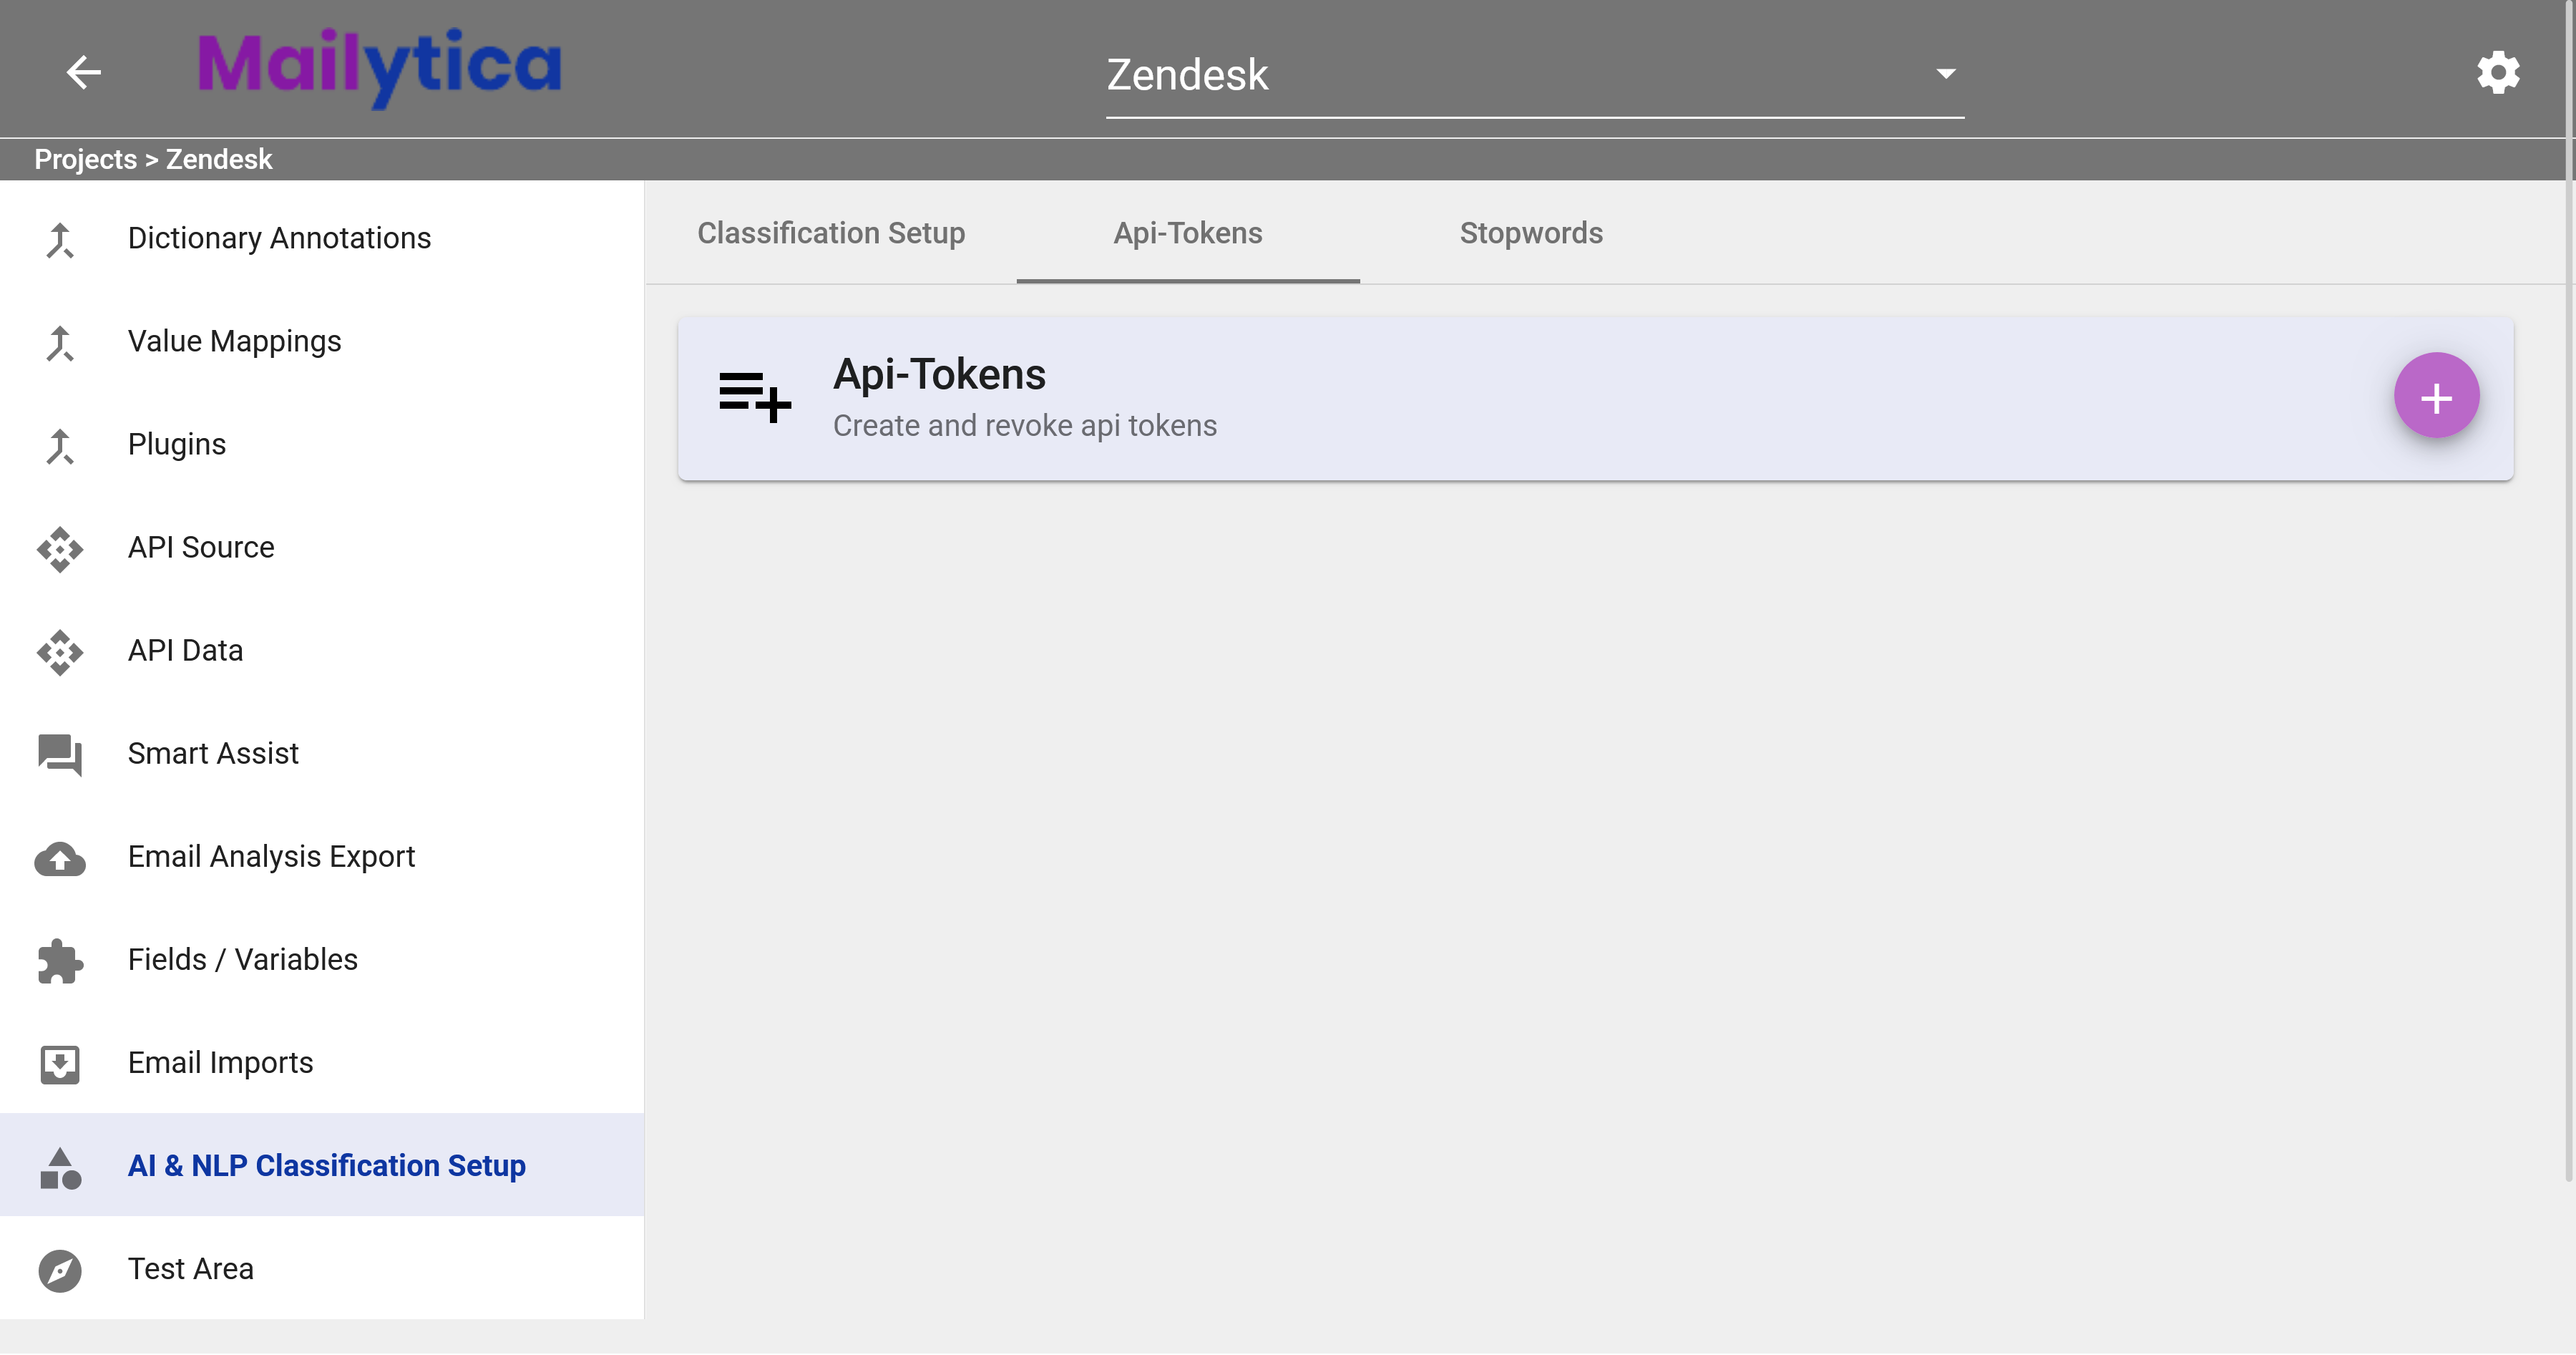
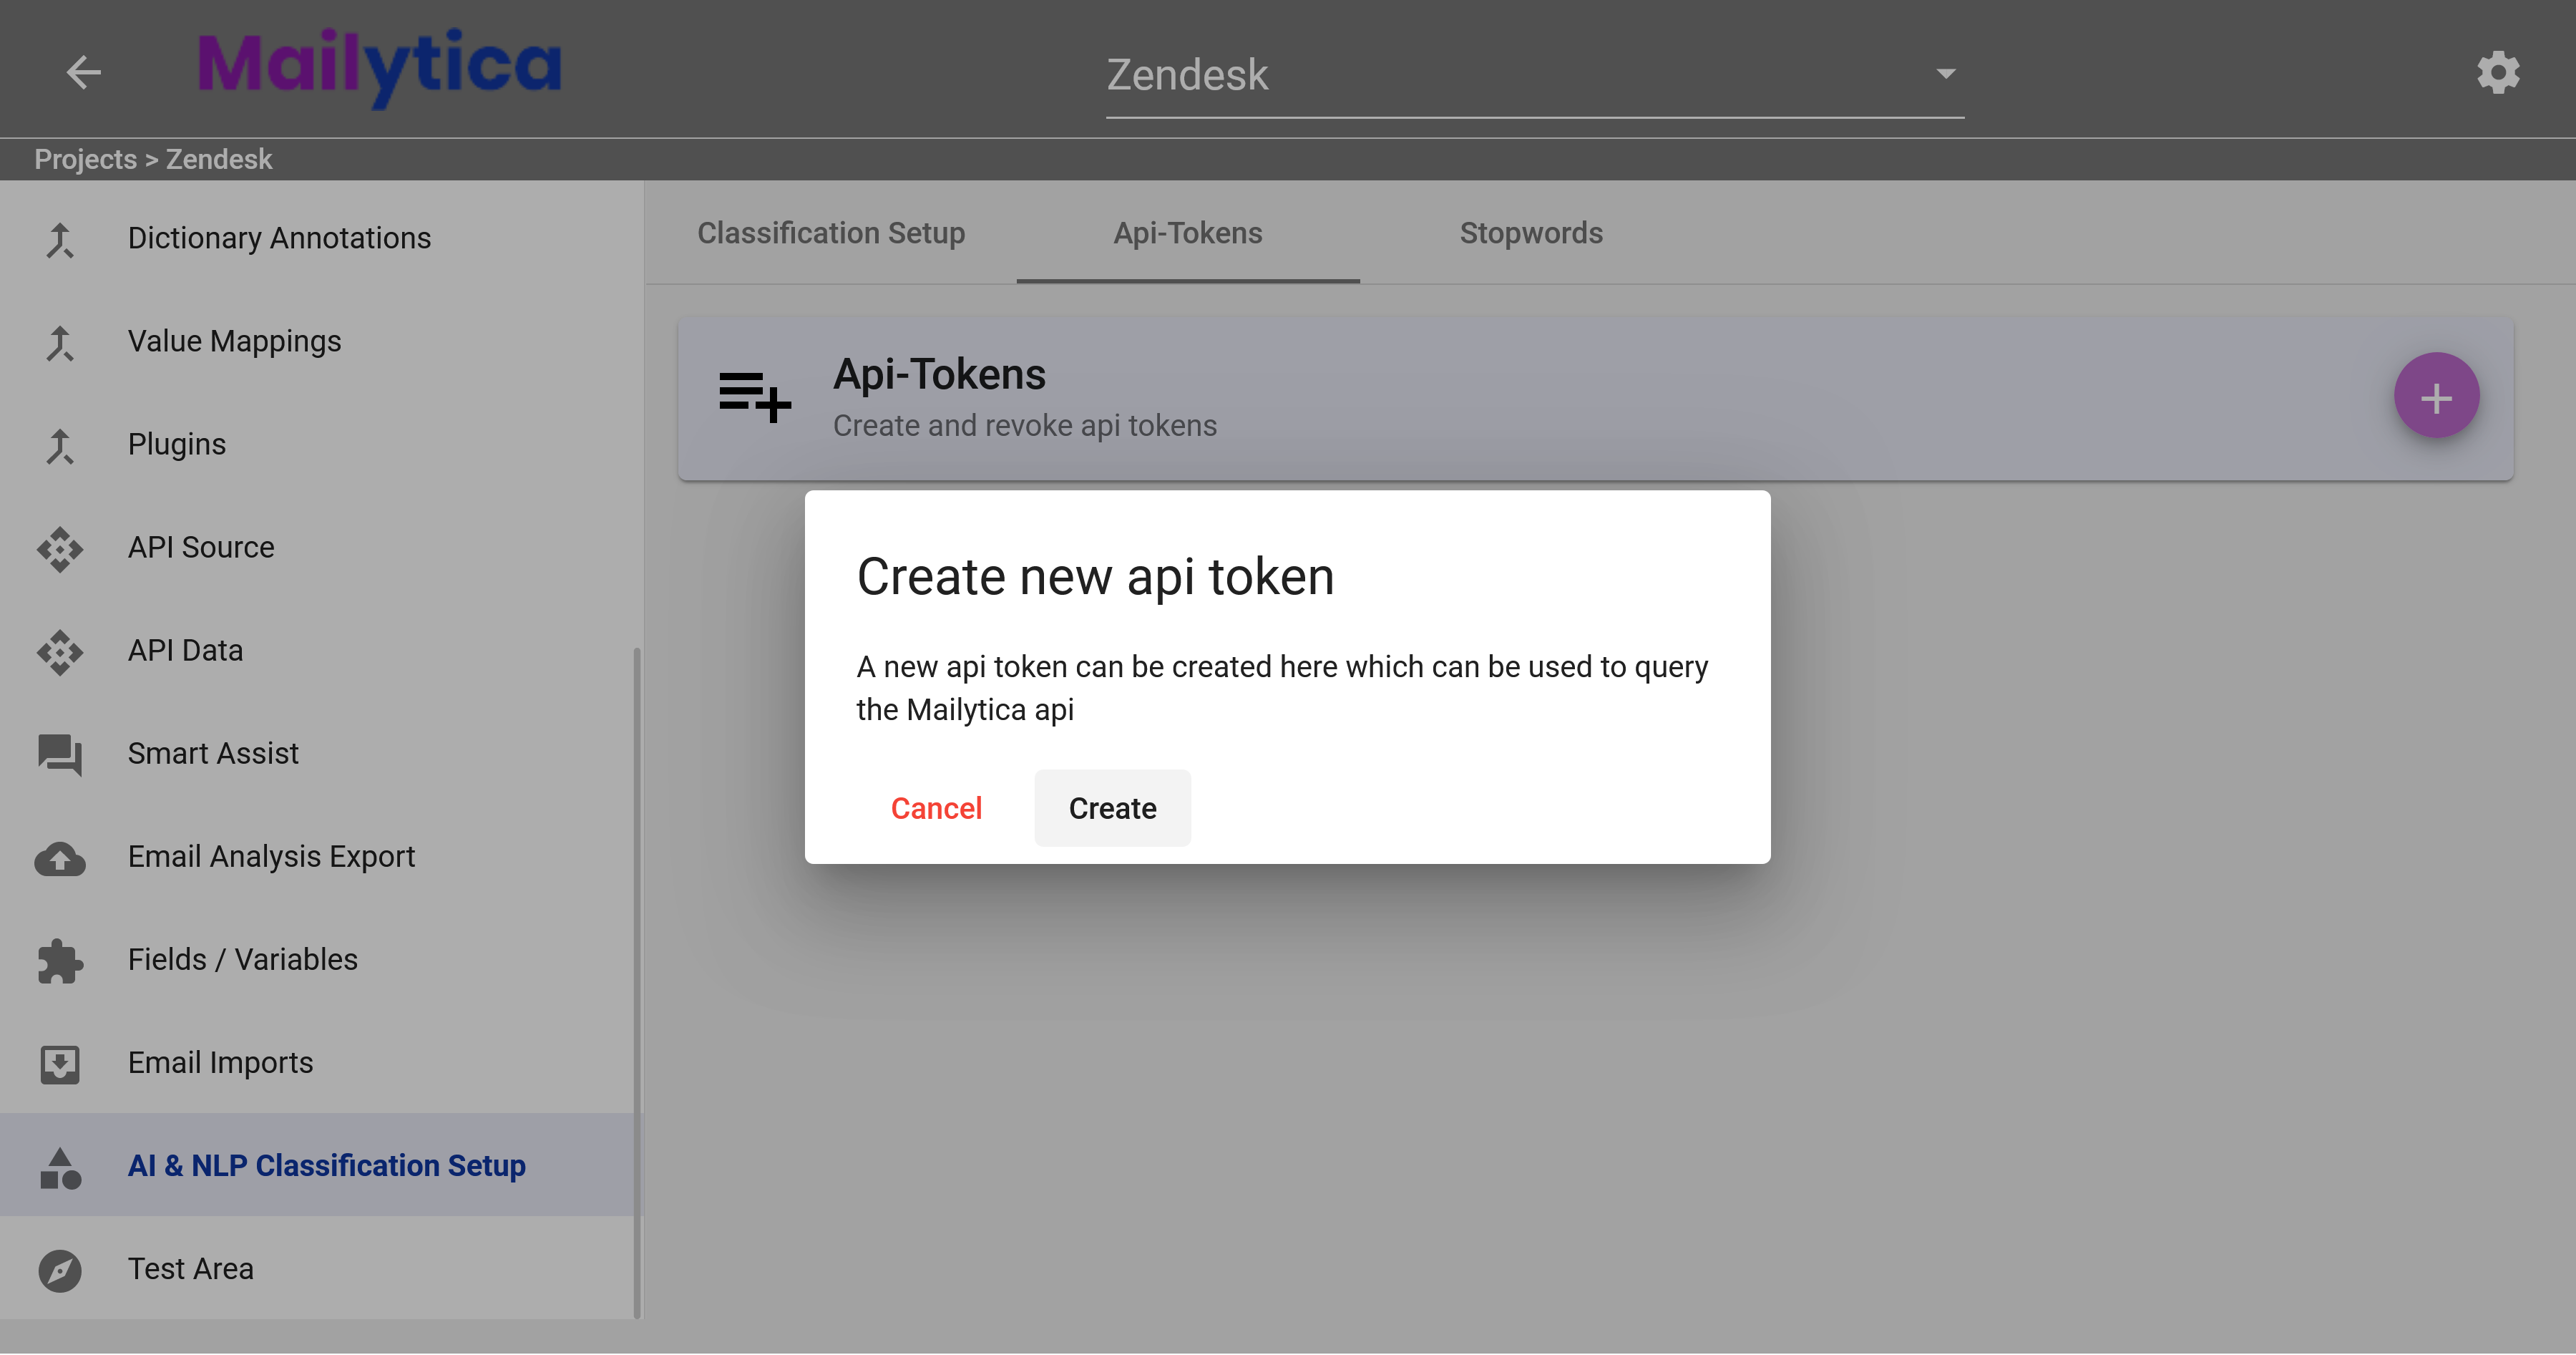
Click the button next to API-Tokens. A dialog box will appear. Click Create to generate your API token.
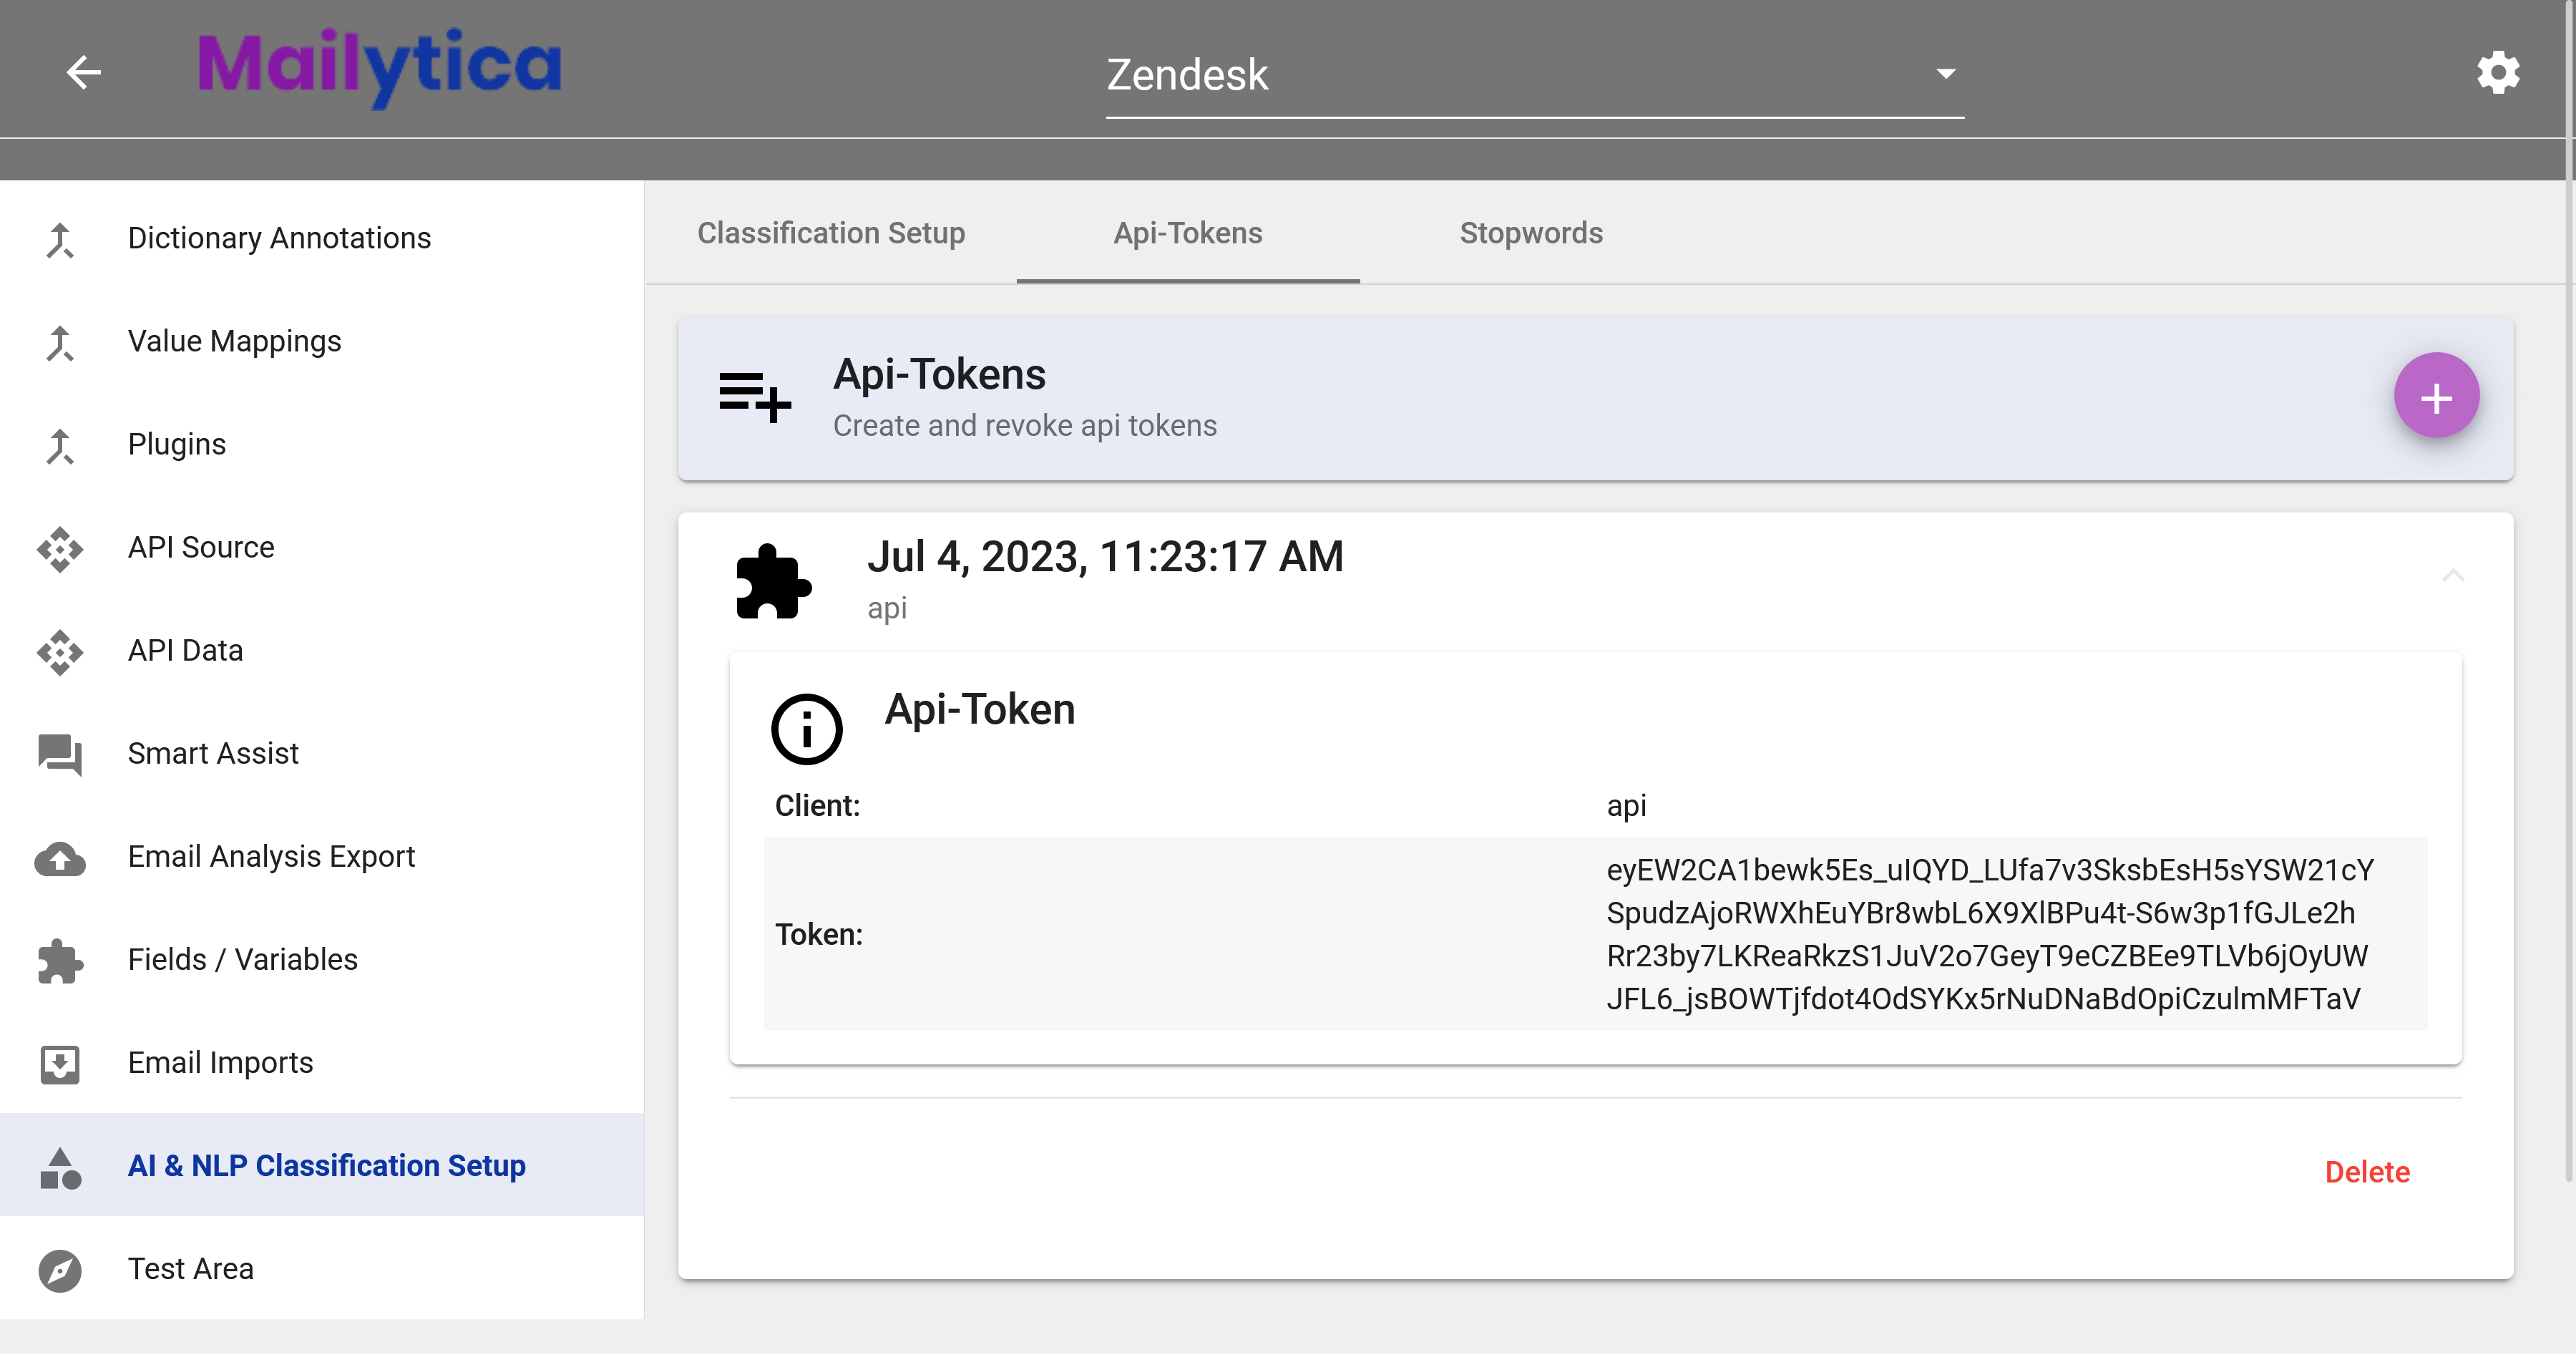
From the list, select the newly created token and copy it. You will need to paste this API token in Zendesk later.
Next, to install the Zendesk integration, follow these steps:
Log into your Zendesk account and navigate to the Admin Center.
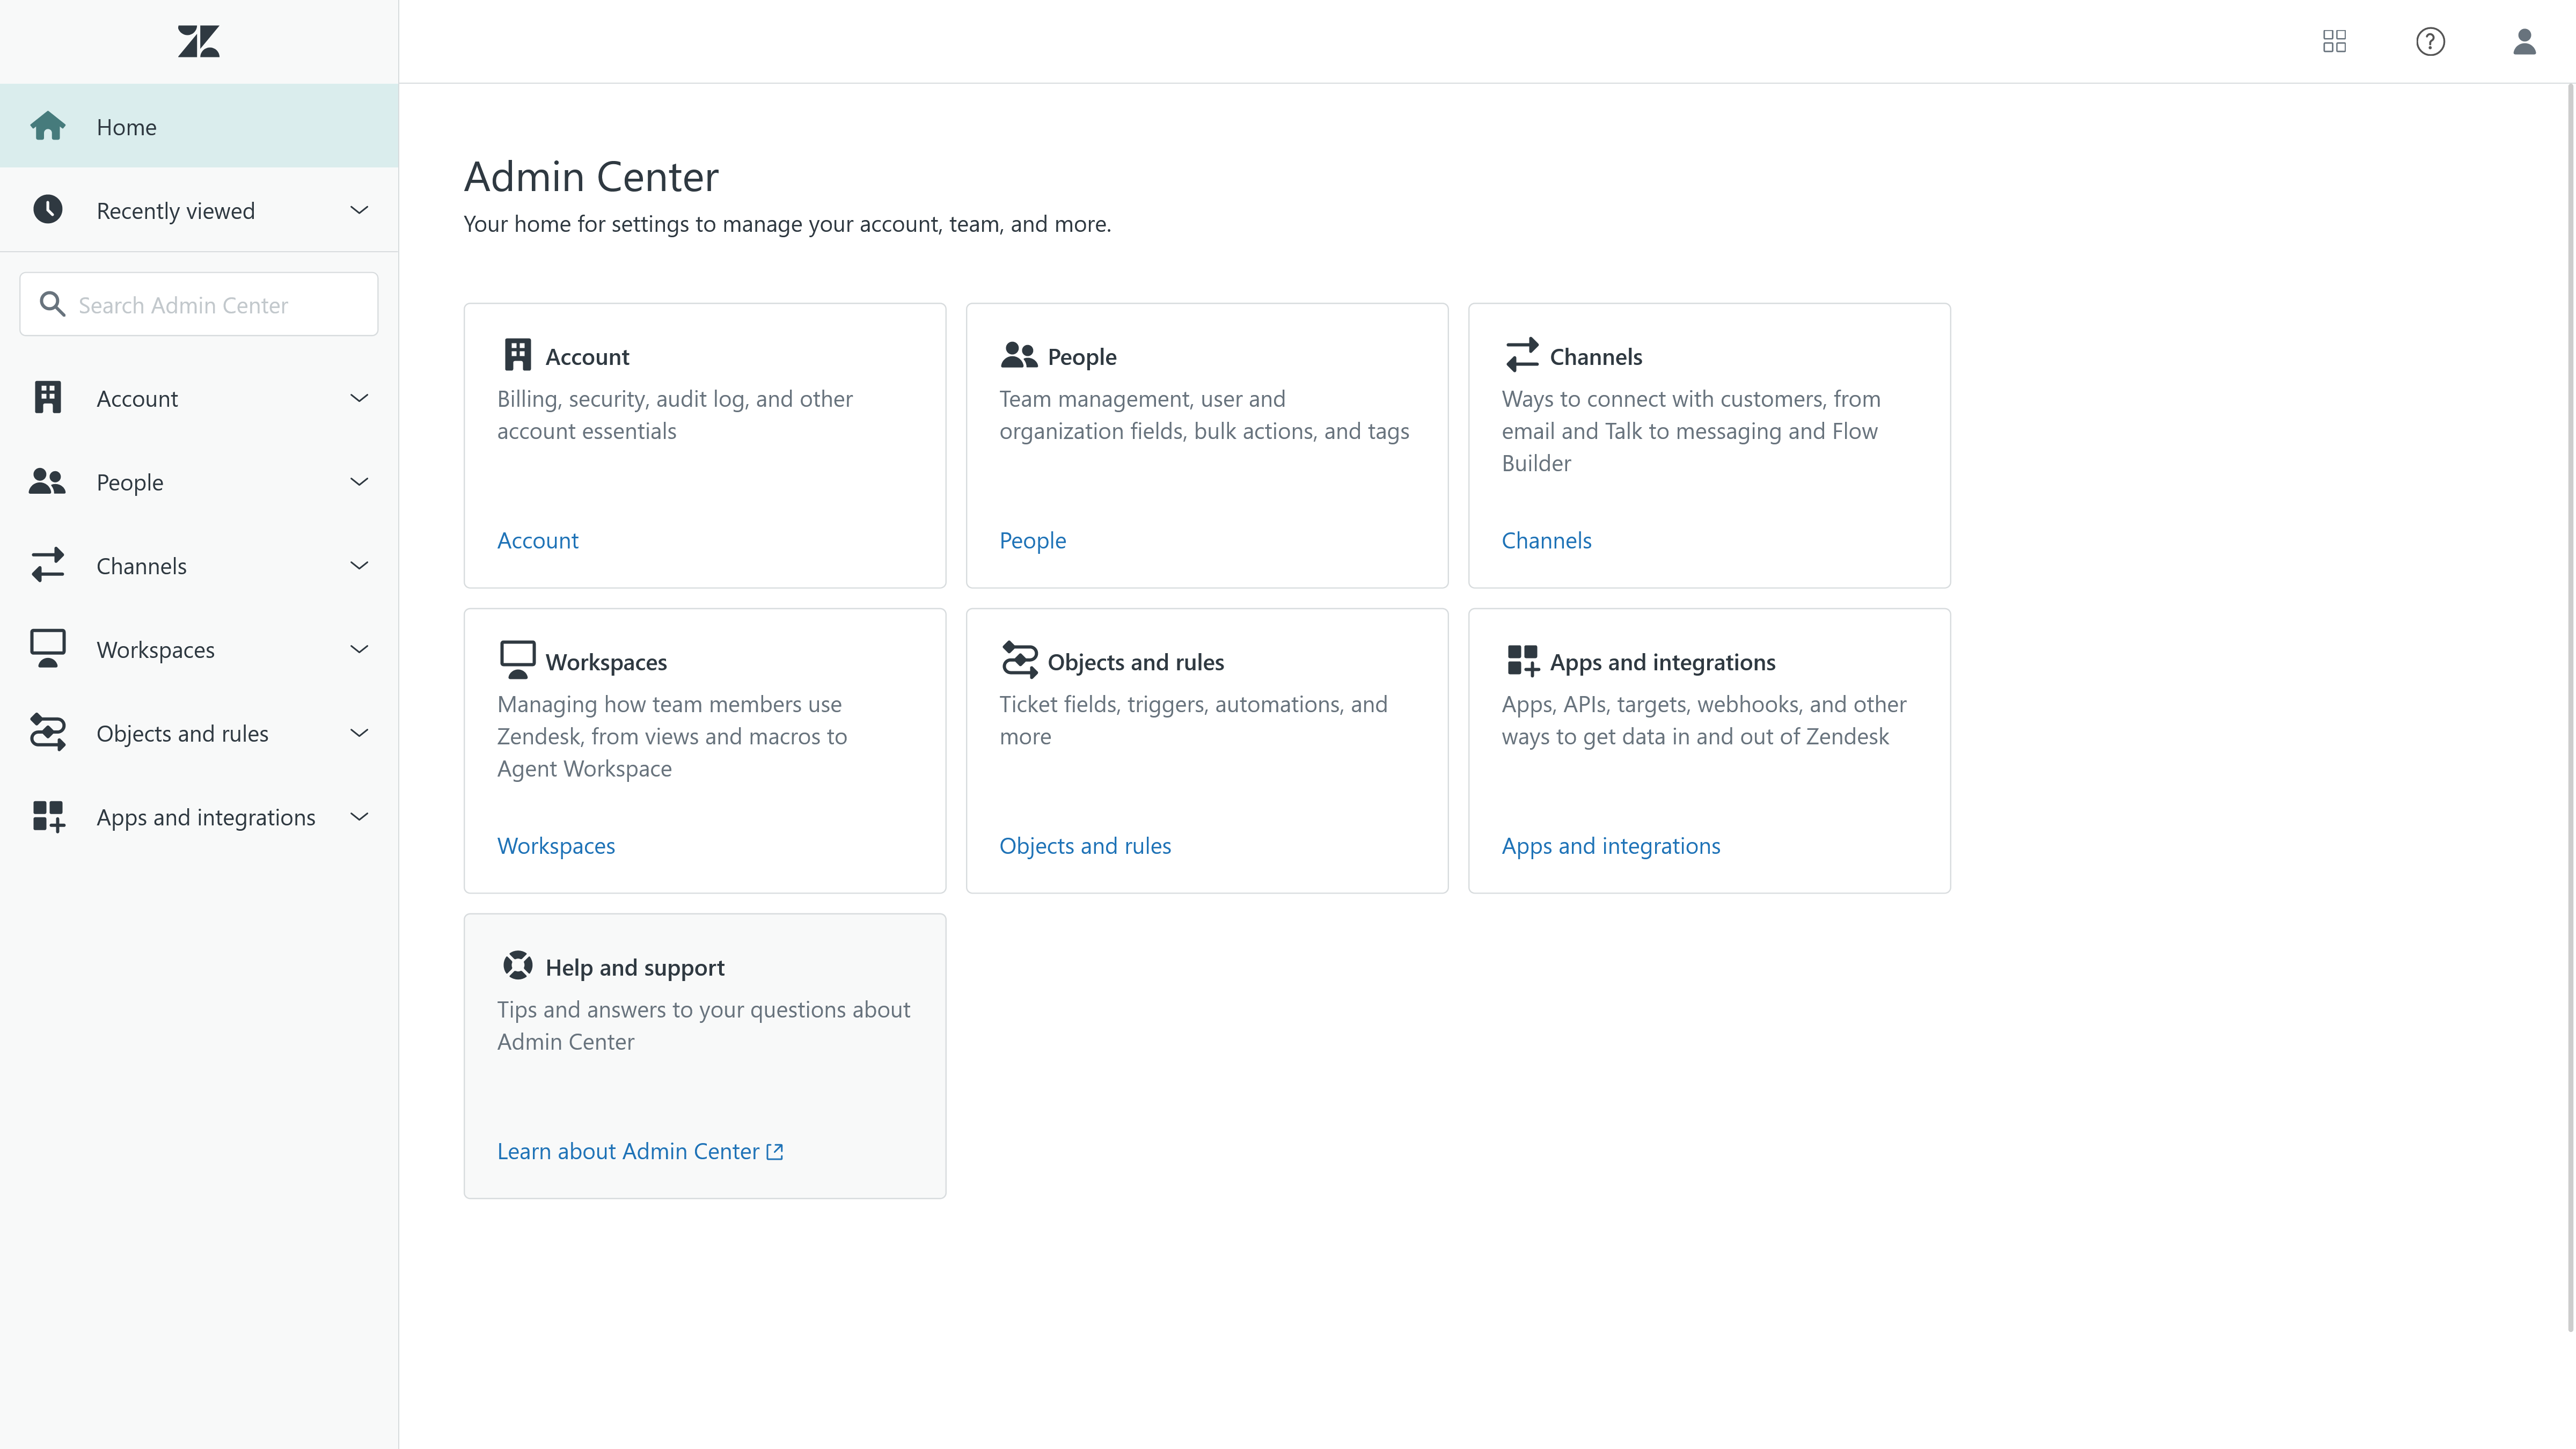
Click on Apps and Integrations and then select Zendesk Support Apps. Click the Upload Private App button at the top of the page.
Important
If you are unable to locate the Apps and Integration section in the Zendesk Admin Center, please ensure that your current Zendesk account has an active Professional subscription plan.
Access to certain features, including app installations and integrations, may be limited to specific subscription plans.
If you believe you should have access to these features but are encountering difficulties, please contact Zendesk support for further assistance.
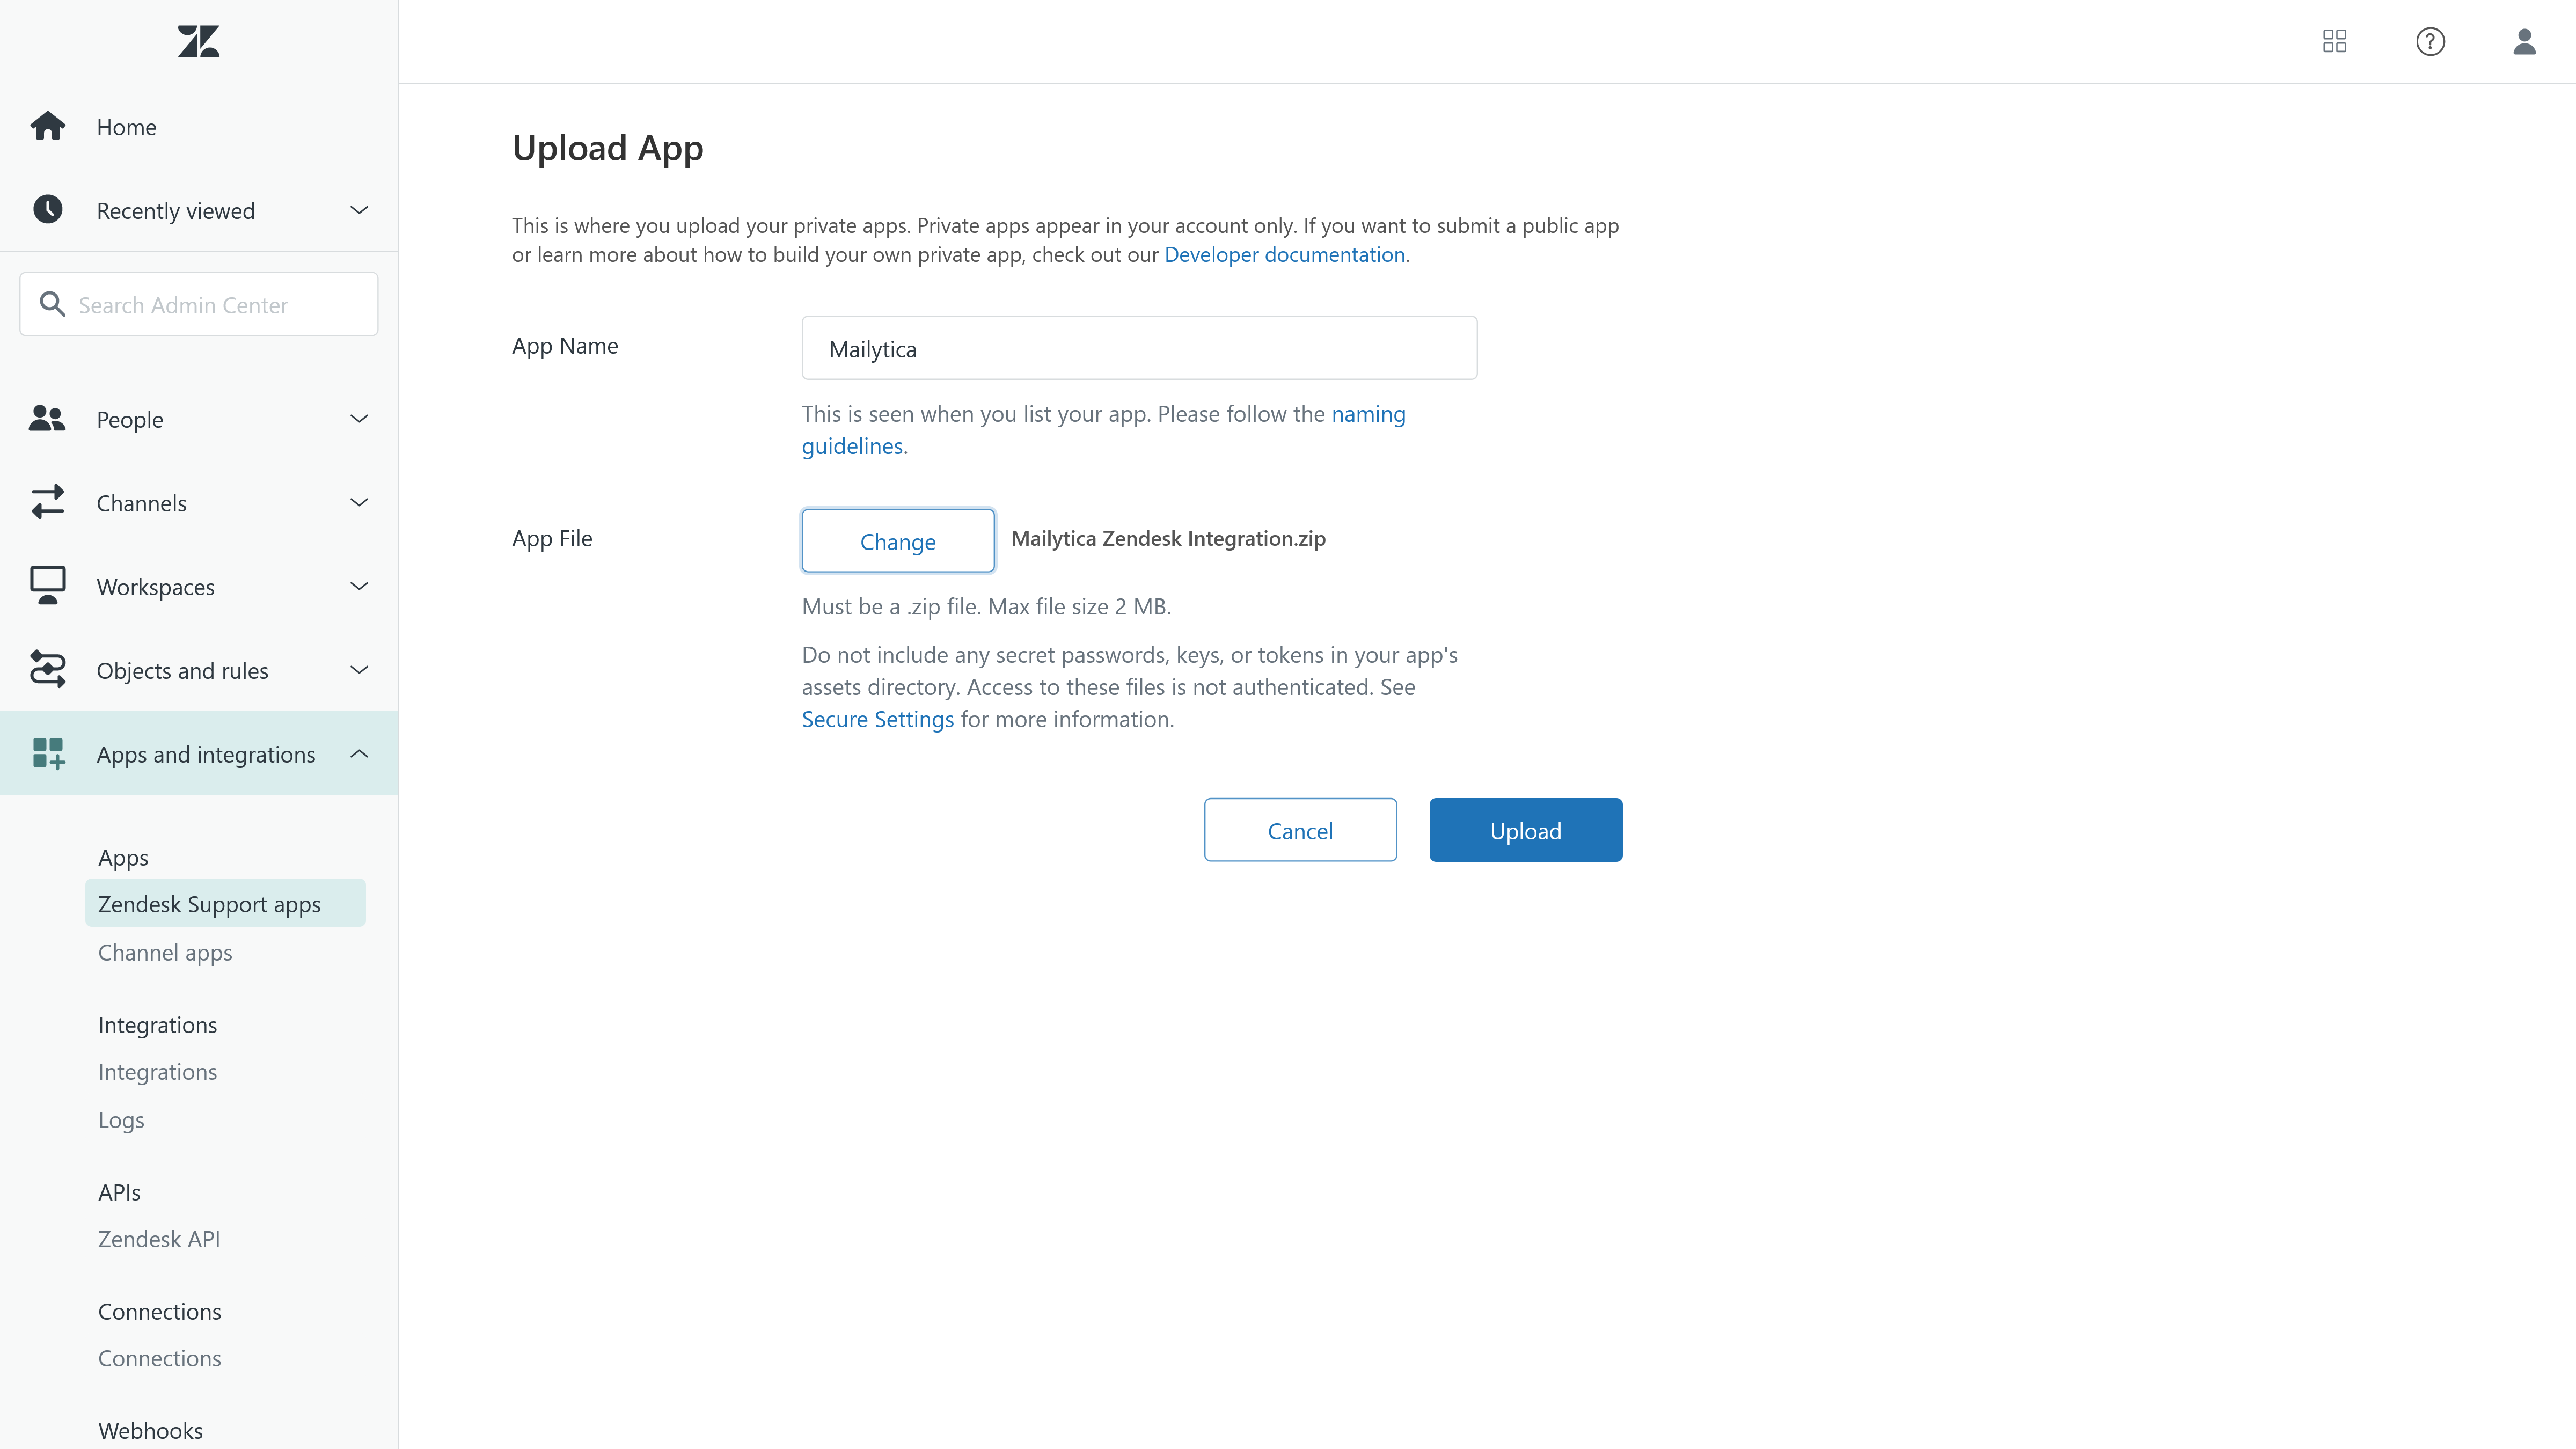
Next, in the App Name field write Mailytica, and in the App File field upload the installation file. Click Upload.
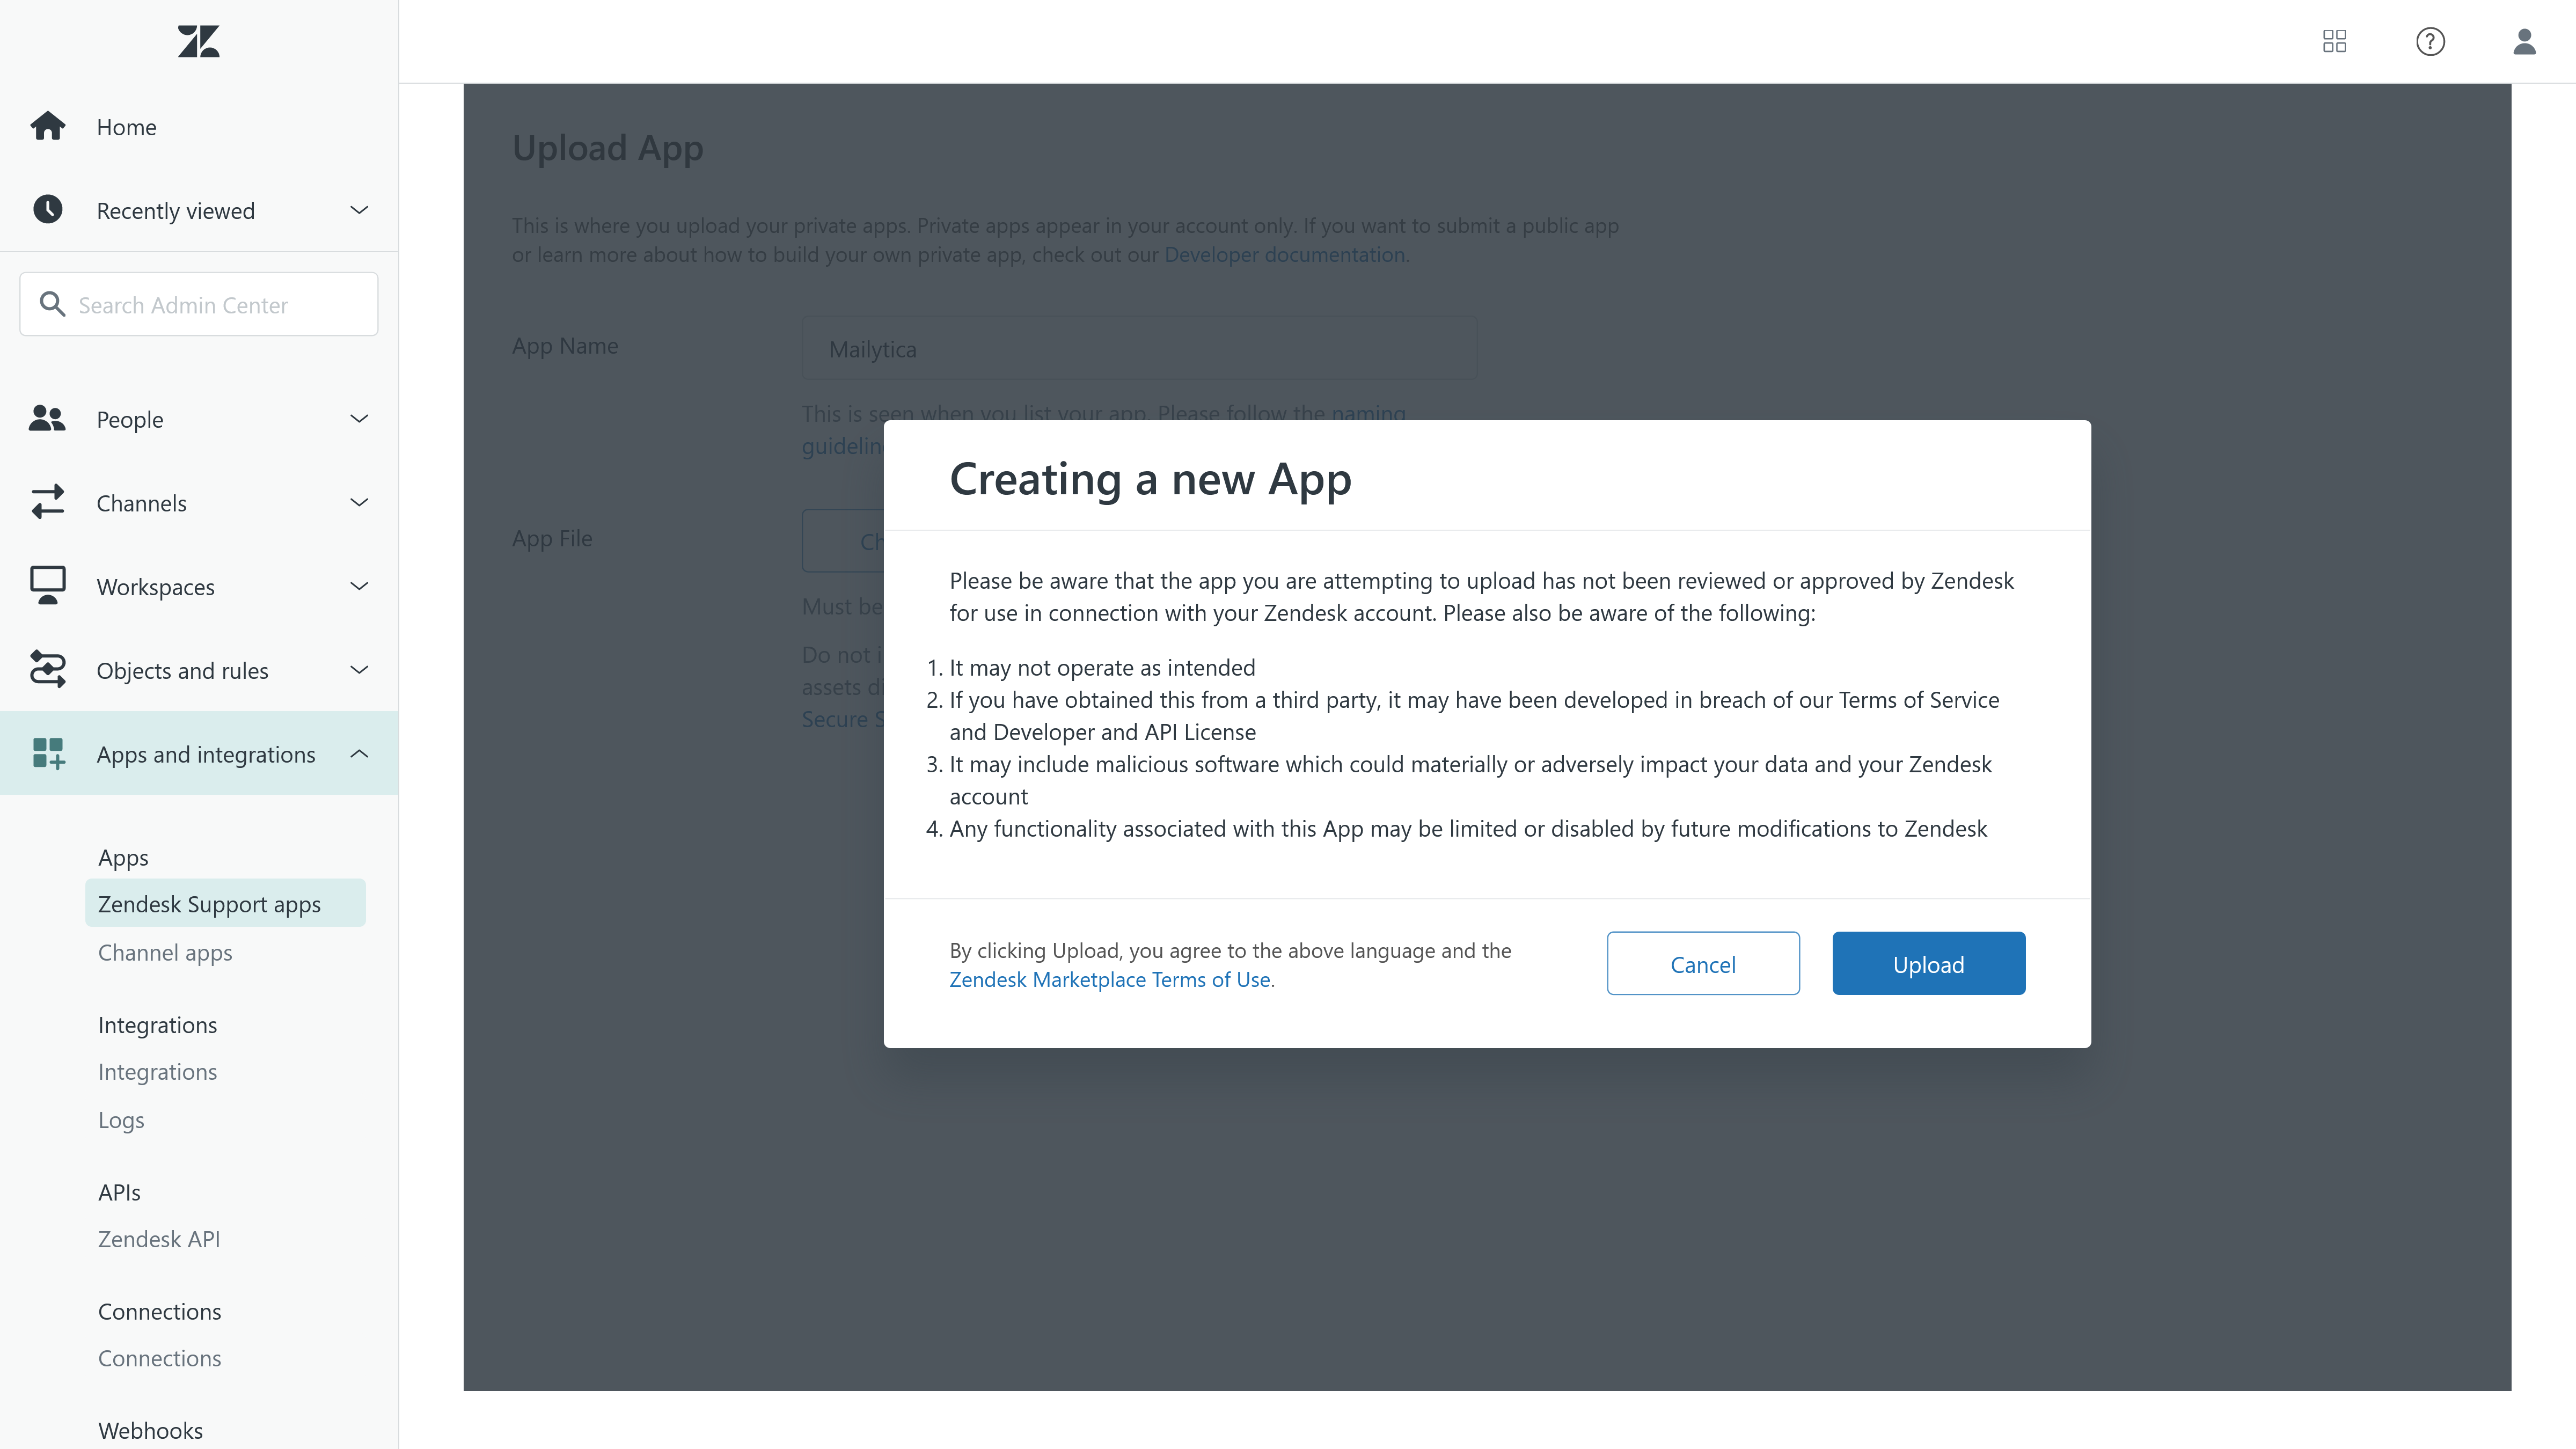
A new dialog box will appear, which includes Zendesk’s terms of service and a statement acknowledging that you are about to use an external application. Review these terms and proceed by clicking the Upload button.
After uploading, you will see a progress bar as the integration is installed. Once installed, you will need to paste the Mailytica API token in the Api-Token field.
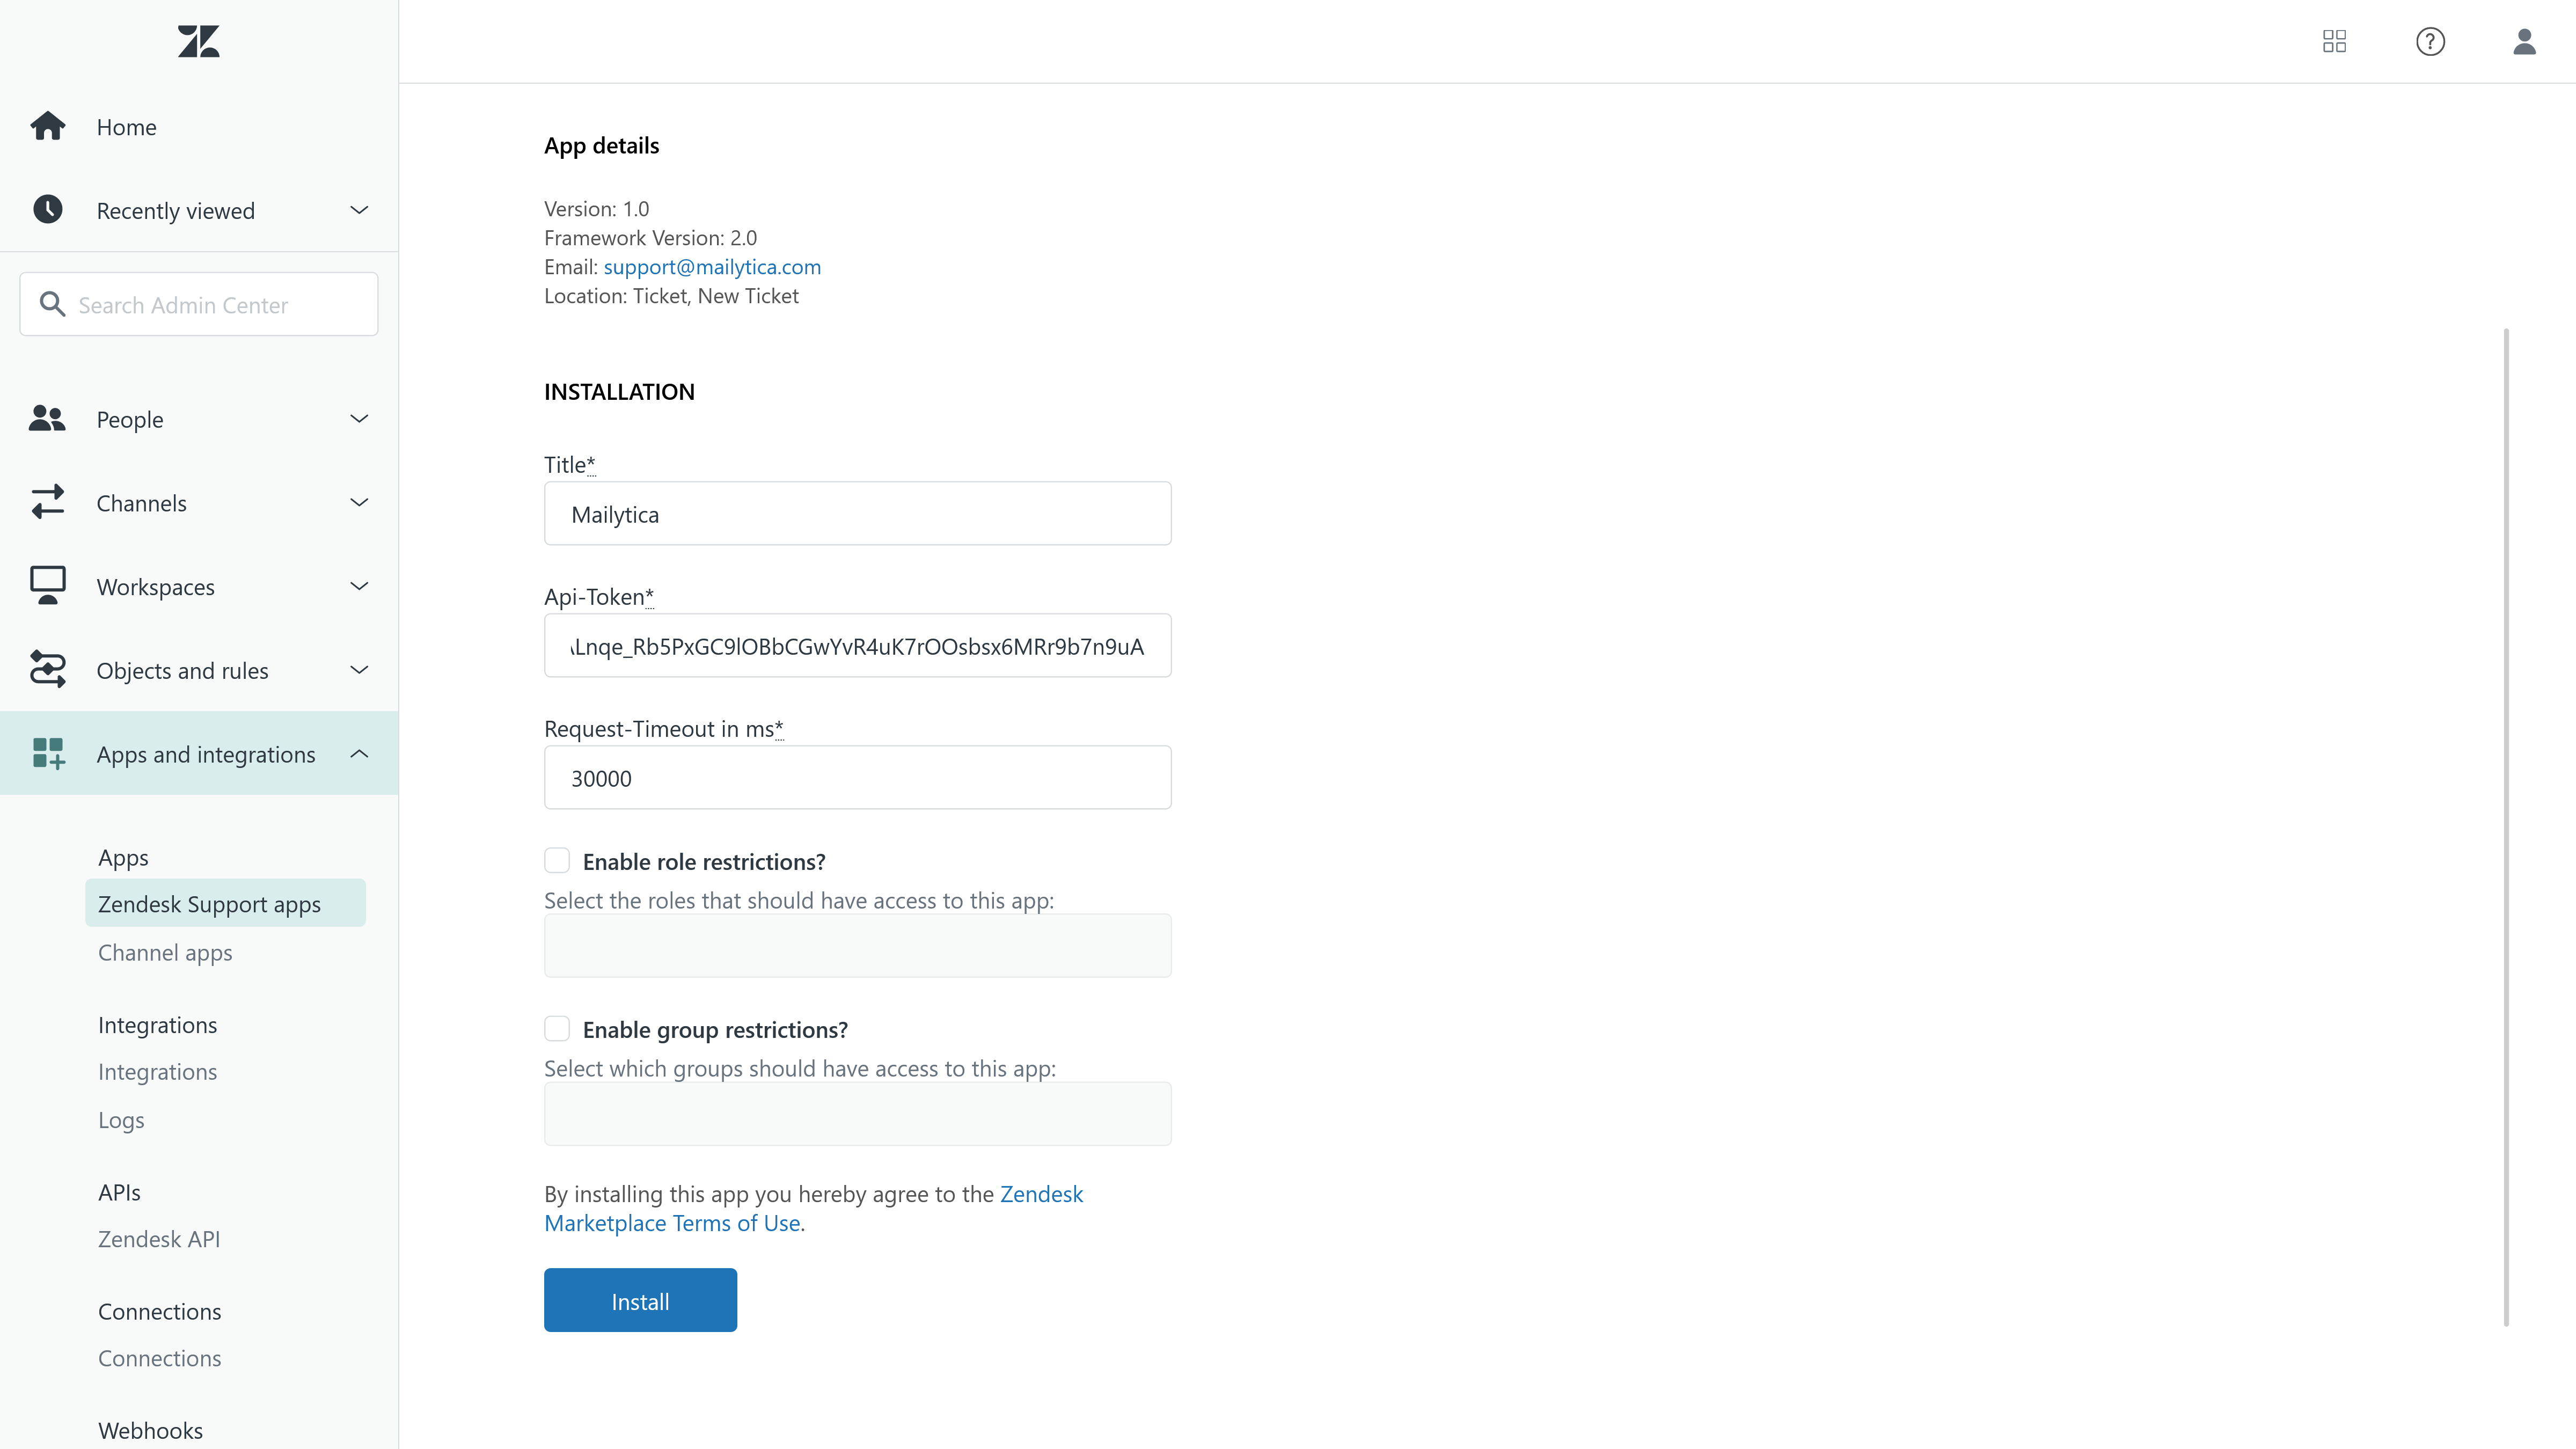
Click Install and you will see a Successfully Installed message appear.
Zendesk Configuration#
Before you can begin using the Zendesk integration, it is important to configure your Projects and Smart Responses in your Mailytica account at mailytica.ai. This will not only streamline the setup process, but also ensure that you are fully prepared to use the integration immediately after installing it.
After opening the application, Mailytica will be able to process tickets in your Zendesk portal. Since you have already added your Mailytica API token into Zendesk’s Admin Center, there is no need for additional login or project configuration steps in Zendesk.
Important
Projects should be created beforehand in Mailytica’s Online Platform (mailytica.ai).
For more information on how to add and configure projects, please visit the Projects section.
To find the Mailytica integration in the Zendesk portal, simply select the ticket that you wish to reply to. On the right side of the screen you will find the Mailytica Zendesk Integration.
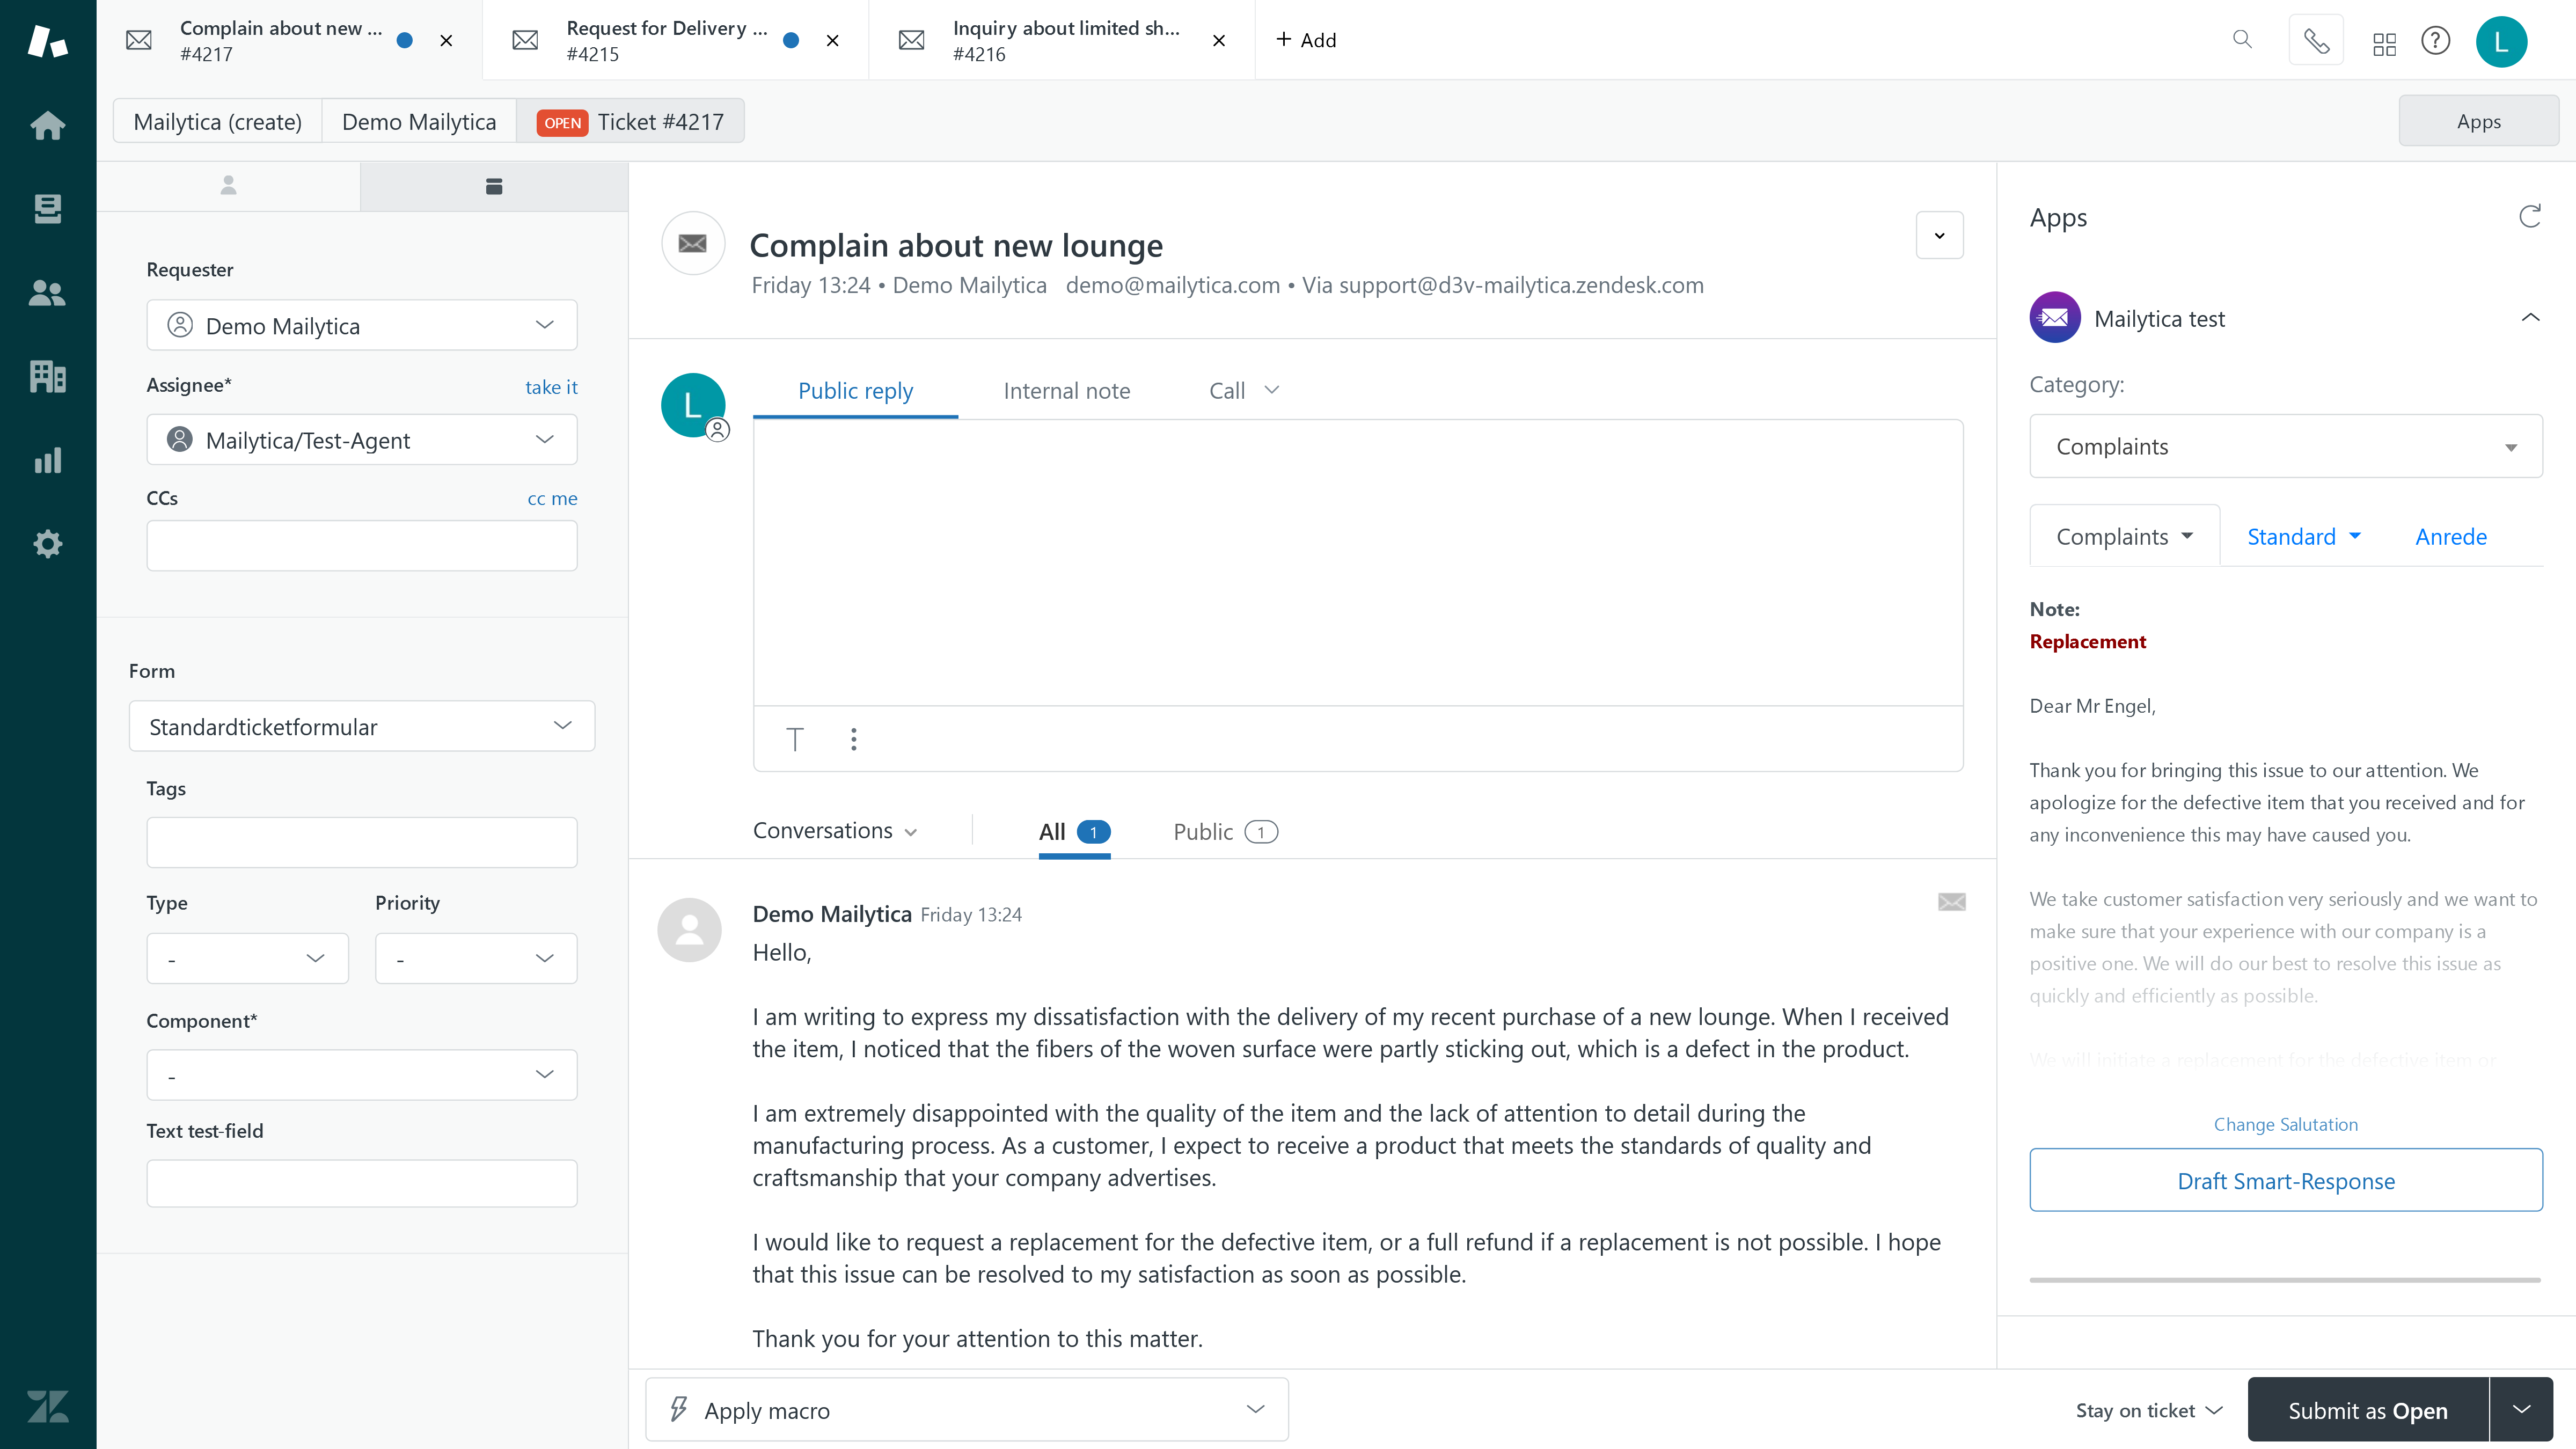
If you’ve already created topics and models for the selected project, then Mailytica will automatically assign a topic to each ticket and propose an appropriate Smart Response.
Tip
If you have not created topics, models, or Smart Responses in your project yet, you can create them by following the instructions in the Configuration section.
Using Mailytica’s Zendesk Integration#
Draft Smart Responses#
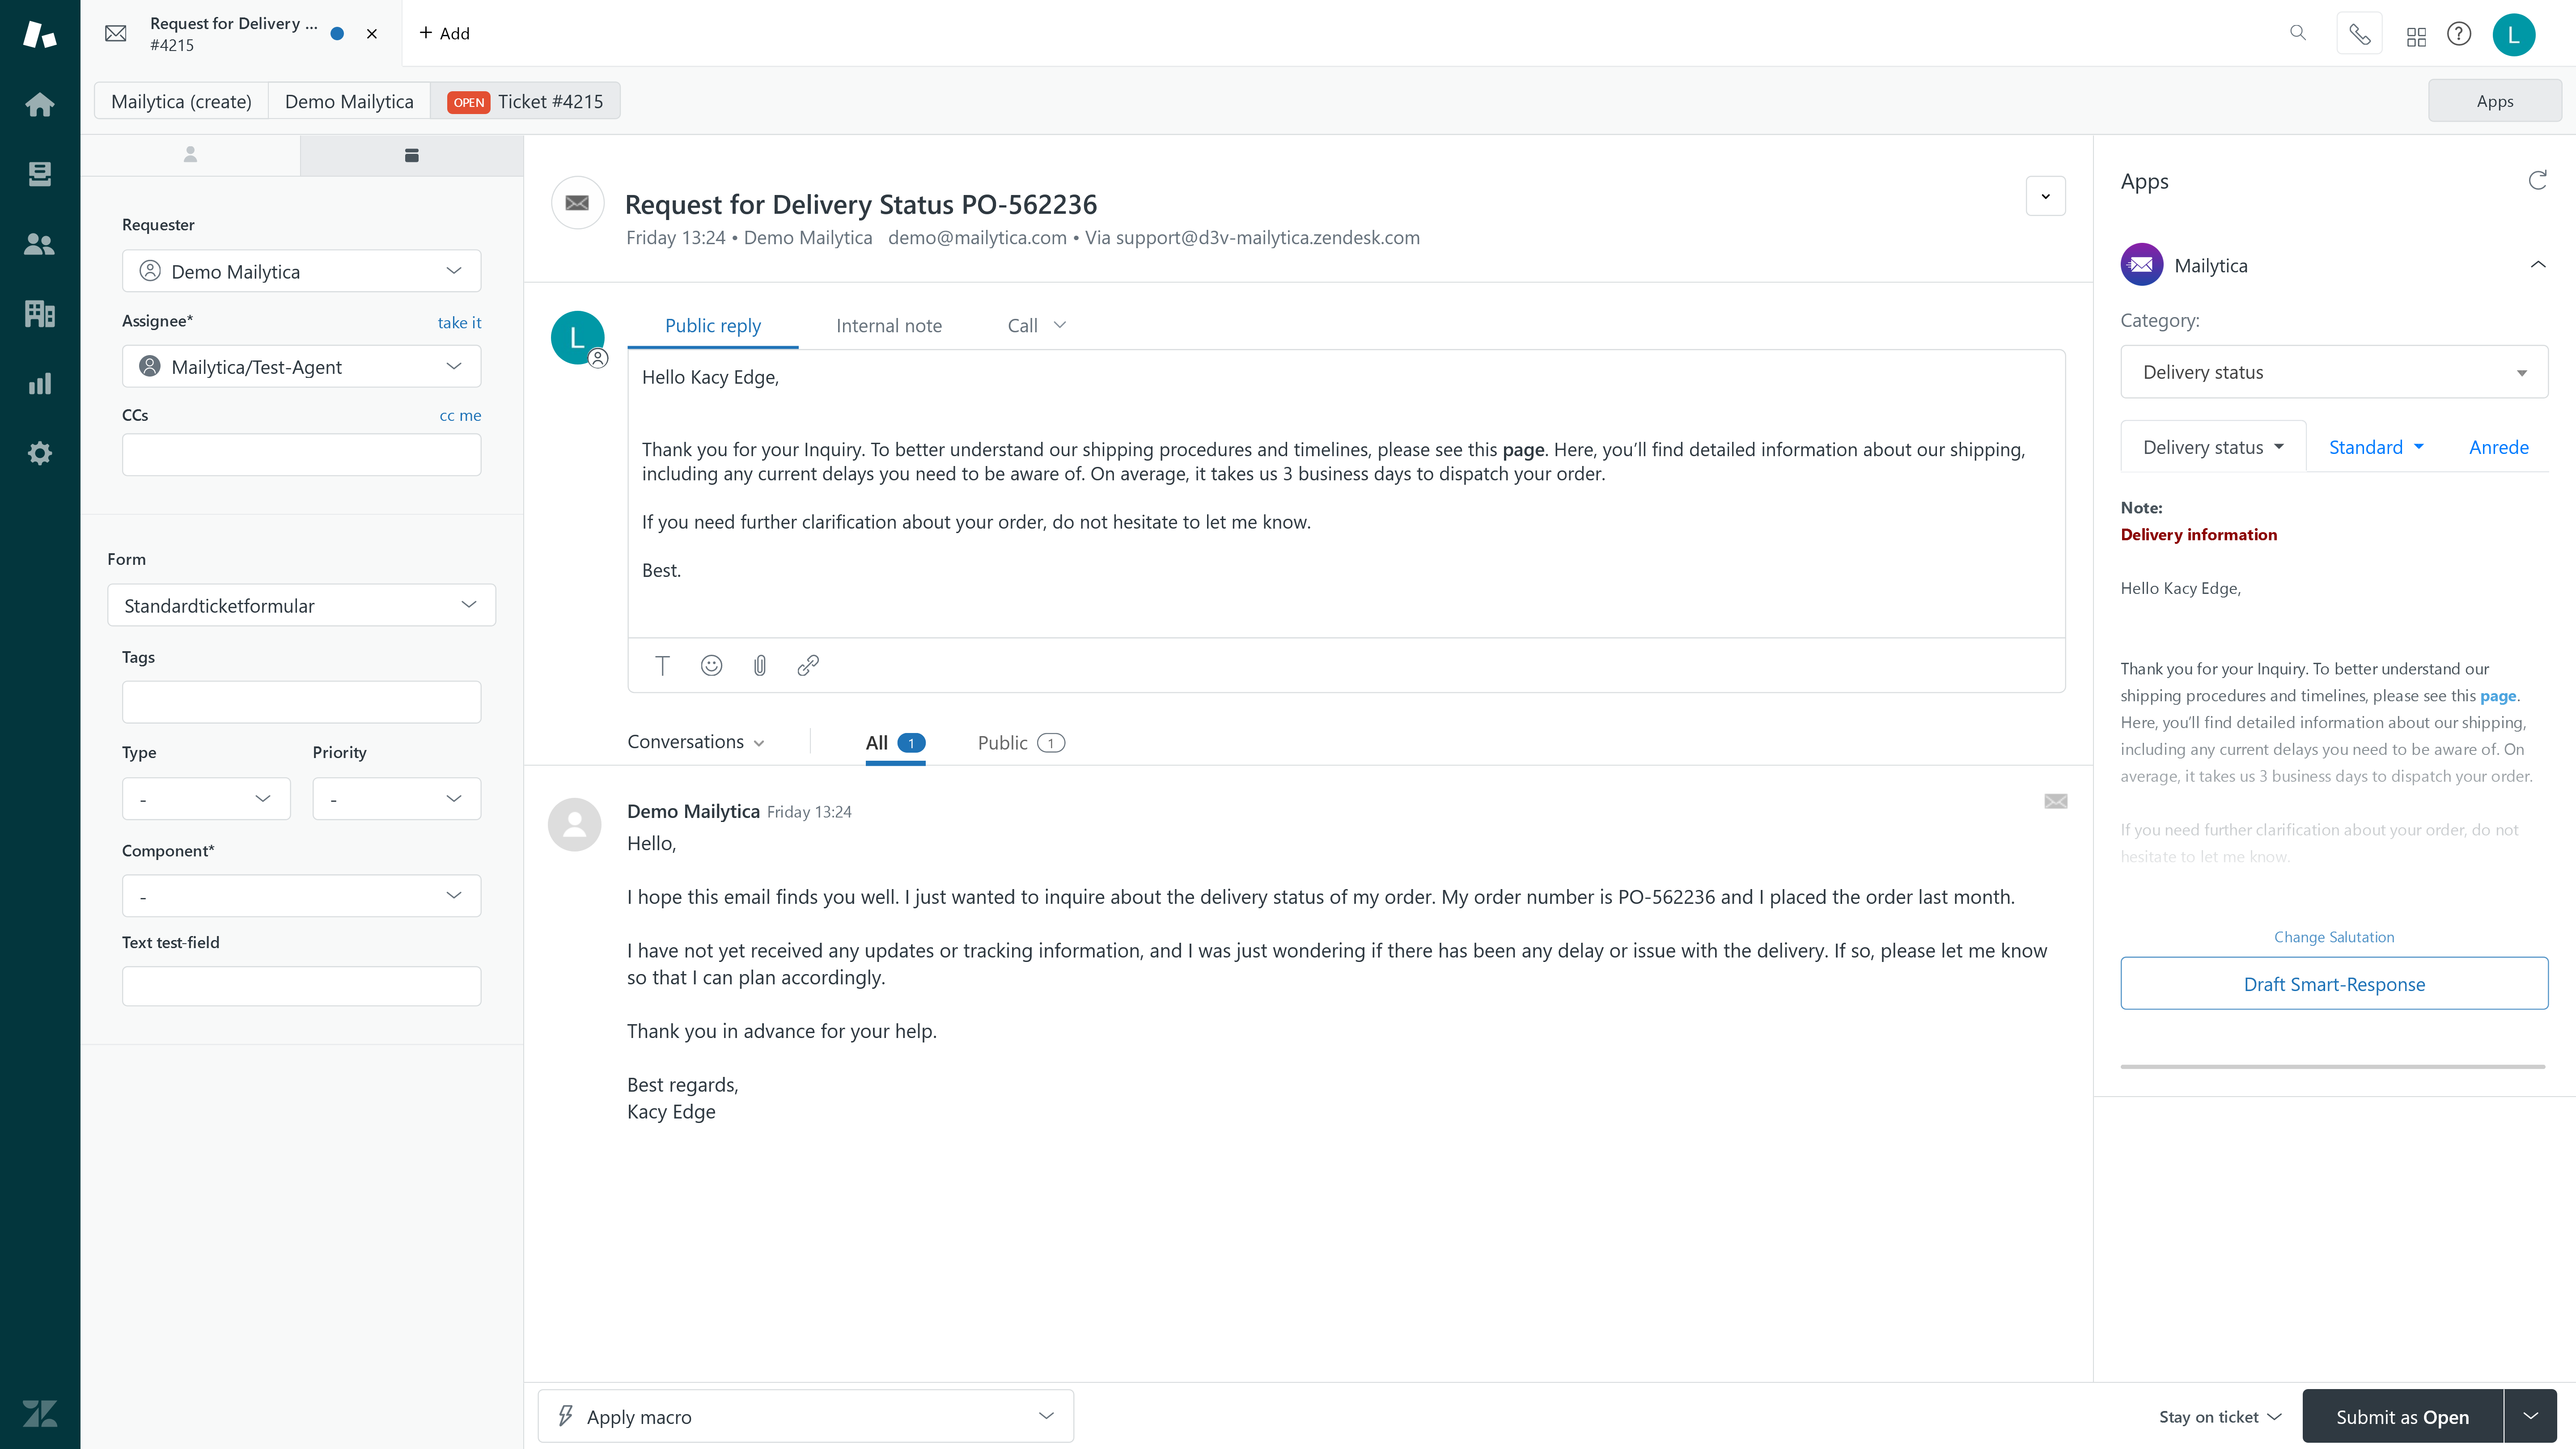
To use Mailytica’s Zendesk integration, first select a ticket in your Zendesk portal. You will find Mailytica on the right-hand side of your screen.
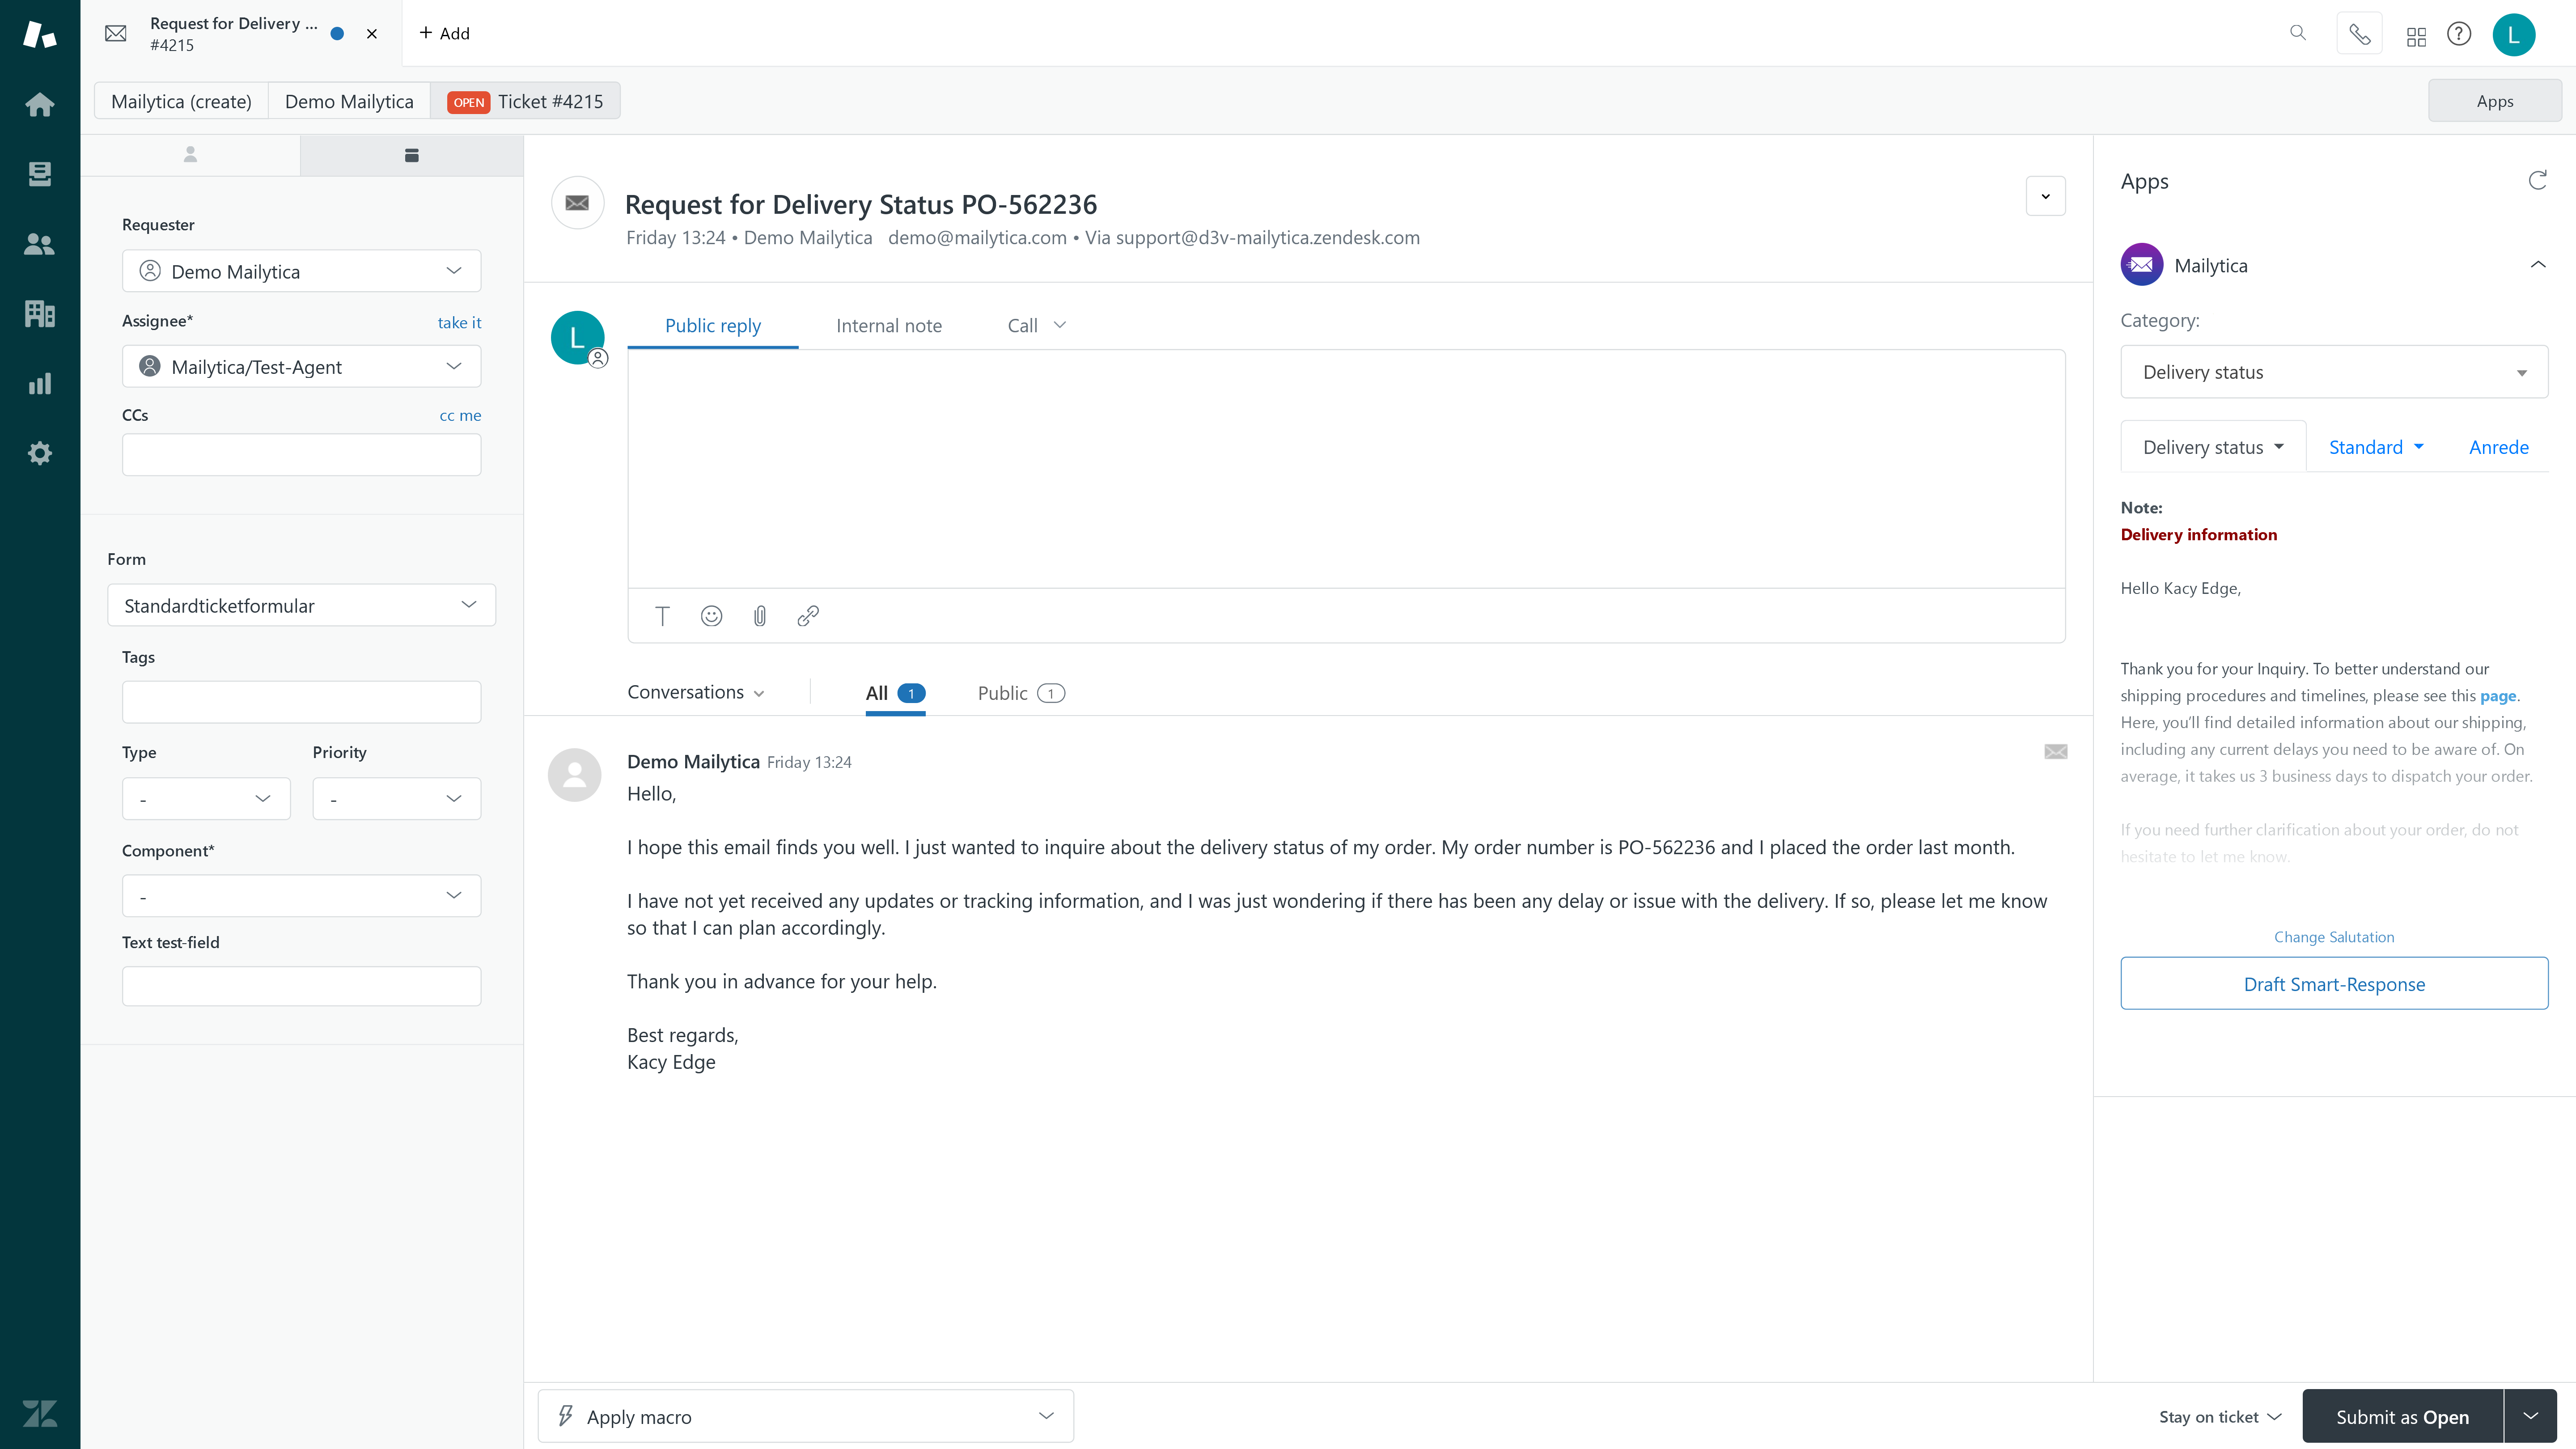
Under Category, Mailytica will assign a topic to the ticket depending on its content. By using topics and the underlying AI classification, you can automate recurrent customer requests. For example, if you receive a ticket from a customer asking to make a return, then Mailytica will automatically classify it as Return requests. You can also classify your tickets manually by using the dropdown menu to choose a category.
Important
Topics, models, and Smart Responses should be created beforehand in Mailytica’s Online Platform (mailytica.ai).
Depending on the topic, Mailytica will suggest a relevant Smart Response, which will be displayed in the integration. Smart Responses allow you reply to tickets with pre-defined messages. If you have multiple Smart Responses, simply select the one you need from the dropdown menu.
Click the Draft Smart Response button to reply to the ticket. If you need to adjust the message, simply add the necessary changes and then send it to your customer.
Change Salutation#
Mailytica assigns the correct salutation to incoming tickets based on the sender’s name and gender (Dear Mrs. Jones, Dear Mr. Jones). Usually the salutation will be automatically provided by Mailytica, however you can also customize it directly from the Zendesk integration.
To change the salutation assigned to a particular customer, first select a ticket in your Zendesk portal. You will find Mailytica on the right-hand side of your screen.
Click on the Change Salutation button. This will open a pop-up field where you can write the new preferred salutation.
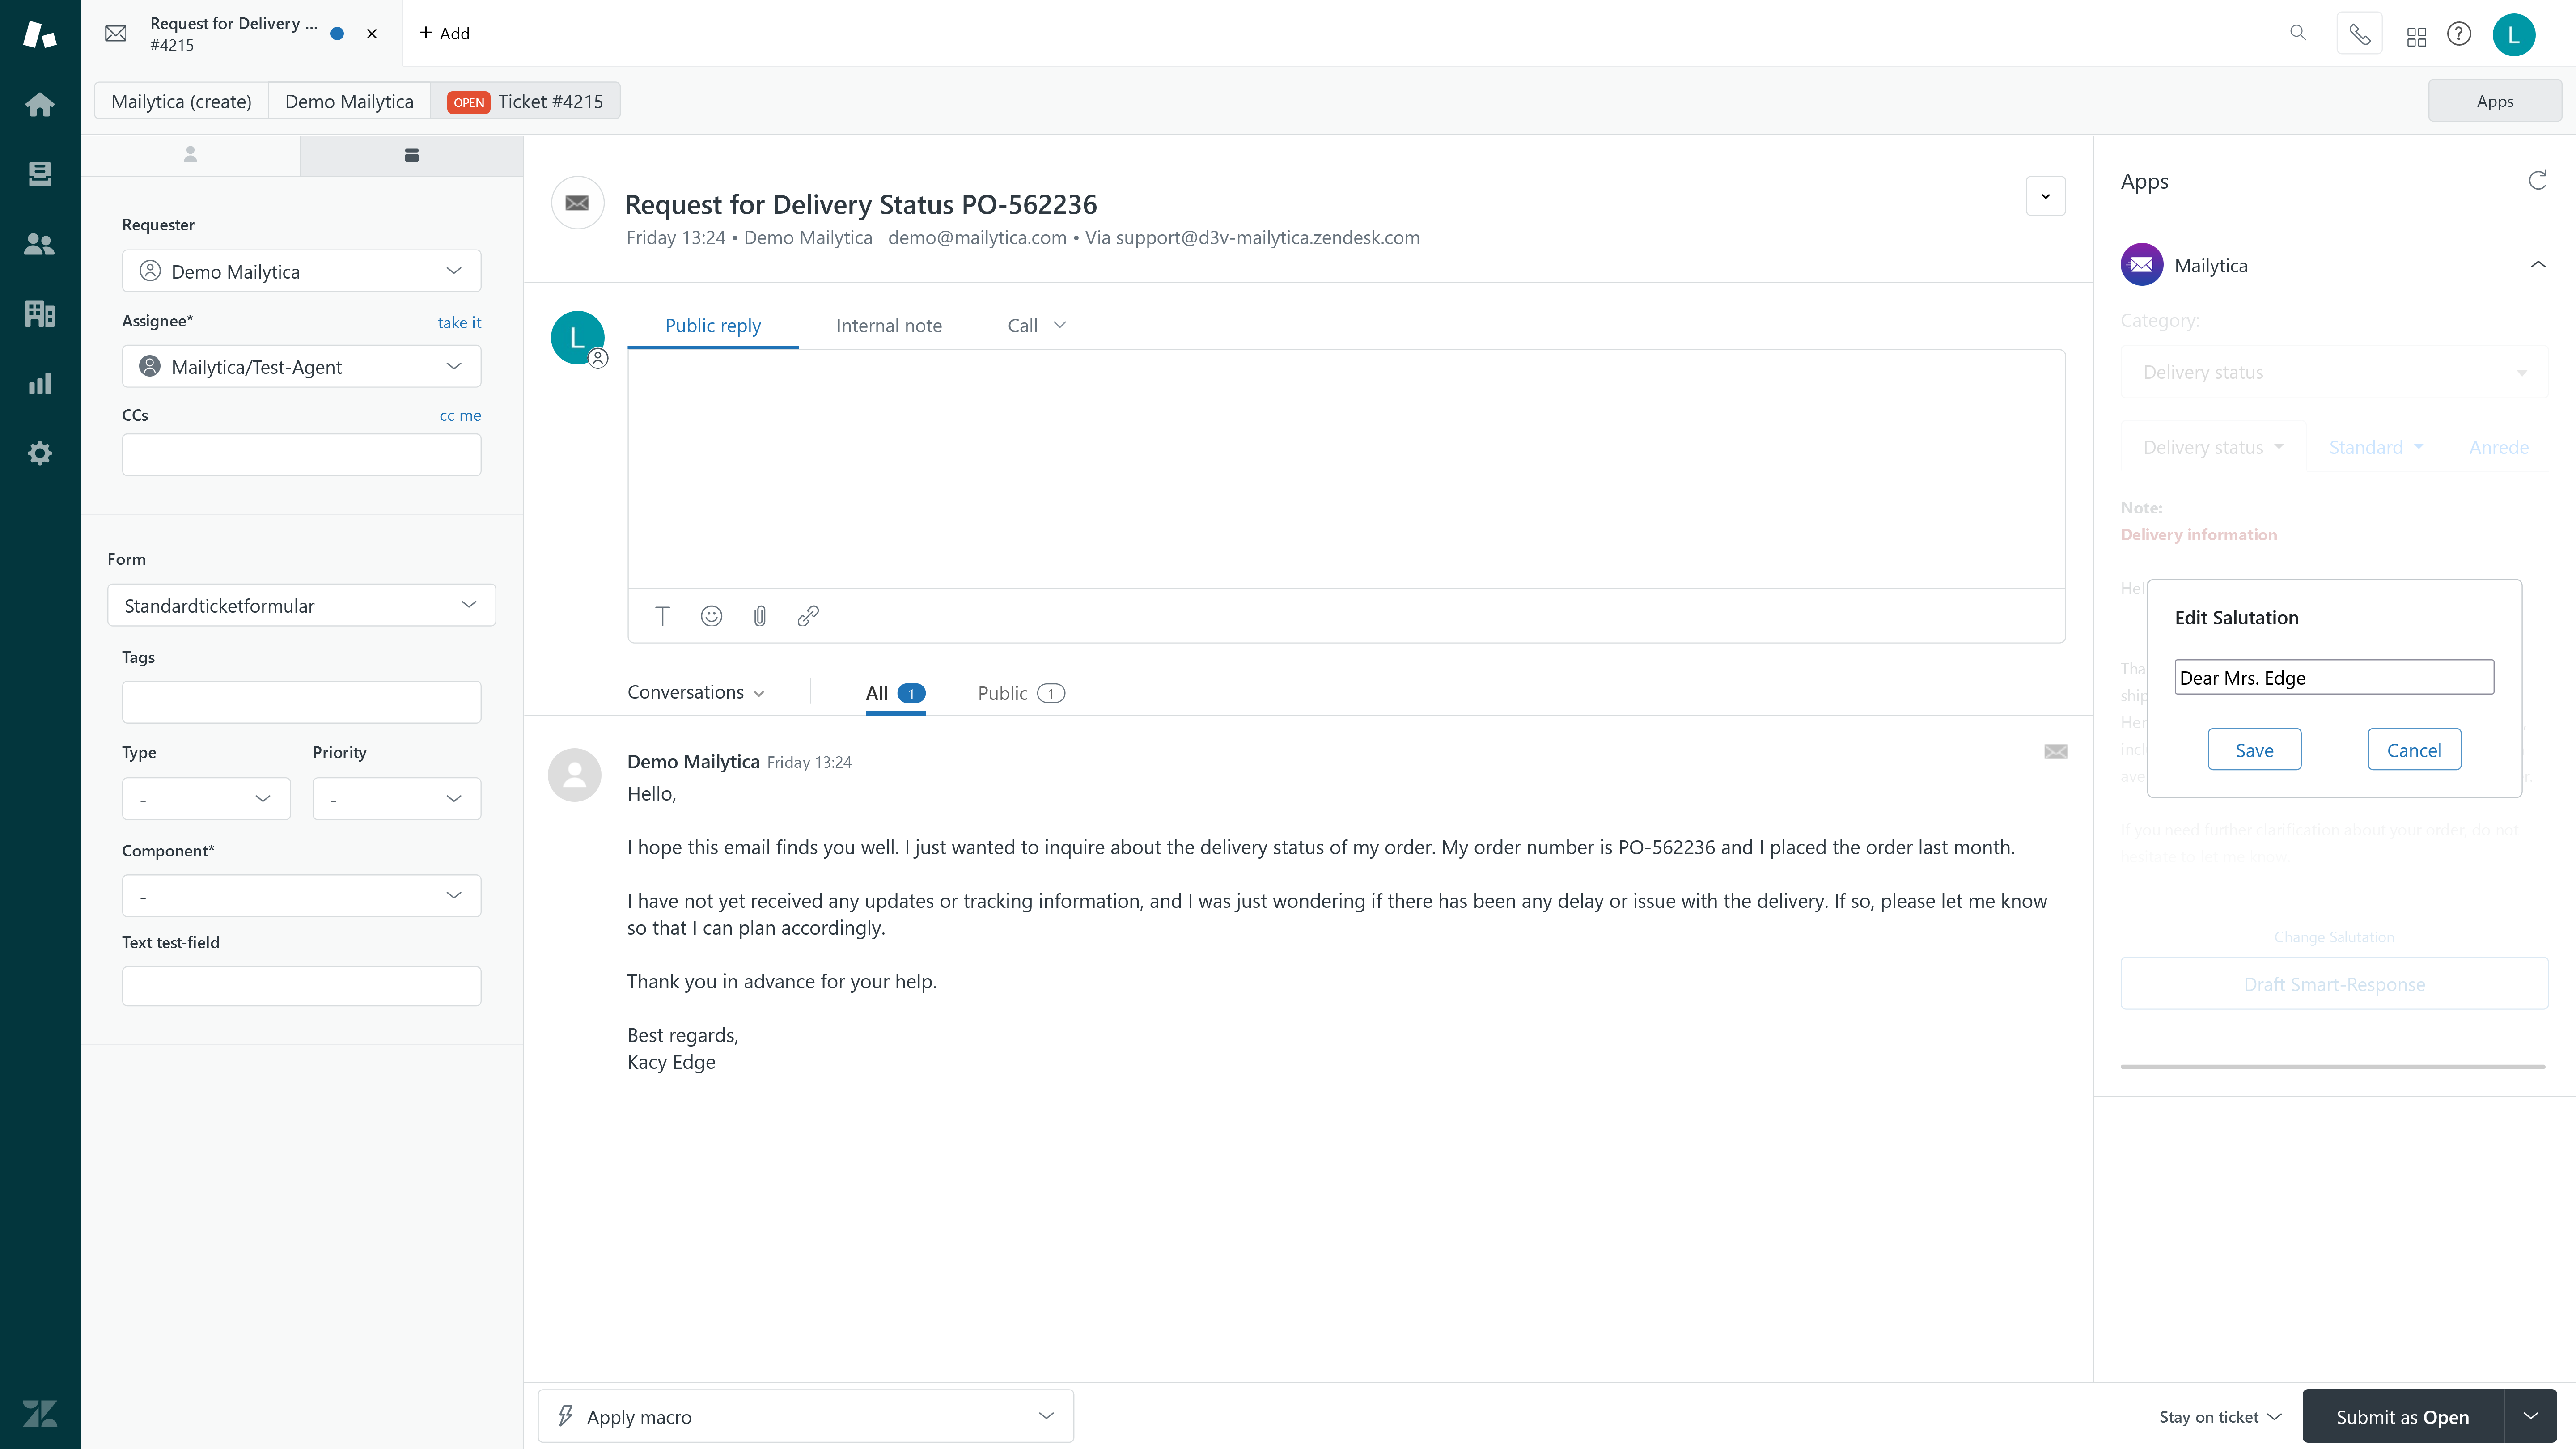
Once you have written it, click Save and your new salutation preferences will be stored for that customer.