Outlook#
Mailytica’s Outlook Integration incorporates Mailytica’s features straight into your Outlook desktop app. For instance, you can reply to emails using Smart Responses, or automatically move messages to different folders for a more organized inbox.
You can also enable a range of custom features according to your needs. For example, you can add API functionalities to transfer information to a third-party application or execute a workflow according to the message’s content.
Outlook Setup Files#
Before installing, it is necessary to check your Outlook desktop app version. First, in your Outlook desktop app, click File, then click Office Account in the bottom left corner.
Click to show screenshot
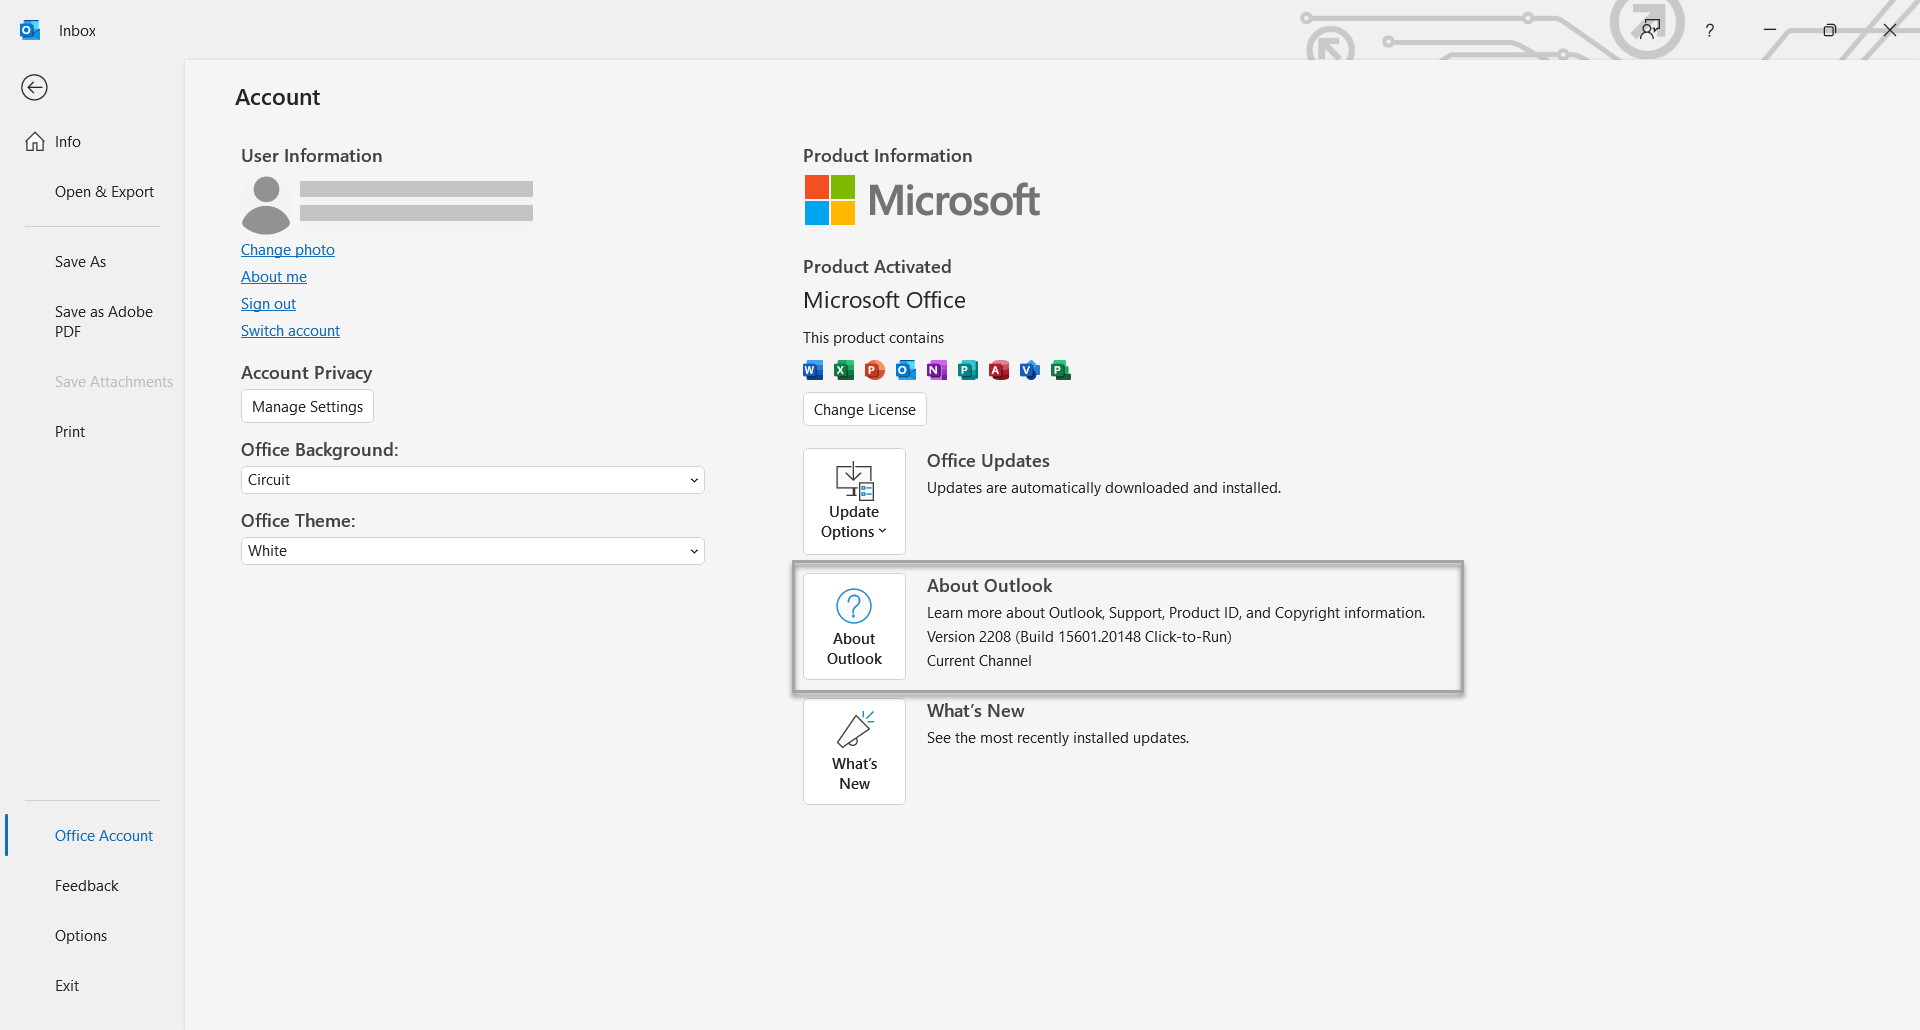
Click About Outlook and a new screen will show you the information regarding your app. It is important to note whether it is a 32-bit or 64-bit installation.
You can download the installer (version 1.59.4) by clicking on your Outlook version: 32-bit or 64-bit.
Outlook Installation#
Download and run the Mailytica Outlook Integration msi file for your specific Outlook version.
Follow the on-screen instructions: first, select the installation folder for the Outlook integration, and then click Install.
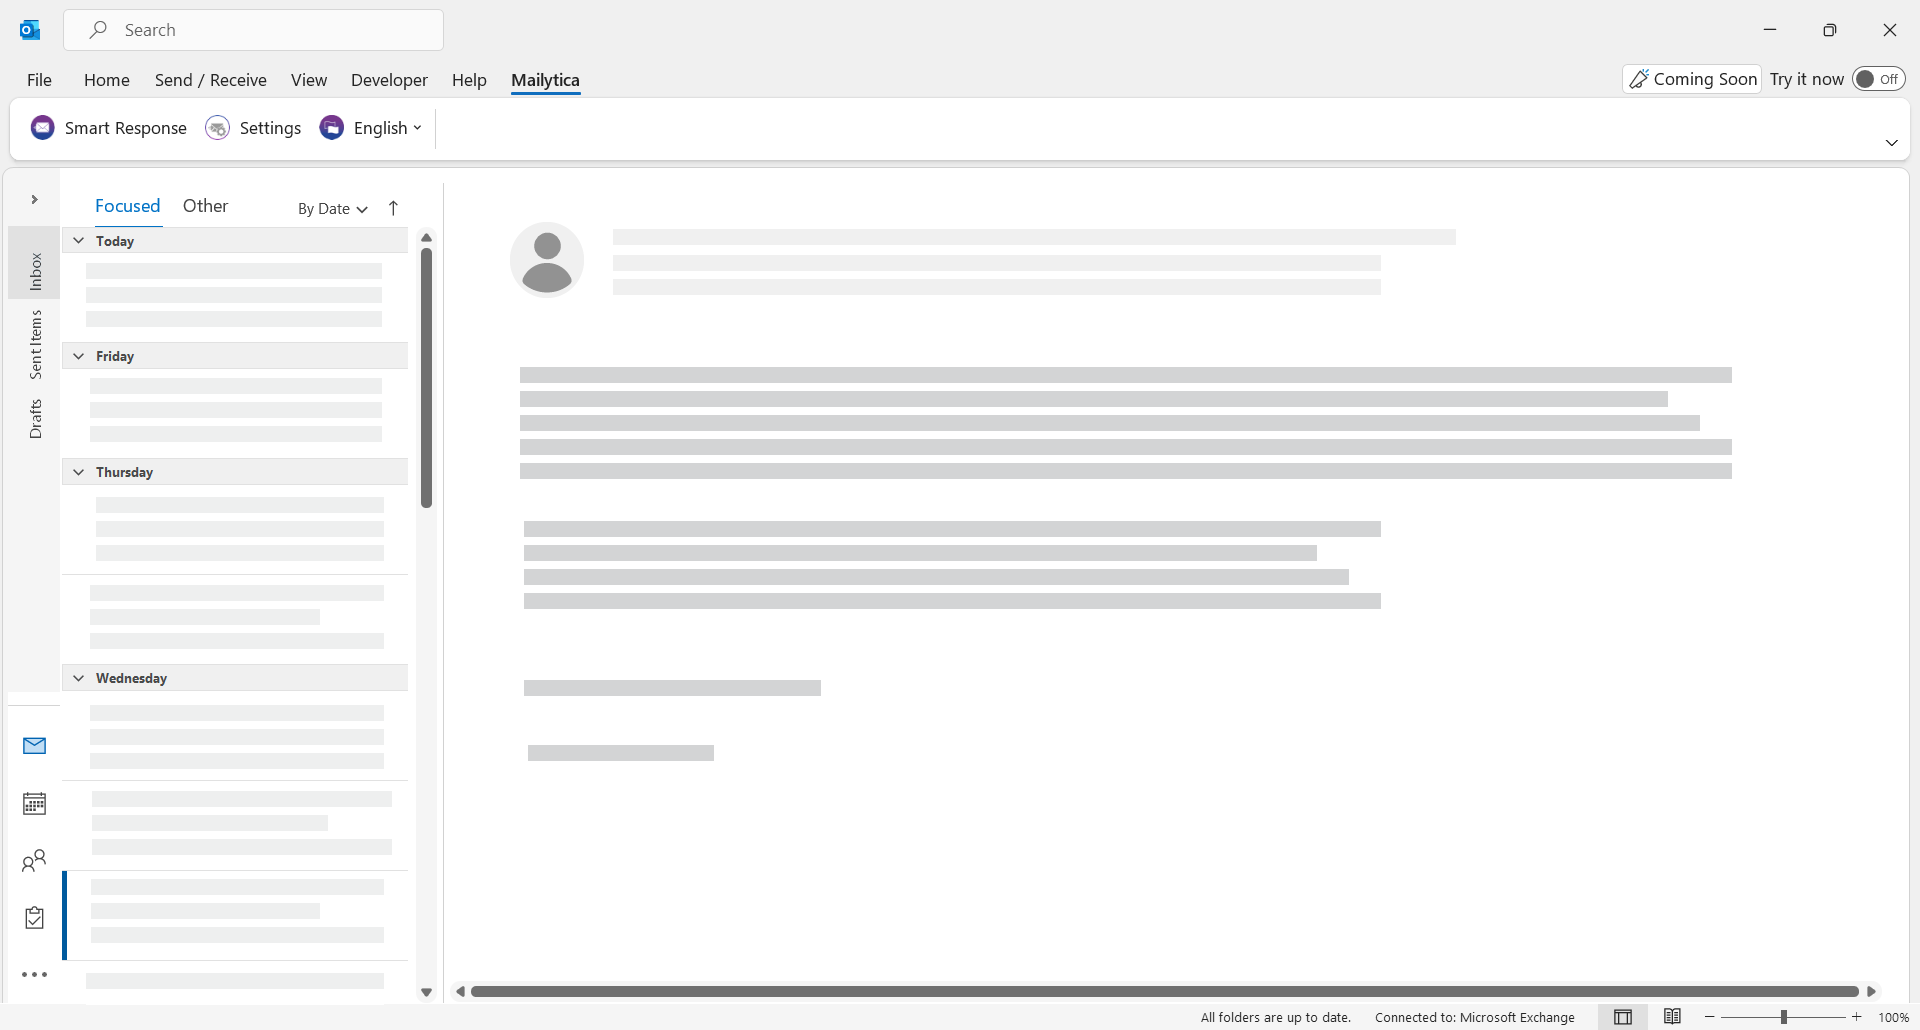
When you finish, restart the Outlook app. You’ll find a new tab called Mailytica in your top bar.
Click to show screenshot
Outlook Configuration#
Mailytica is designed to be fully customizable, and accordingly, you can adjust Mailytica’s settings within your Outlook integration. Specifically, you can assign the projects that belong to your email account, keep track of messages from individual senders, organize email messages by topics, and more.
In your Outlook desktop app, find Mailytica in the top tab bar and click on Settings. You’ll see a new menu called Mailytica Settings appear on the right-hand side of your screen.
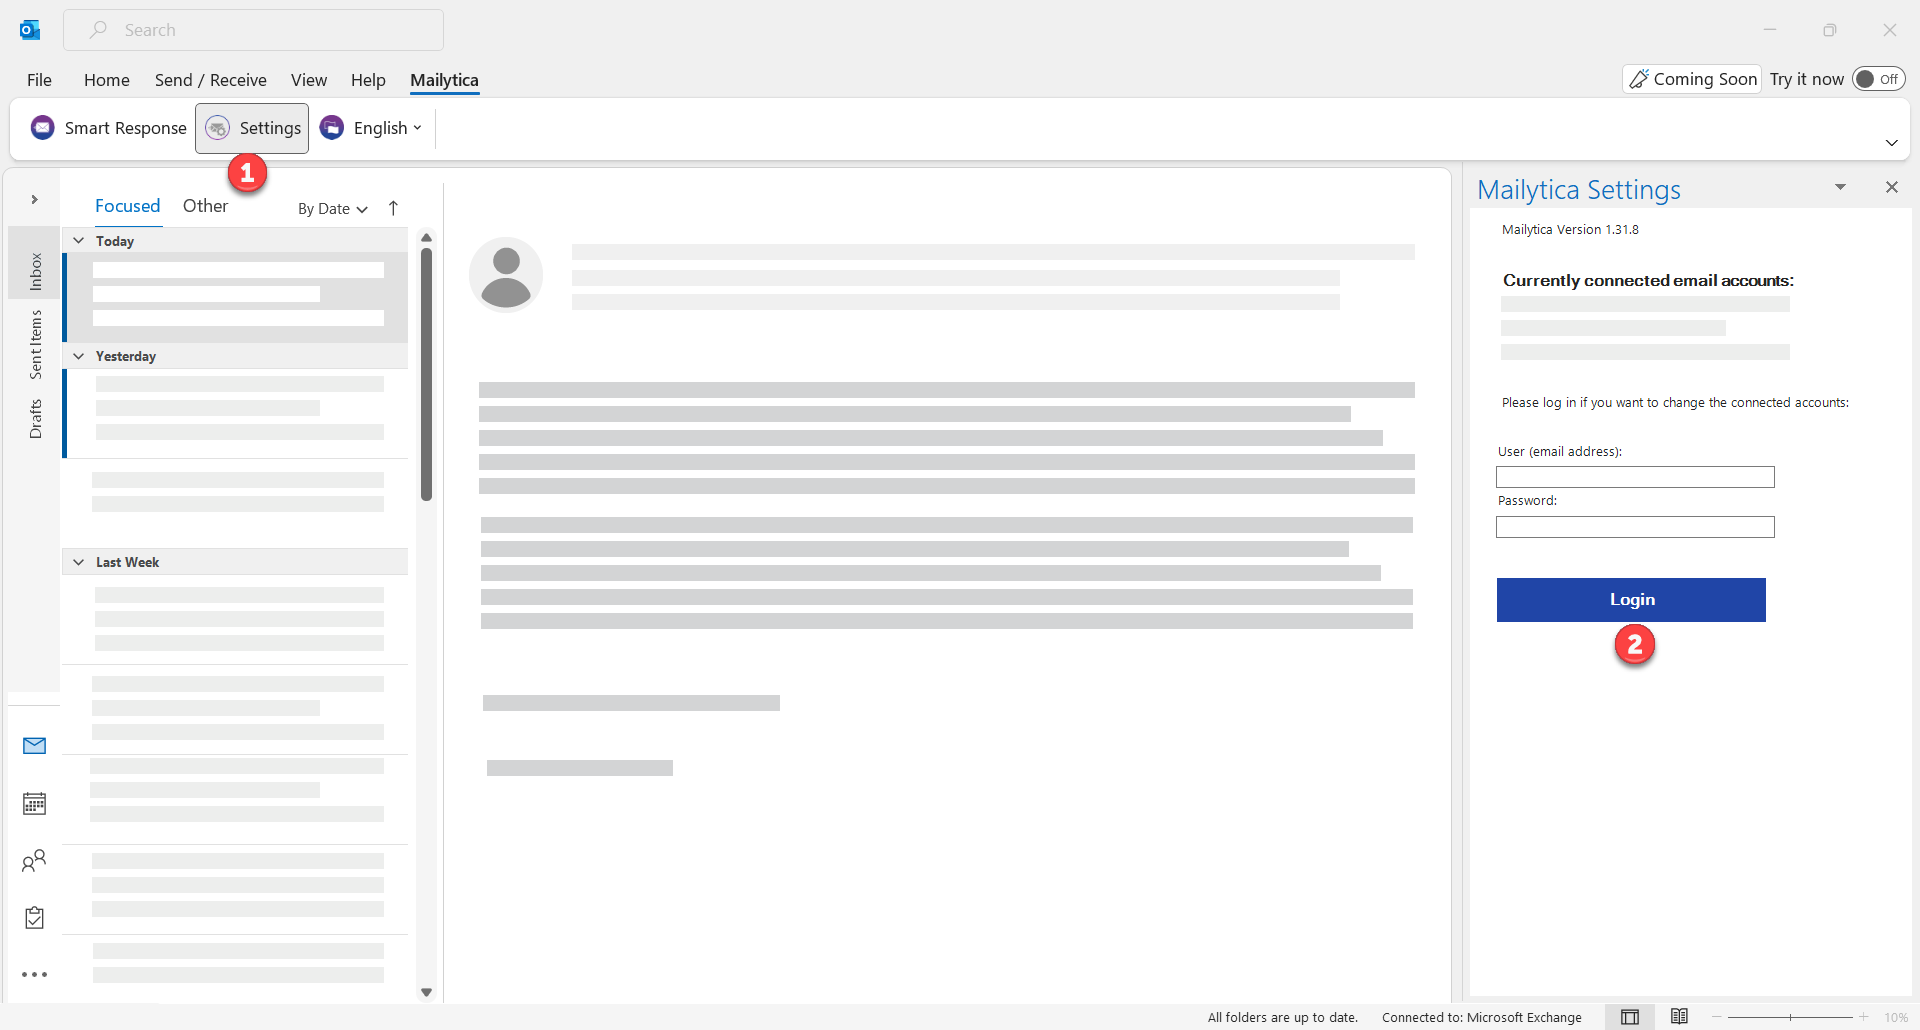
In the Mailytica Settings menu, log in using the same credentials you use in the Online Platform.
Once you log in, you can adjust your email account settings. If you added multiple accounts to your Online Platform, their respective settings can also be adjusted on the same menu.
In the Project dropdown, you can change the project associated with your email account. To do so, simply select the relevant project and click Save.
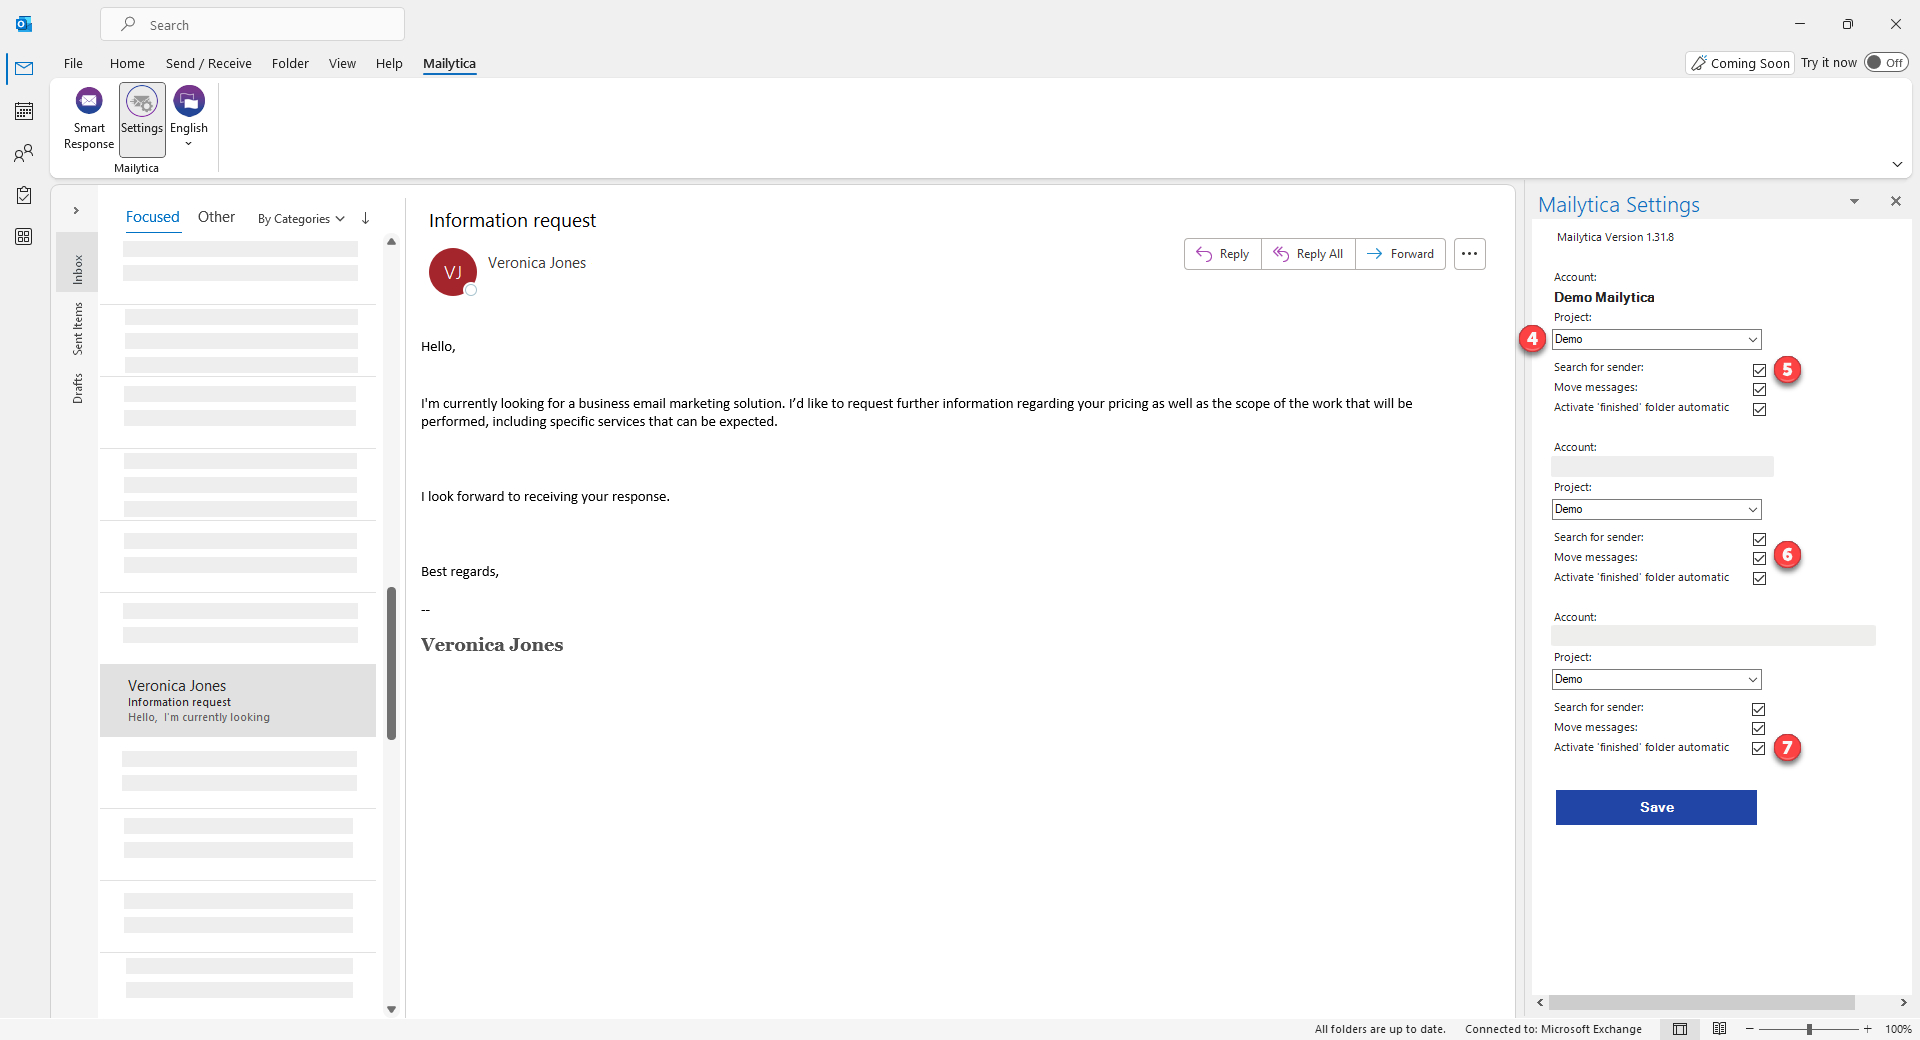
Next, you can change the Search for Sender option. If enabled, you will see a new section in the Mailytica Smart Response menu called Messages from sender. Clicking on it will trigger Outlook’s search function, allowing you to see all the messages sent between that contact and yourself.
Following, you can change the Move Messages option. If active, this option allows you to move a received email message that belongs to a specific topic into an appropriate sub-folder under your inbox.
Finally, the option Activate Finished Folder can help you better organize your inbox. You can move all your finished emails over to a folder called Finished and they will appear as such in the Statistics section of Mailytica’s Online Platform.
Using Mailytica’s Outlook Integration#
Move Messages#
Next, you have the option Move Message. If you have to regularly move your emails into preset folders, this feature can be very helpful. For instance, you may have different folders for order confirmations, cancellations, returns, etc. You can use Mailytica’s Move Message feature instead of sorting through endless emails. This way, you will be able to automatically separate your messages according to their topic directly in your inbox.
If you activated this setting as explained in the section Outlook Configuration, you can use the button to move the message into an appropriate sub-folder under your inbox.
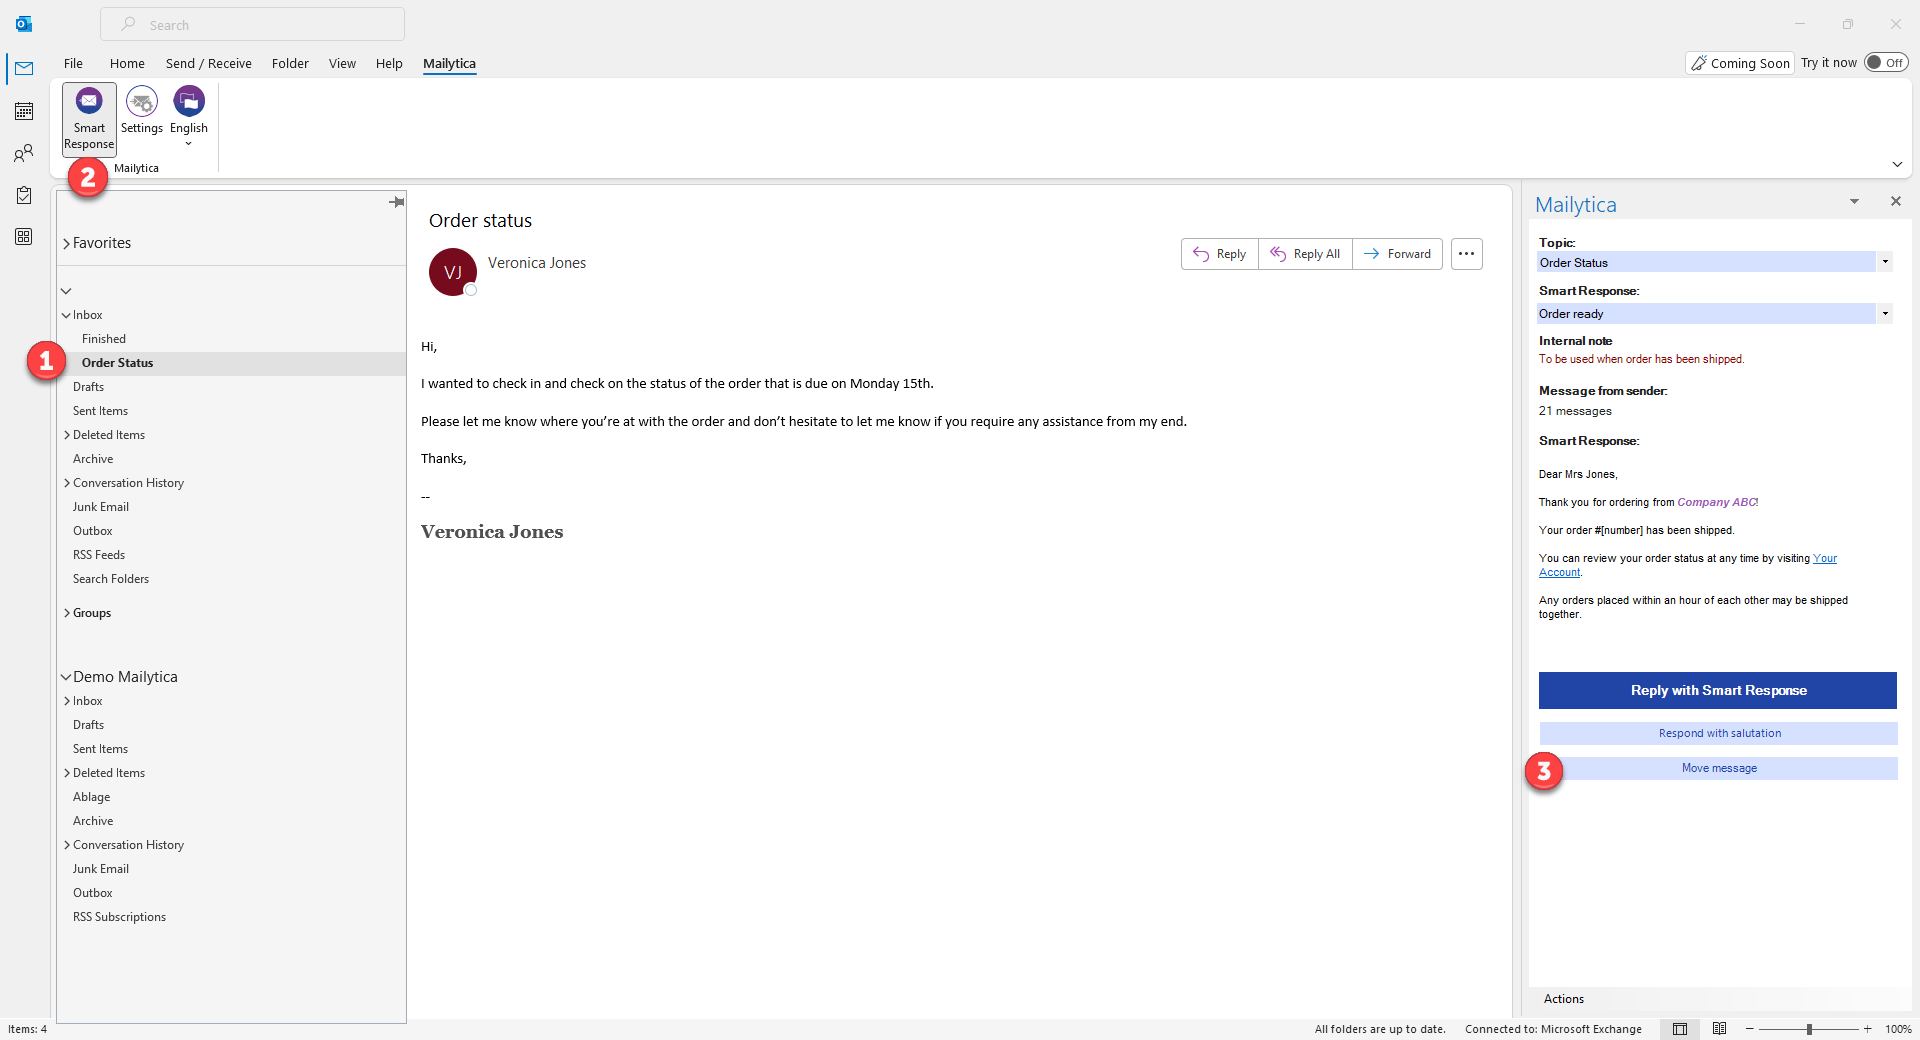
To use this functionality, you need to create a folder in your Outlook inbox with the same name as the email topic. To do so, simply right-click on Inbox and select New Folder. For instance, we can create a new folder called Order Status to store all the email messages that belong to that topic.
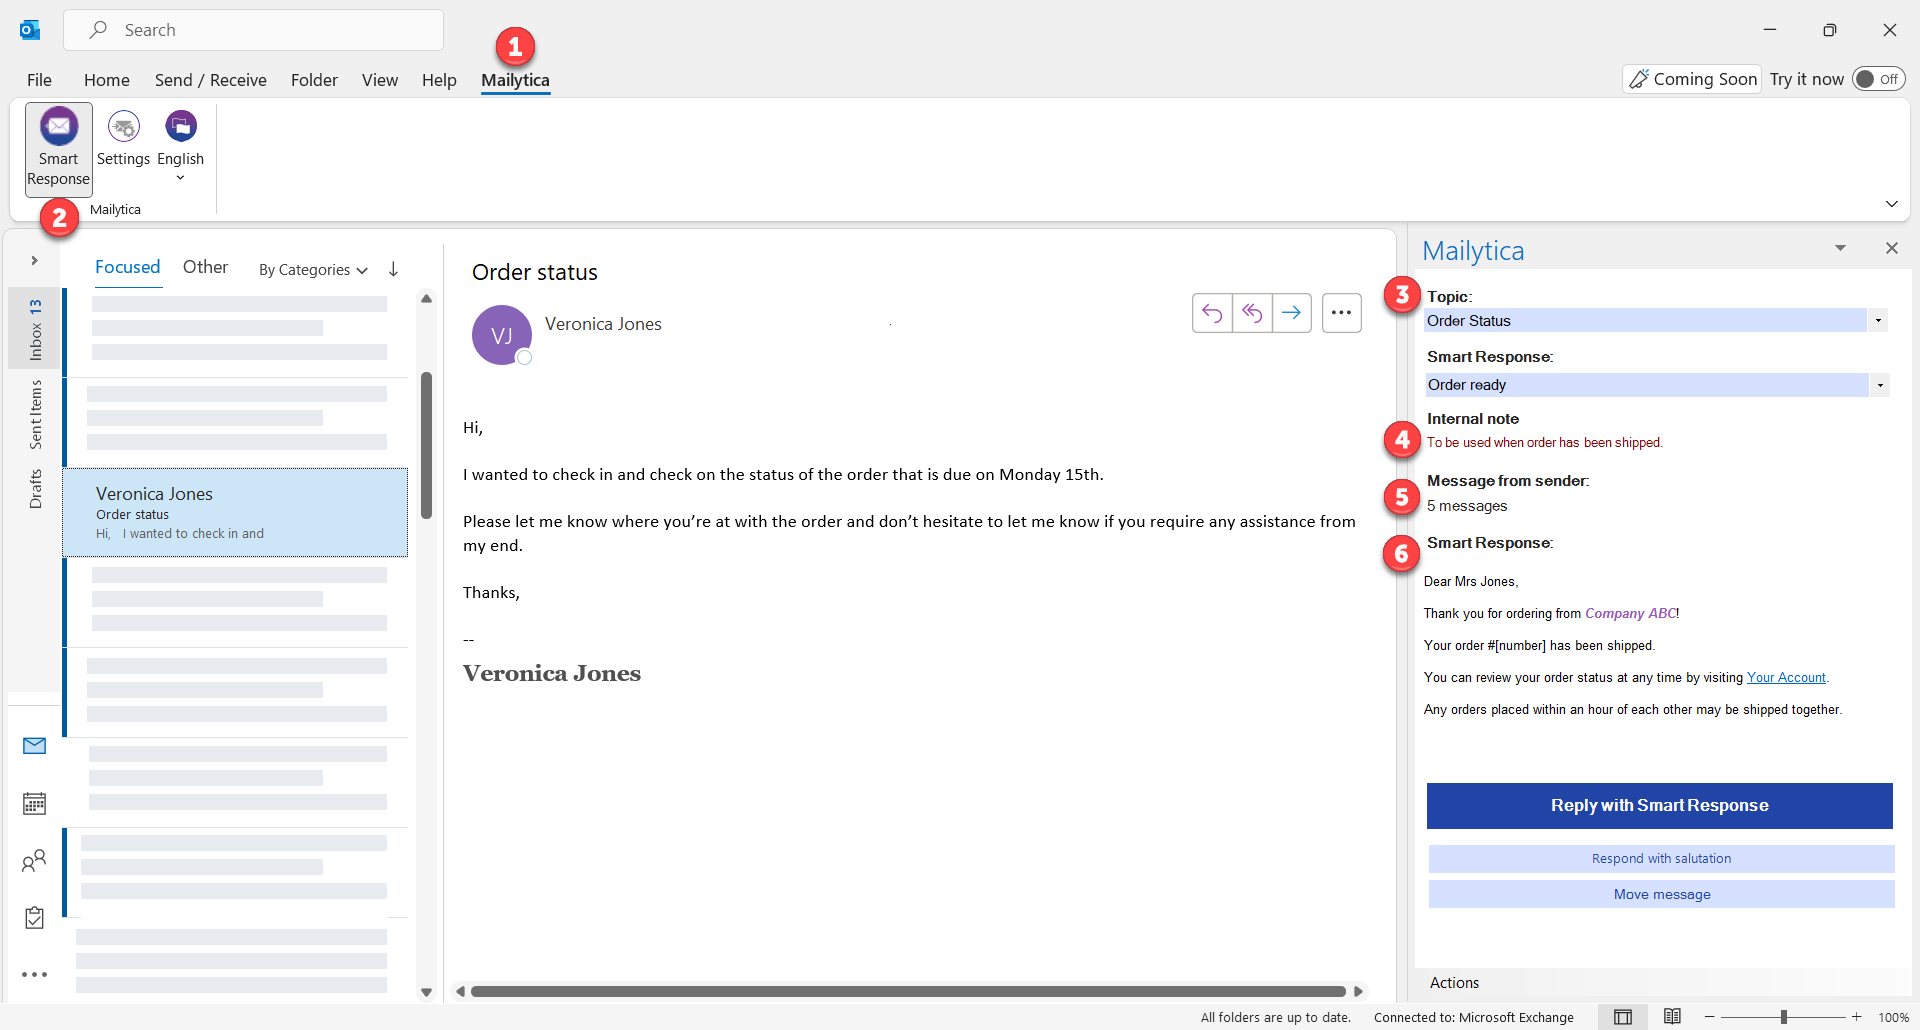
Once you have created the folder, first open a received email message, then click on Mailytica in the top tab bar, and select Smart Response.
Next, click on the Move Message button in Mailytica’s Smart Response menu. Now the email message will be in the sub-folder you created.
Actions#
In the bottom left corner of Mailytica’s Smart Response menu you can find the Actions button.
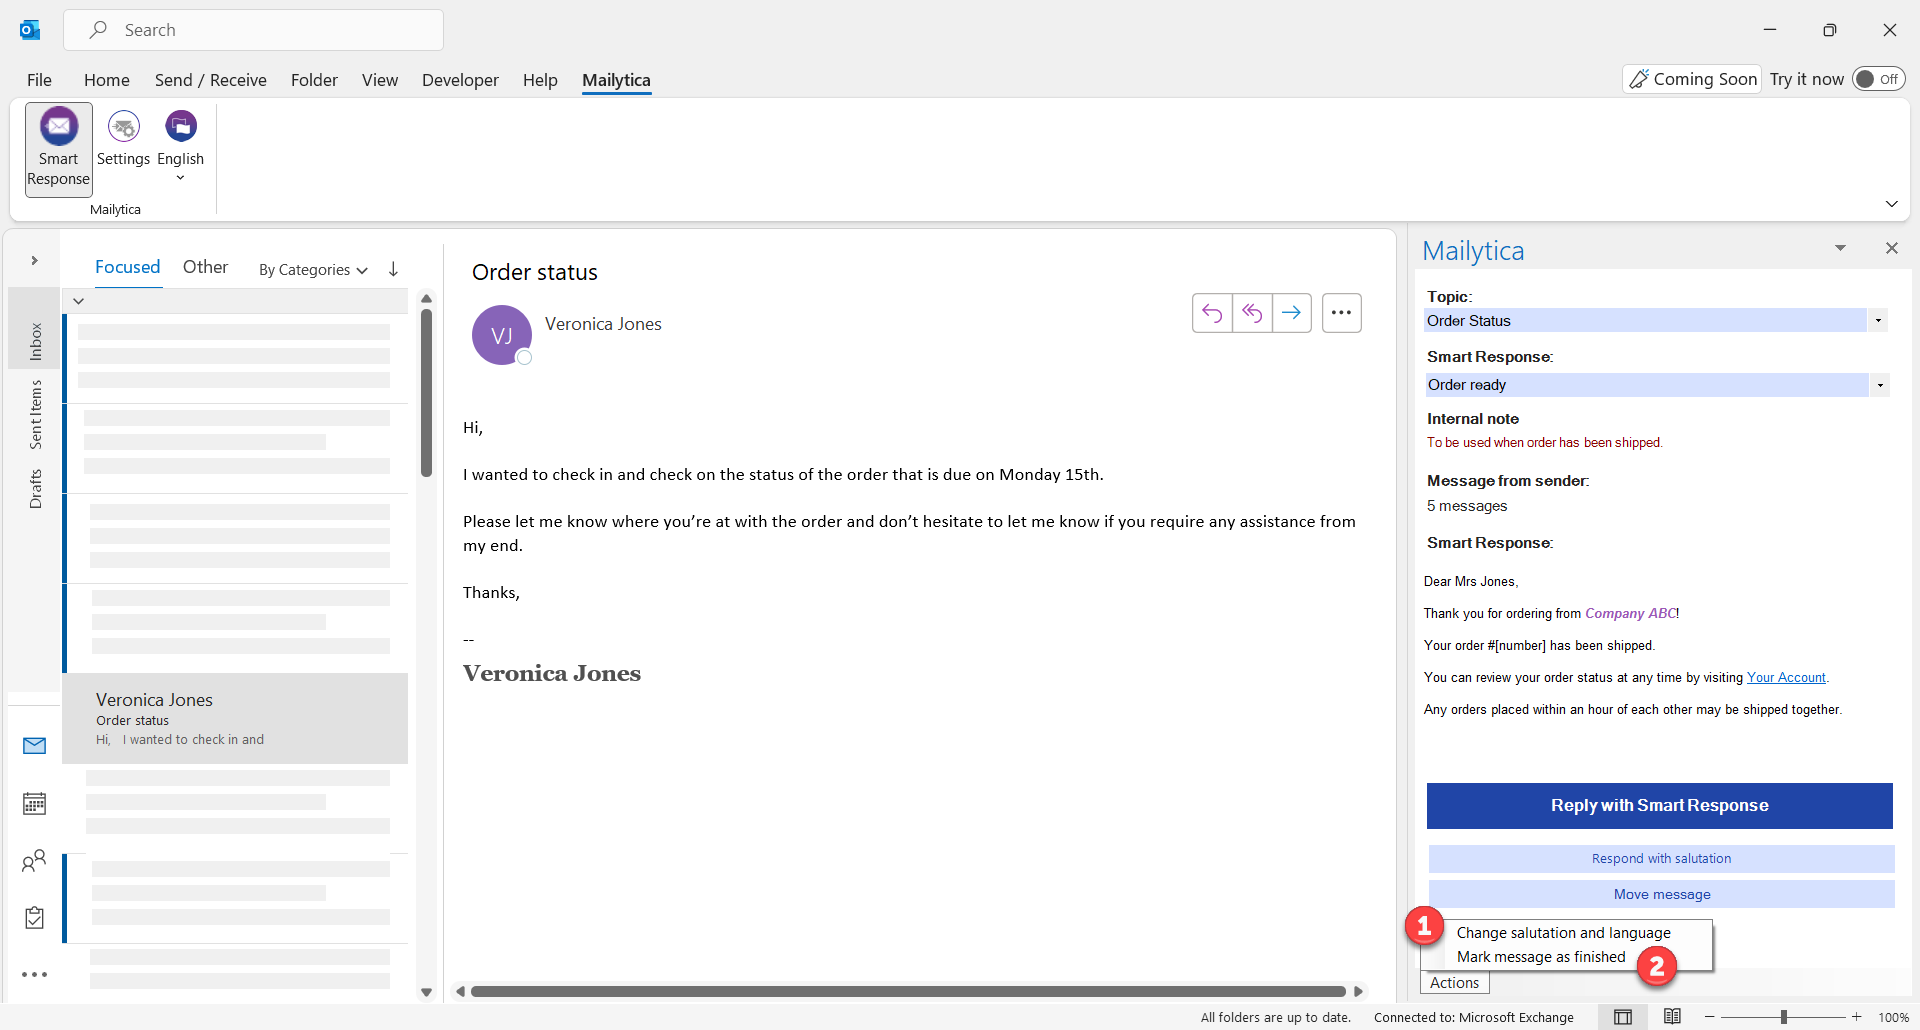
If you click on it you can change the salutation’s text and language for that particular recipient.
You also have the option to mark the message as finished, as explained in section Move Messages.
Writing New Email Messages#
Besides replying to incoming email messages, you can also use Mailytica’s Outlook integration to write new messages. You can use this option when you need to start a discussion with a client, compose a message from one or multiple templates, and more. For example, if you need to send a message about a quote, you could use Mailytica to help you write a message and only change the necessary information.
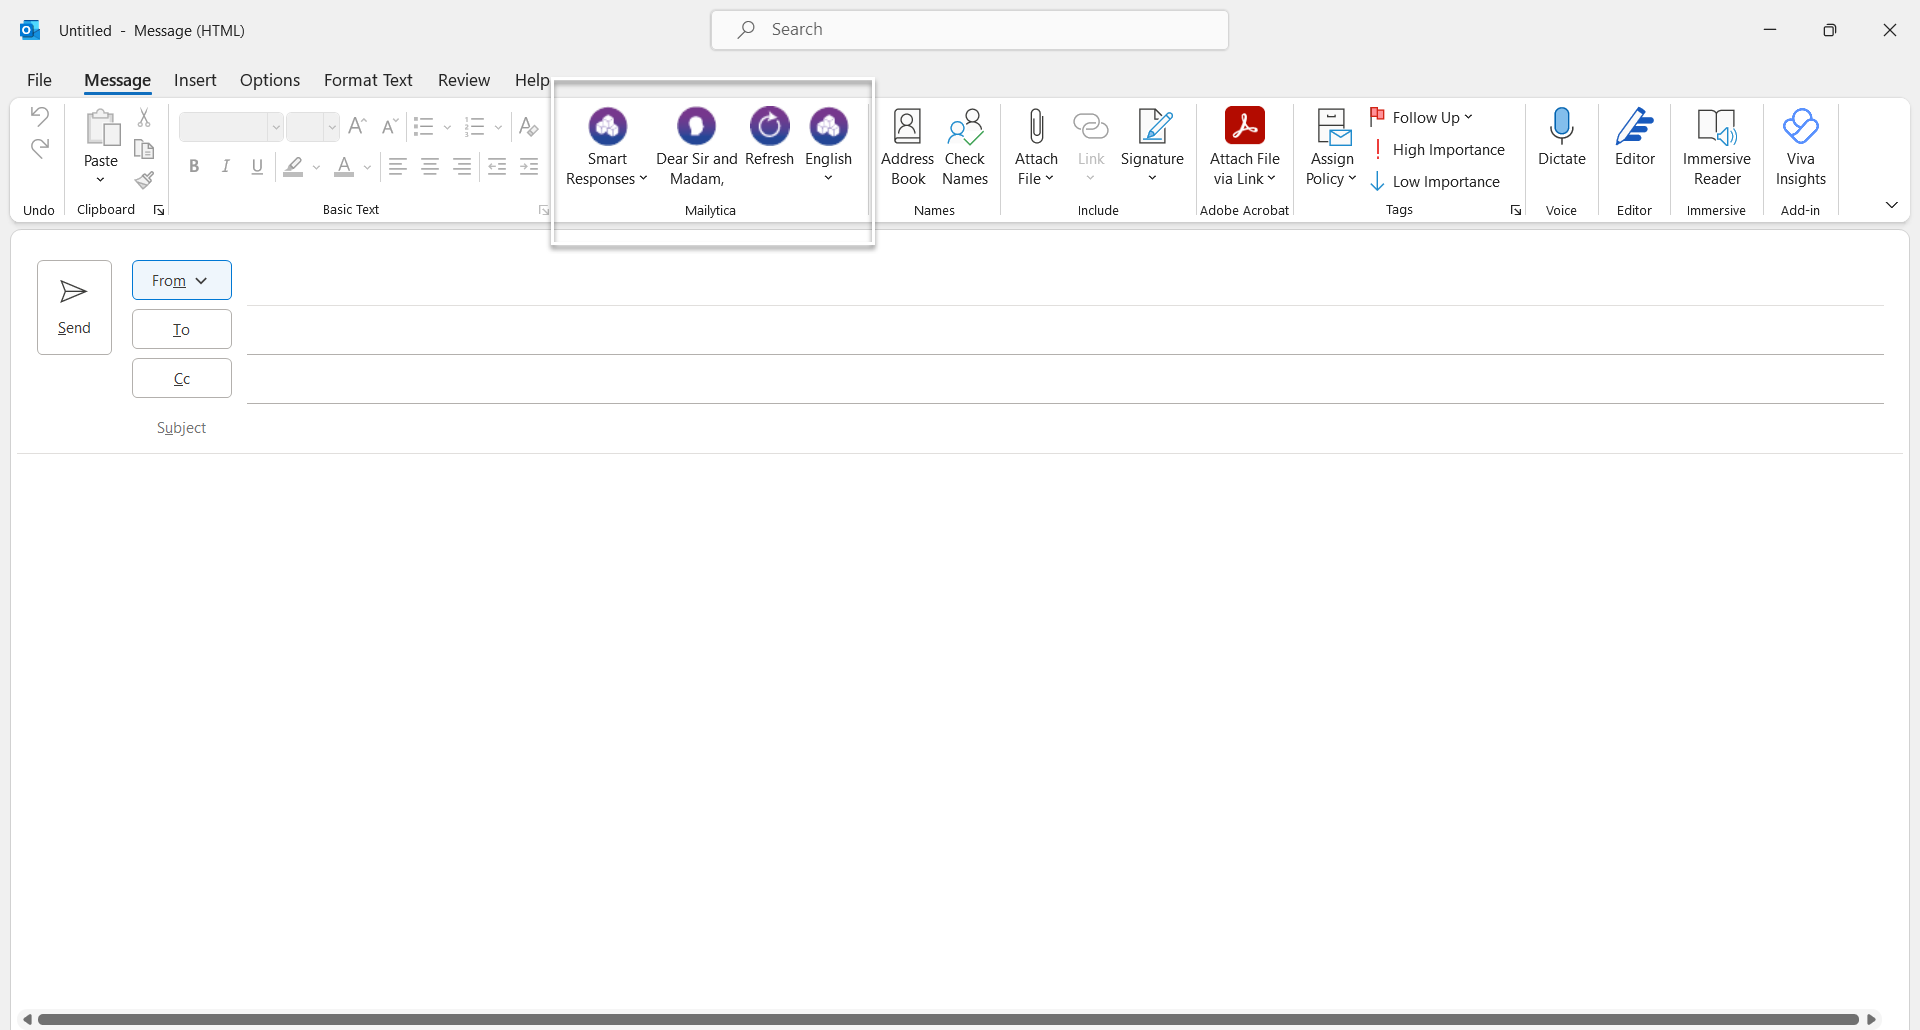
First, in your Outlook desktop app, click Home and select New Email. A new email window will pop up, and you should be able to see Mailytica’s options in the top bar.
Tip
In case you can’t find Mailytica, make sure you are using Outlook’s Classic Ribbon Layout and not the Simplified Ribbon Layout.
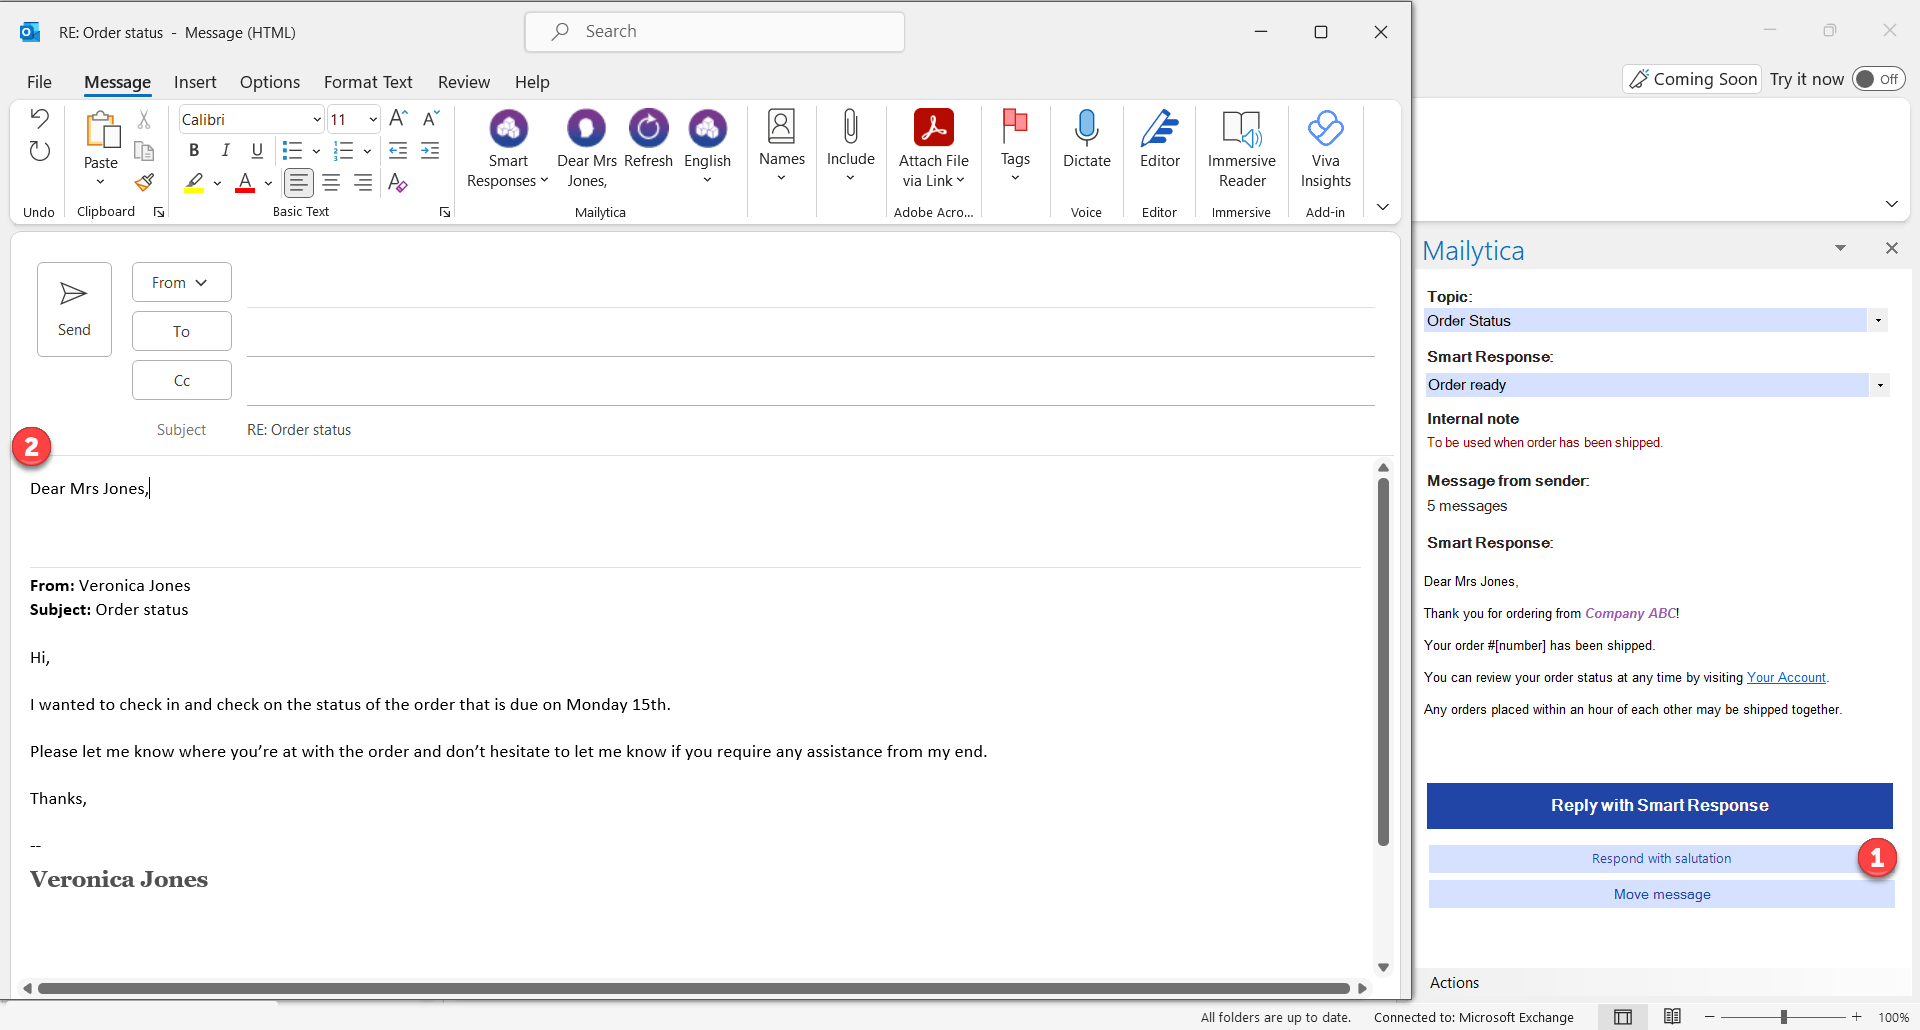
To write a new email, first select in Mailytica’s options the language you are writing in.
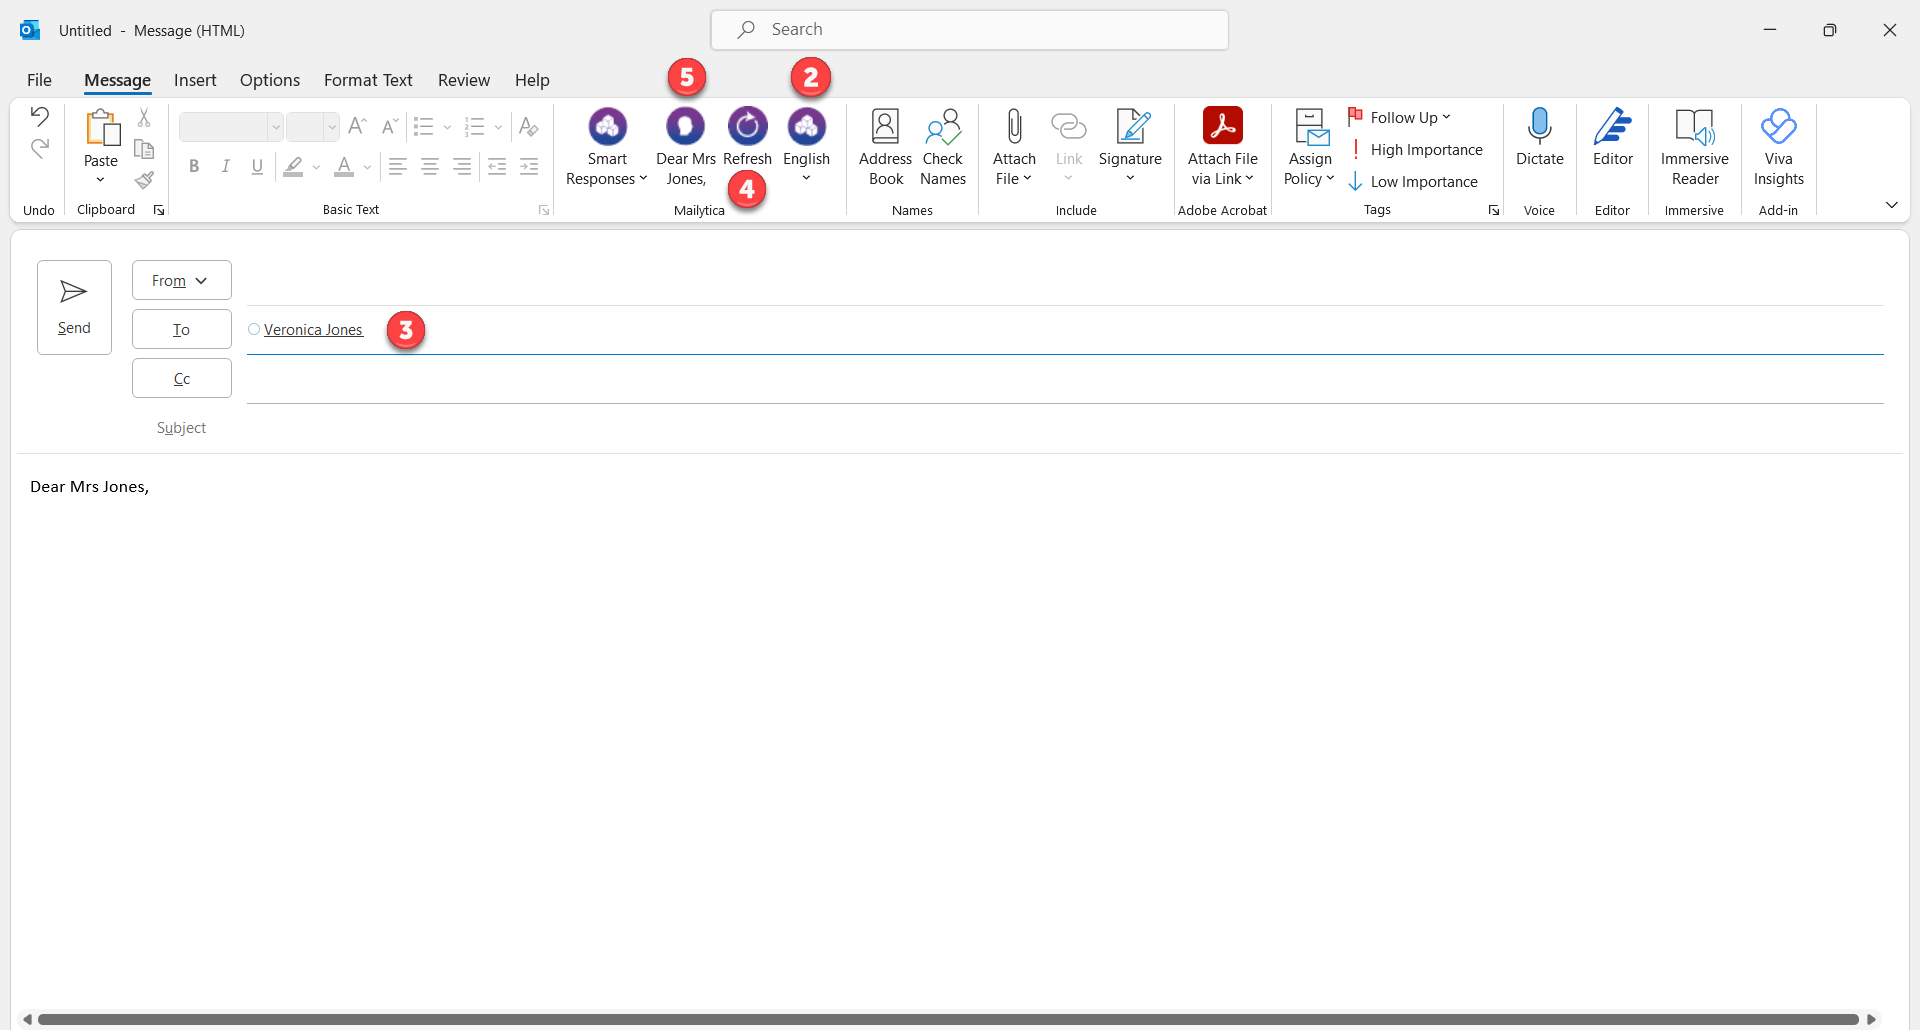
Then add your recipient’s email address.
Click Refresh on Mailytica’s options, and a new salutation will appear in the Mailytica ribbon.
If you click on the salutation, you can add it to your message. For example, if you click on Dear Mrs. Jones, it will be added at the start of your new email message.
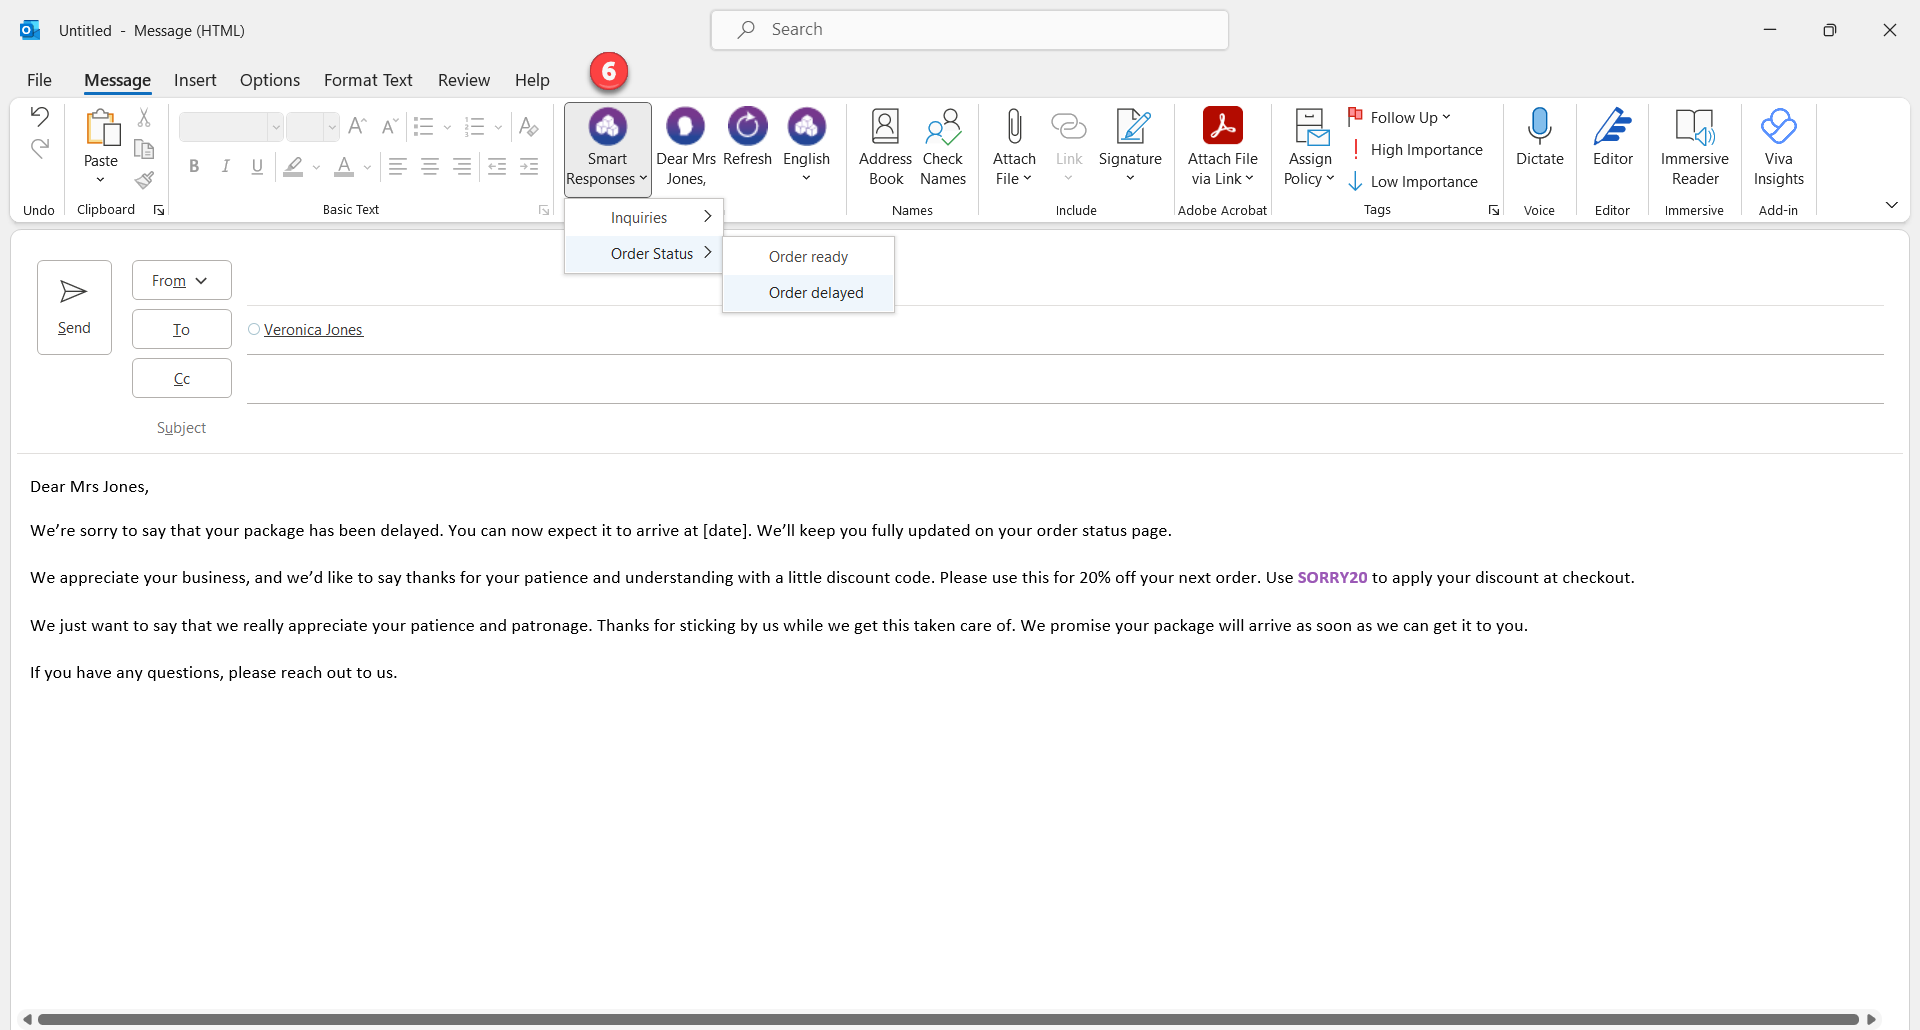
To finish, if you click on Smart Responses in Mailytica’s options, you can select one of the existing templates and include as many as you need in your new message. Once you are done, you can click on Send.
Troubleshooting Mailytica’s Outlook Integration#
Important
By default, Outlook deactivates external add-ins after 30 days. To avoid having to enable Mailytica’s add-in every month, you can modify your registry settings. More information can be found in Microsoft’s website at Support for keeping add-ins enabled.
If you followed the steps outlined in the Outlook Installation and Outlook Configuration sections but still can’t find the Mailytica add-in in your Outlook app, or you notice that the add-in has been automatically disabled, try the following:
First open the Registry Editor. Just press the Windows key, type regedit and hit Enter.
In the Registry Editor, navigate to following path
HKEY_CURRENT_USER\SOFTWARE\Microsoft\Office\16.0\Outlook\Resiliency\DoNotDisableAddinList.Next, right-click in the window, choose New DWORD (32-bit) Value.
Name this new entry as Mailytica GmbH.Mailytica and set its value to 1.
Click OK to save your new settings and restart your Outlook application. Now Outlook should keep the Mailytica add-in active without further issues.