Before You Begin#
To access Mailytica’s features and functions, you will need an account on Mailytica’s Online Platform, where you can create projects, add email accounts, write Smart Responses, connect to APIs, and more.
Once you receive your account details from our onboarding team, you can sign in to Mailytica by going to mailytica.ai.
Projects#
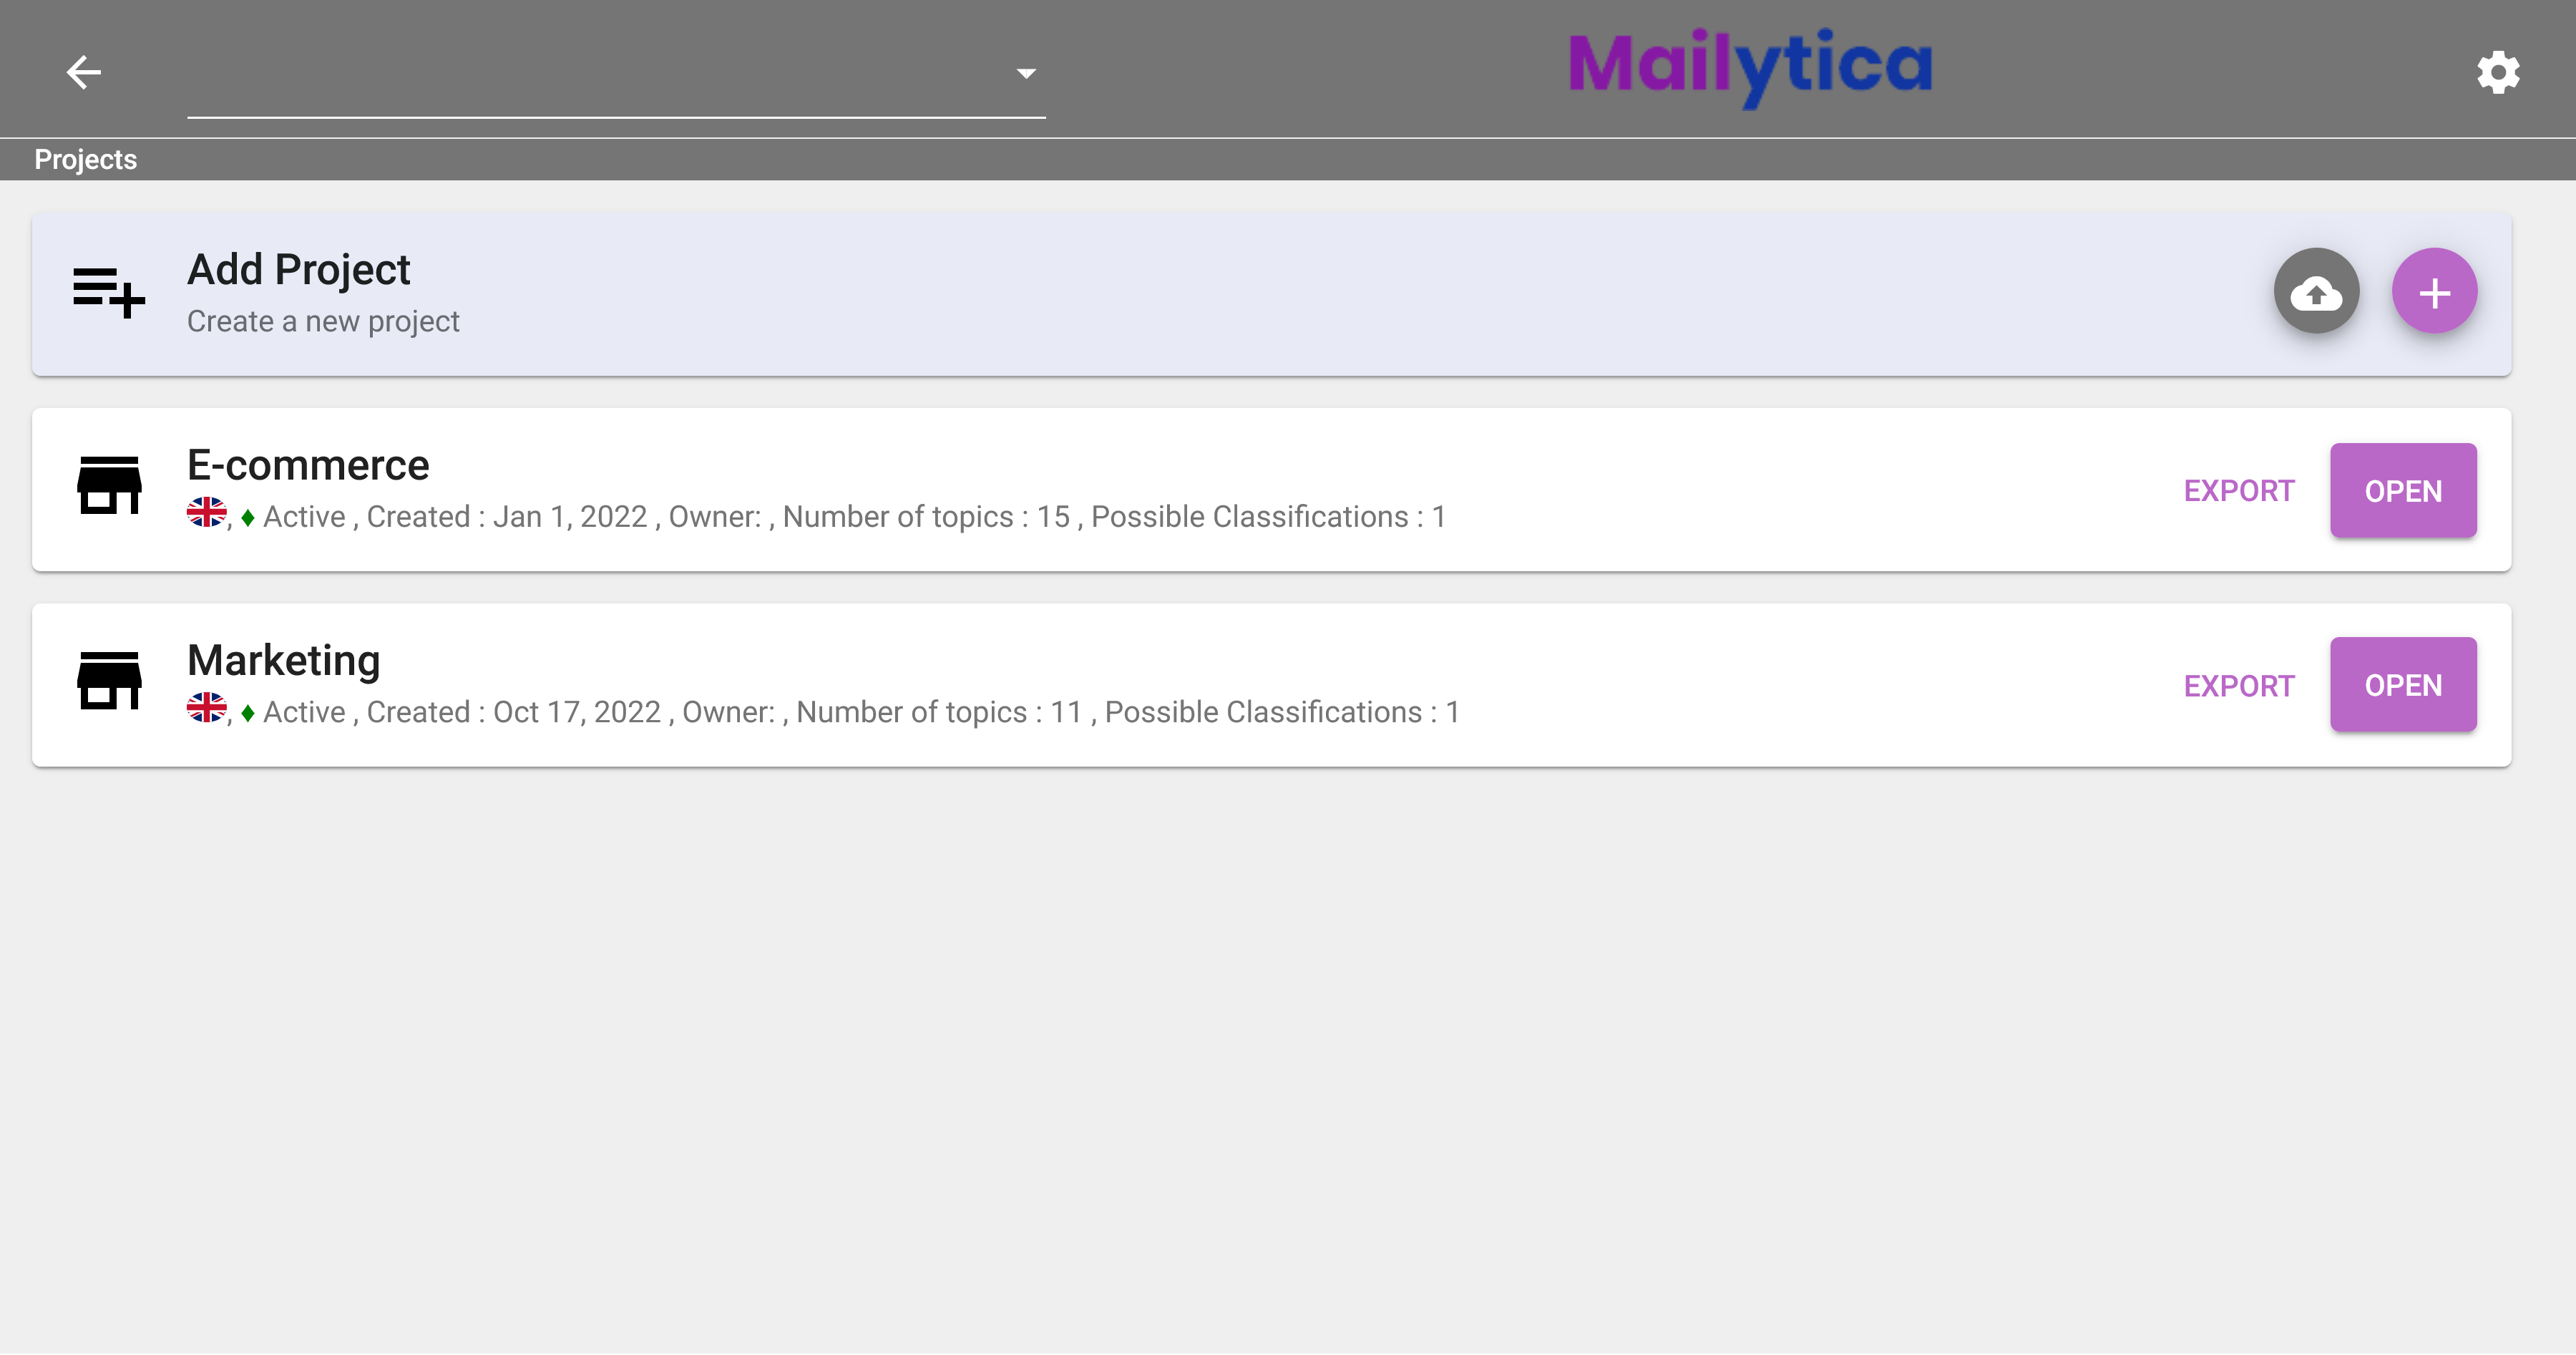
After logging in, you will be taken to the Projects screen. Mailytica organizes content into projects—each project is a collection of Topics, Smart Responses, and tools that help your team get work done faster.
On the Projects screen, you will see a list of all available projects. For example, if your business is selling goods online, you can create a project called E-commerce, where you will manage all emails related to your online store. Then you can add topics such as Refund Request, Order Confirmation, Shipping Notification, which will allow you to easily organize emails by business transaction and assign them accordingly.
You can also add multiple projects (e.g., E-commerce and Marketing Campaign), and each project will have its own settings and statistics.
Important
Before you can use Mailytica’s features, such as email classification and Smart Responses, you must first create a project.
For more information on how Mailytica classifies messages, please visit Classification Setup.
To add a new project, first log in to the Online Platform at mailytica.ai. Once you’re on the Projects screen, click the button to add a new project.
Tip
In addition, you can also import and export projects between Mailytica accounts.
Export: To export a project, simply navigate to your project list, expand the project title box, and click on the Export button. A .zip file containing all project data will be immediately downloaded to your local computer.
Import: When you want to import the previously exported project, return to your project list and click on the button at the top of the page. Locate and select the .zip file you exported earlier. The Mailytica project, along with all its contents, will be imported into your new account. This feature makes it easy to transfer projects between accounts and collaborate with team members.
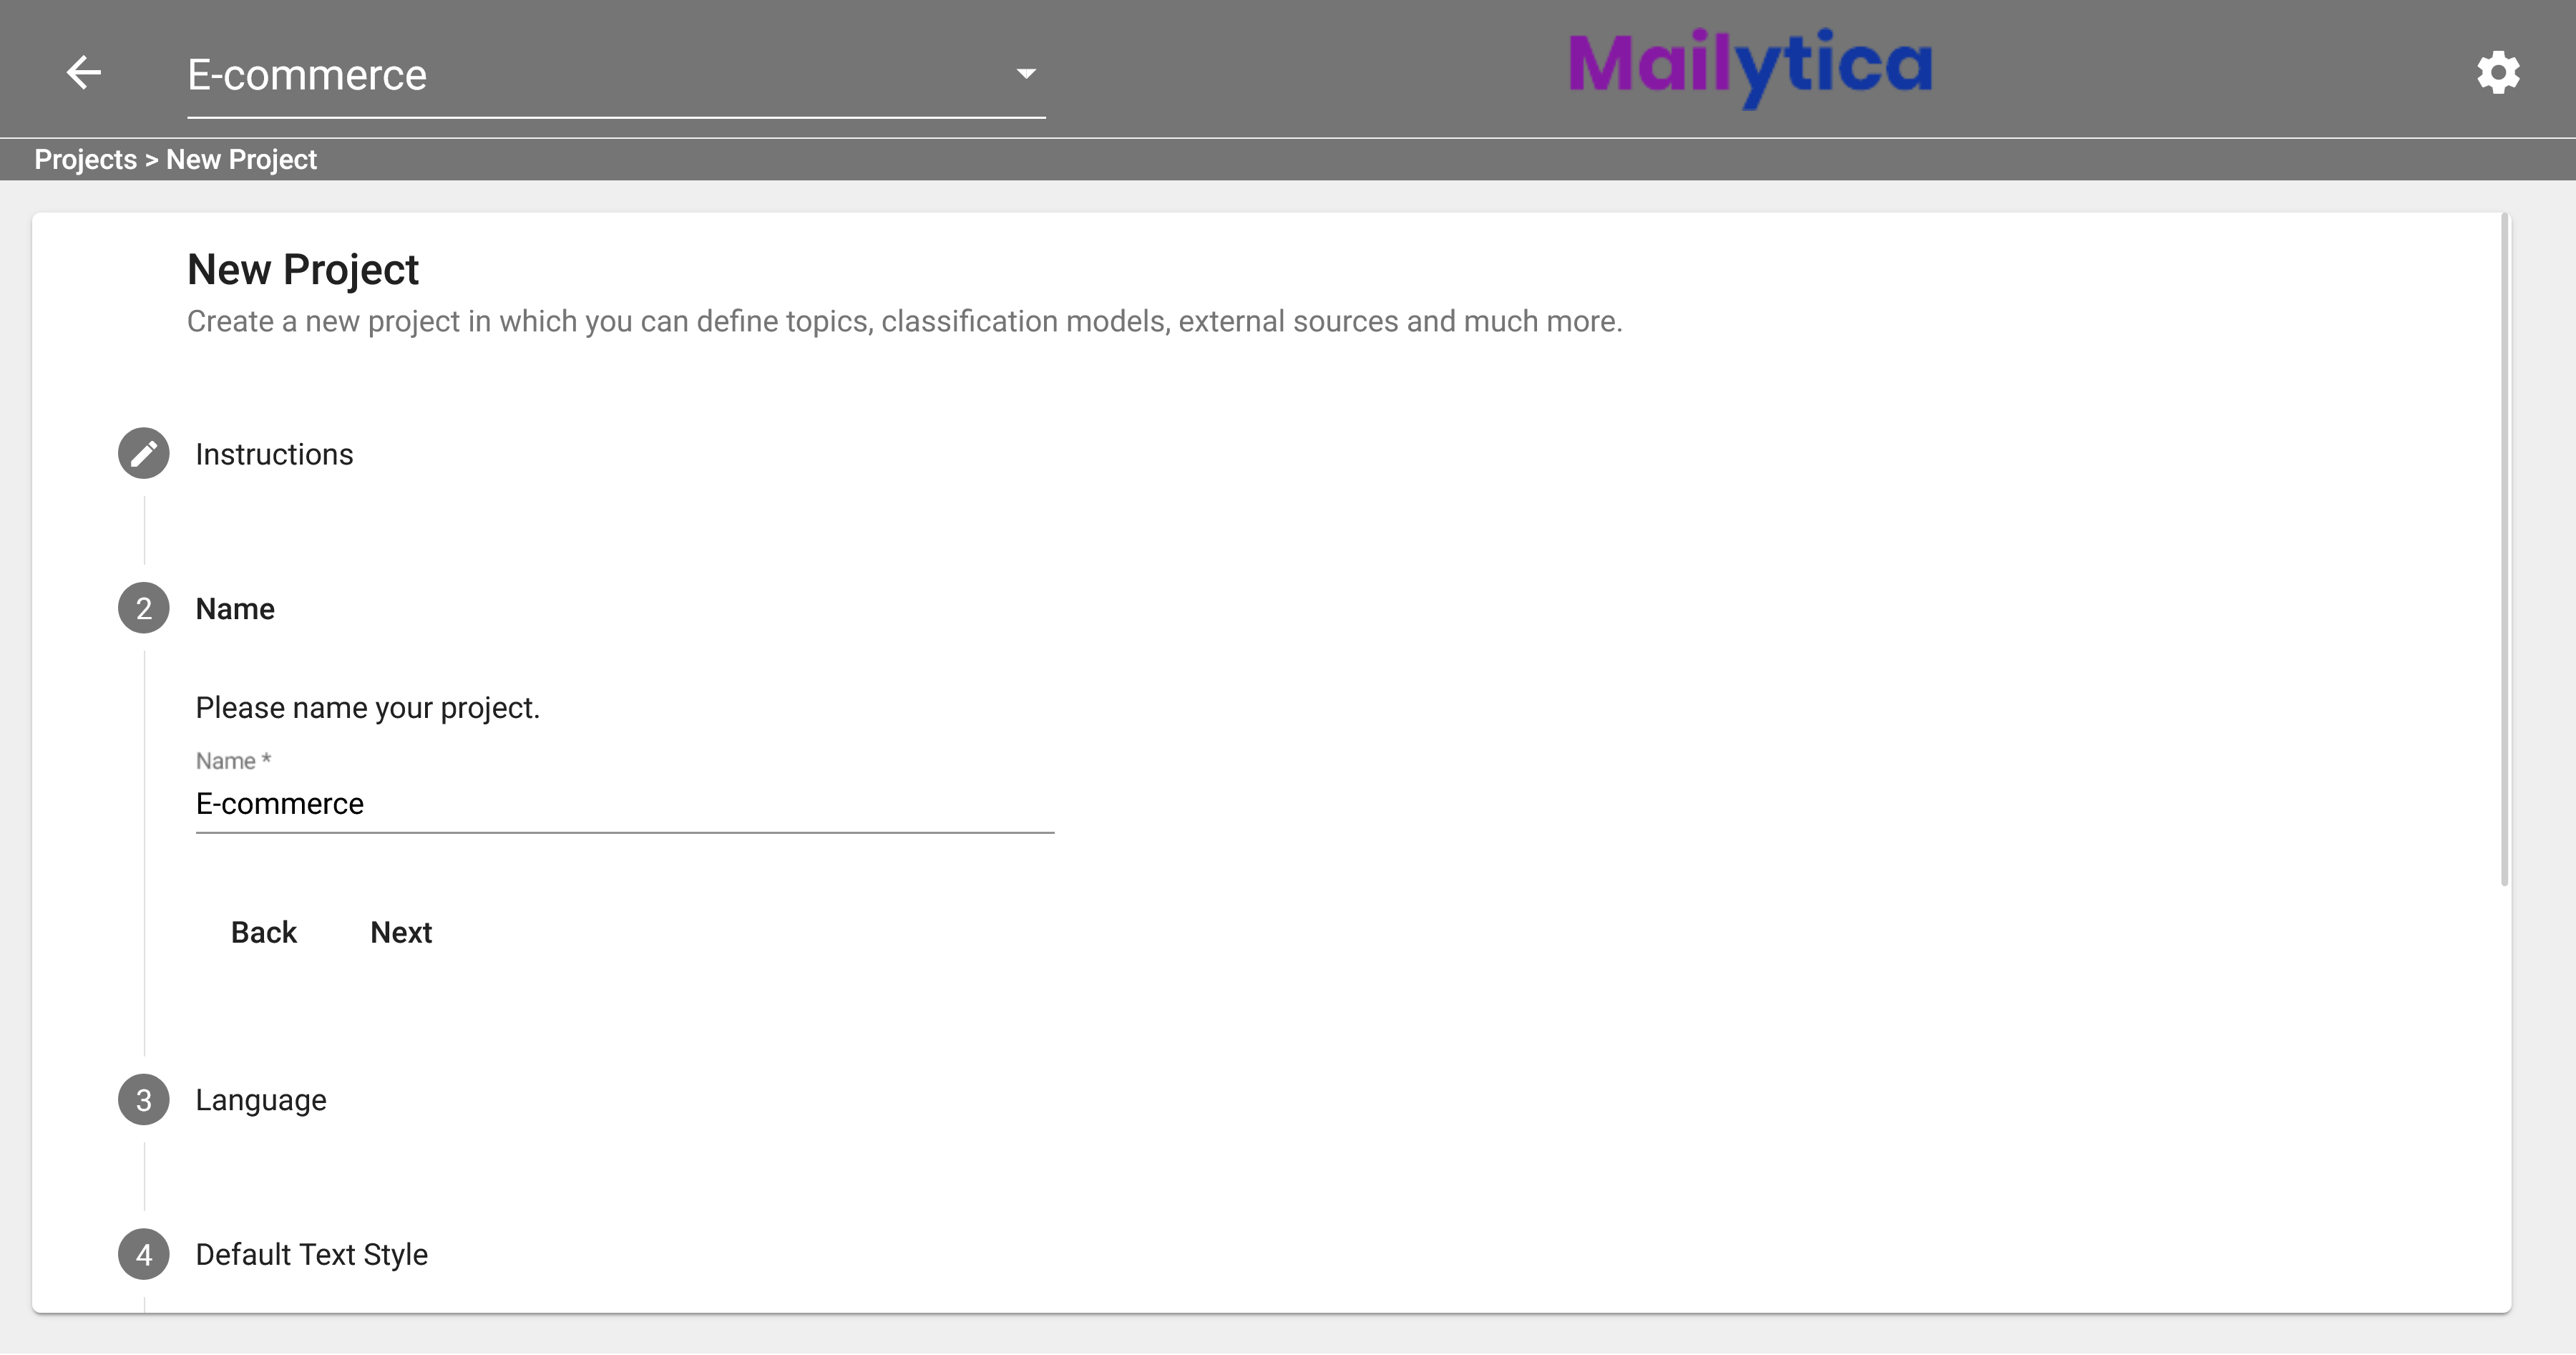
In the Name field, type a name for your project. Your project name should be concise and easy to understand, for example, E-commerce, or Marketing.
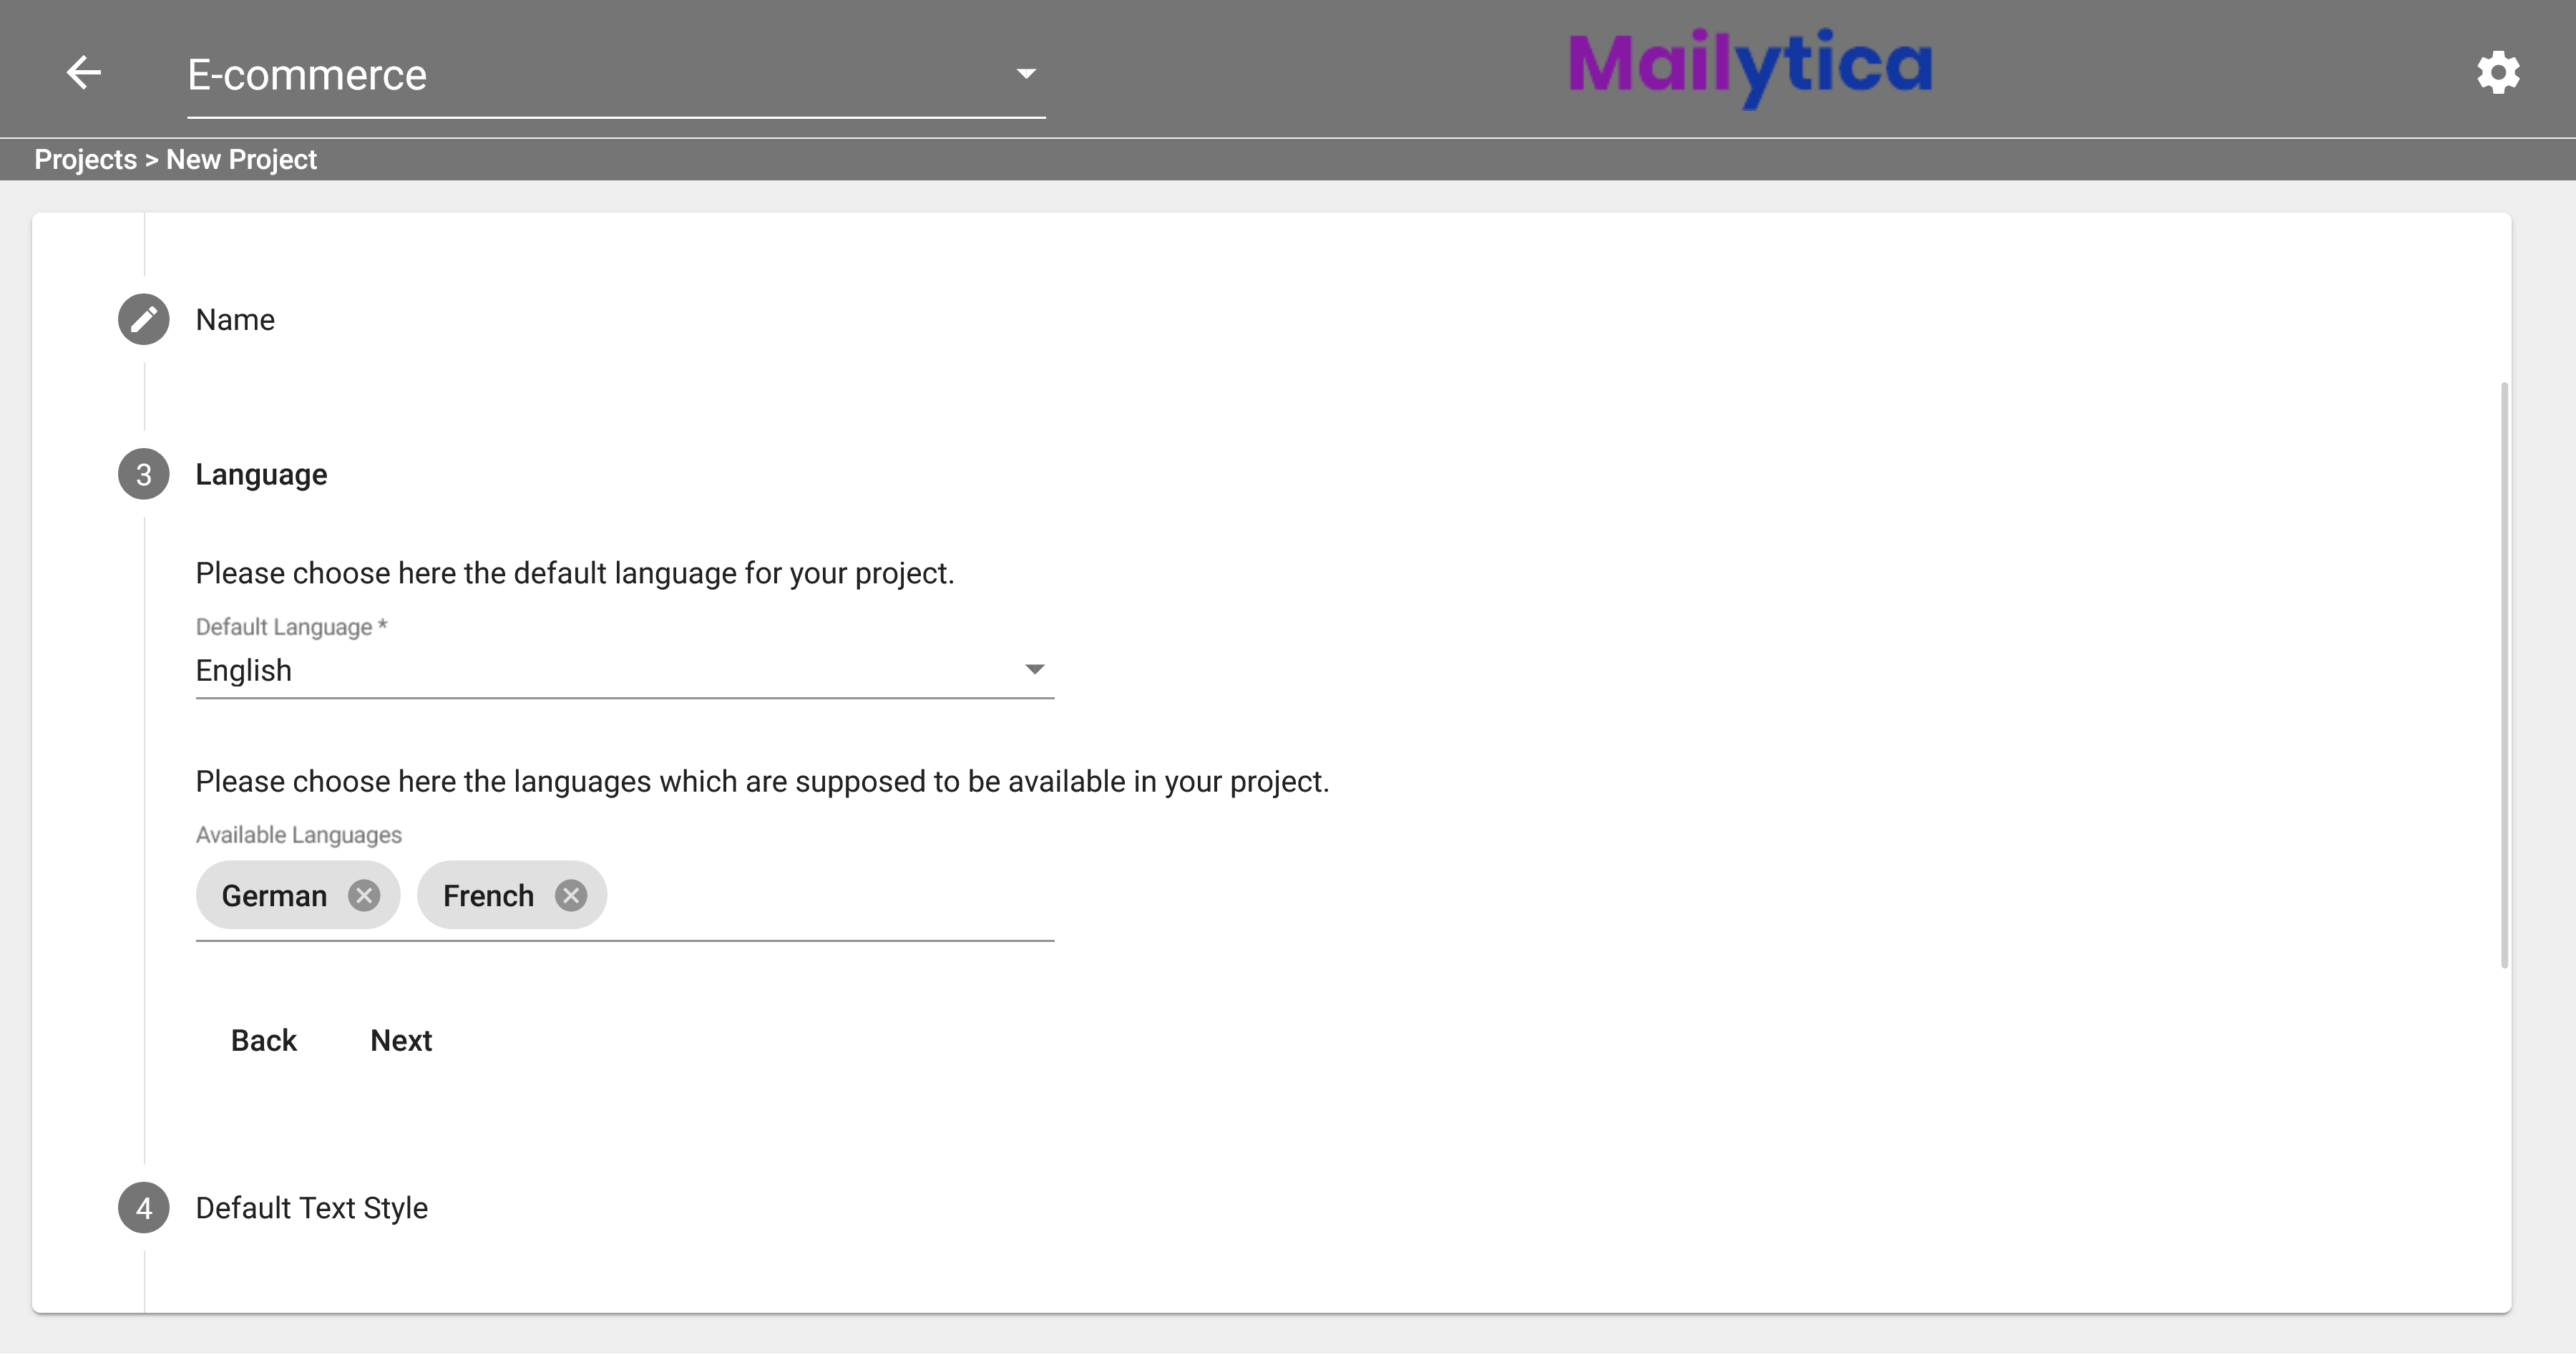
Next, in Language you can choose from the first dropdown the default language for your project. It’s best to select the same language that you use most often when communicating with customers. Still, you can include additional languages by selecting them from the Available Languages dropdown menu.
Following, in the Default Text Style section, define the font and size that will be used for drafting Smart Responses. The default font is Calibri, size 11 (
font-size:11pt;font-family:'Calibri',sans-serif).Text Style
The default text style is defined by two different properties:
font-size: Defines the size of the text and should be expressed in pt. The recommended default value is font-size:11pt. If you want your font size to be 12pt, for example, you should write font-size:12pt.
font-family: Defines the type of font that will be used. The recommended default value is font-family:’Calibri’,sans-serif. If you want to use Times New Roman instead of Calibri, for example, you should write font-family:’Times New Roman’,serif.
To combine these two values together, separate them by a semicolon
;and the result will be font-size:11pt;font-family:’Calibri’,sans-serif.Then, in Default Prediction Settings you can define the settings that will be used for classifying or predicting email topics. The recommended values are: Number of classifications equal to 1, and Confidence threshold equal to 0.5.

Note
A confidence score is a number between 0 and 1 that represents the probability that the model has correctly classified the email message.
For instance, if you set a threshold of 0.5 it means that you will reject all predictions with a confidence score below or equal to 0.5.
For Outlook users, you can specify how Mailytica should display and organize messages in the Outlook Settings section. The available options are:
Mark messages as finished in client: If Active, this will add a new Message Finished button in the Outlook integration. The button allows you mark emails as finished, which Mailytica then uses to compute your project statistics.
Mark message as finished when consuming Smart Response: If Active, every time you reply to a message using a Smart Response, that message will be marked as finished in Mailytica’s statistics.
Display topics without any Smart Response or user action: If Active, all Topics will be displayed in Mailytica’s Outlook integration regardless of whether or not they contain Smart Responses.
Synchronize categories with client: If Active, Mailytica will make sure to synchronize your local Outlook categories across all of your devices. This can be useful if you are working in a shared inbox and using Outlook categories to organize it.
Transfer raw message from client: We recommend that you keep this option deactivated unless you plan on using Mailytica to back up your email messages. If Active, Mailytica will save your messages as
.msgfiles in a dedicated server.Activate Smart Predict: Smart Predict analyses your past messages and offers suggestions for words or phrases you may want to use in future emails. If Active, suggestions for autocompleting words and sentences will appear as you type an email.
Finally, in Status toggle the Active button and click Add to create your new project.
Account Manager#
The Account Manager allows you to add, edit, and manage email accounts that can be connected with Mailytica.
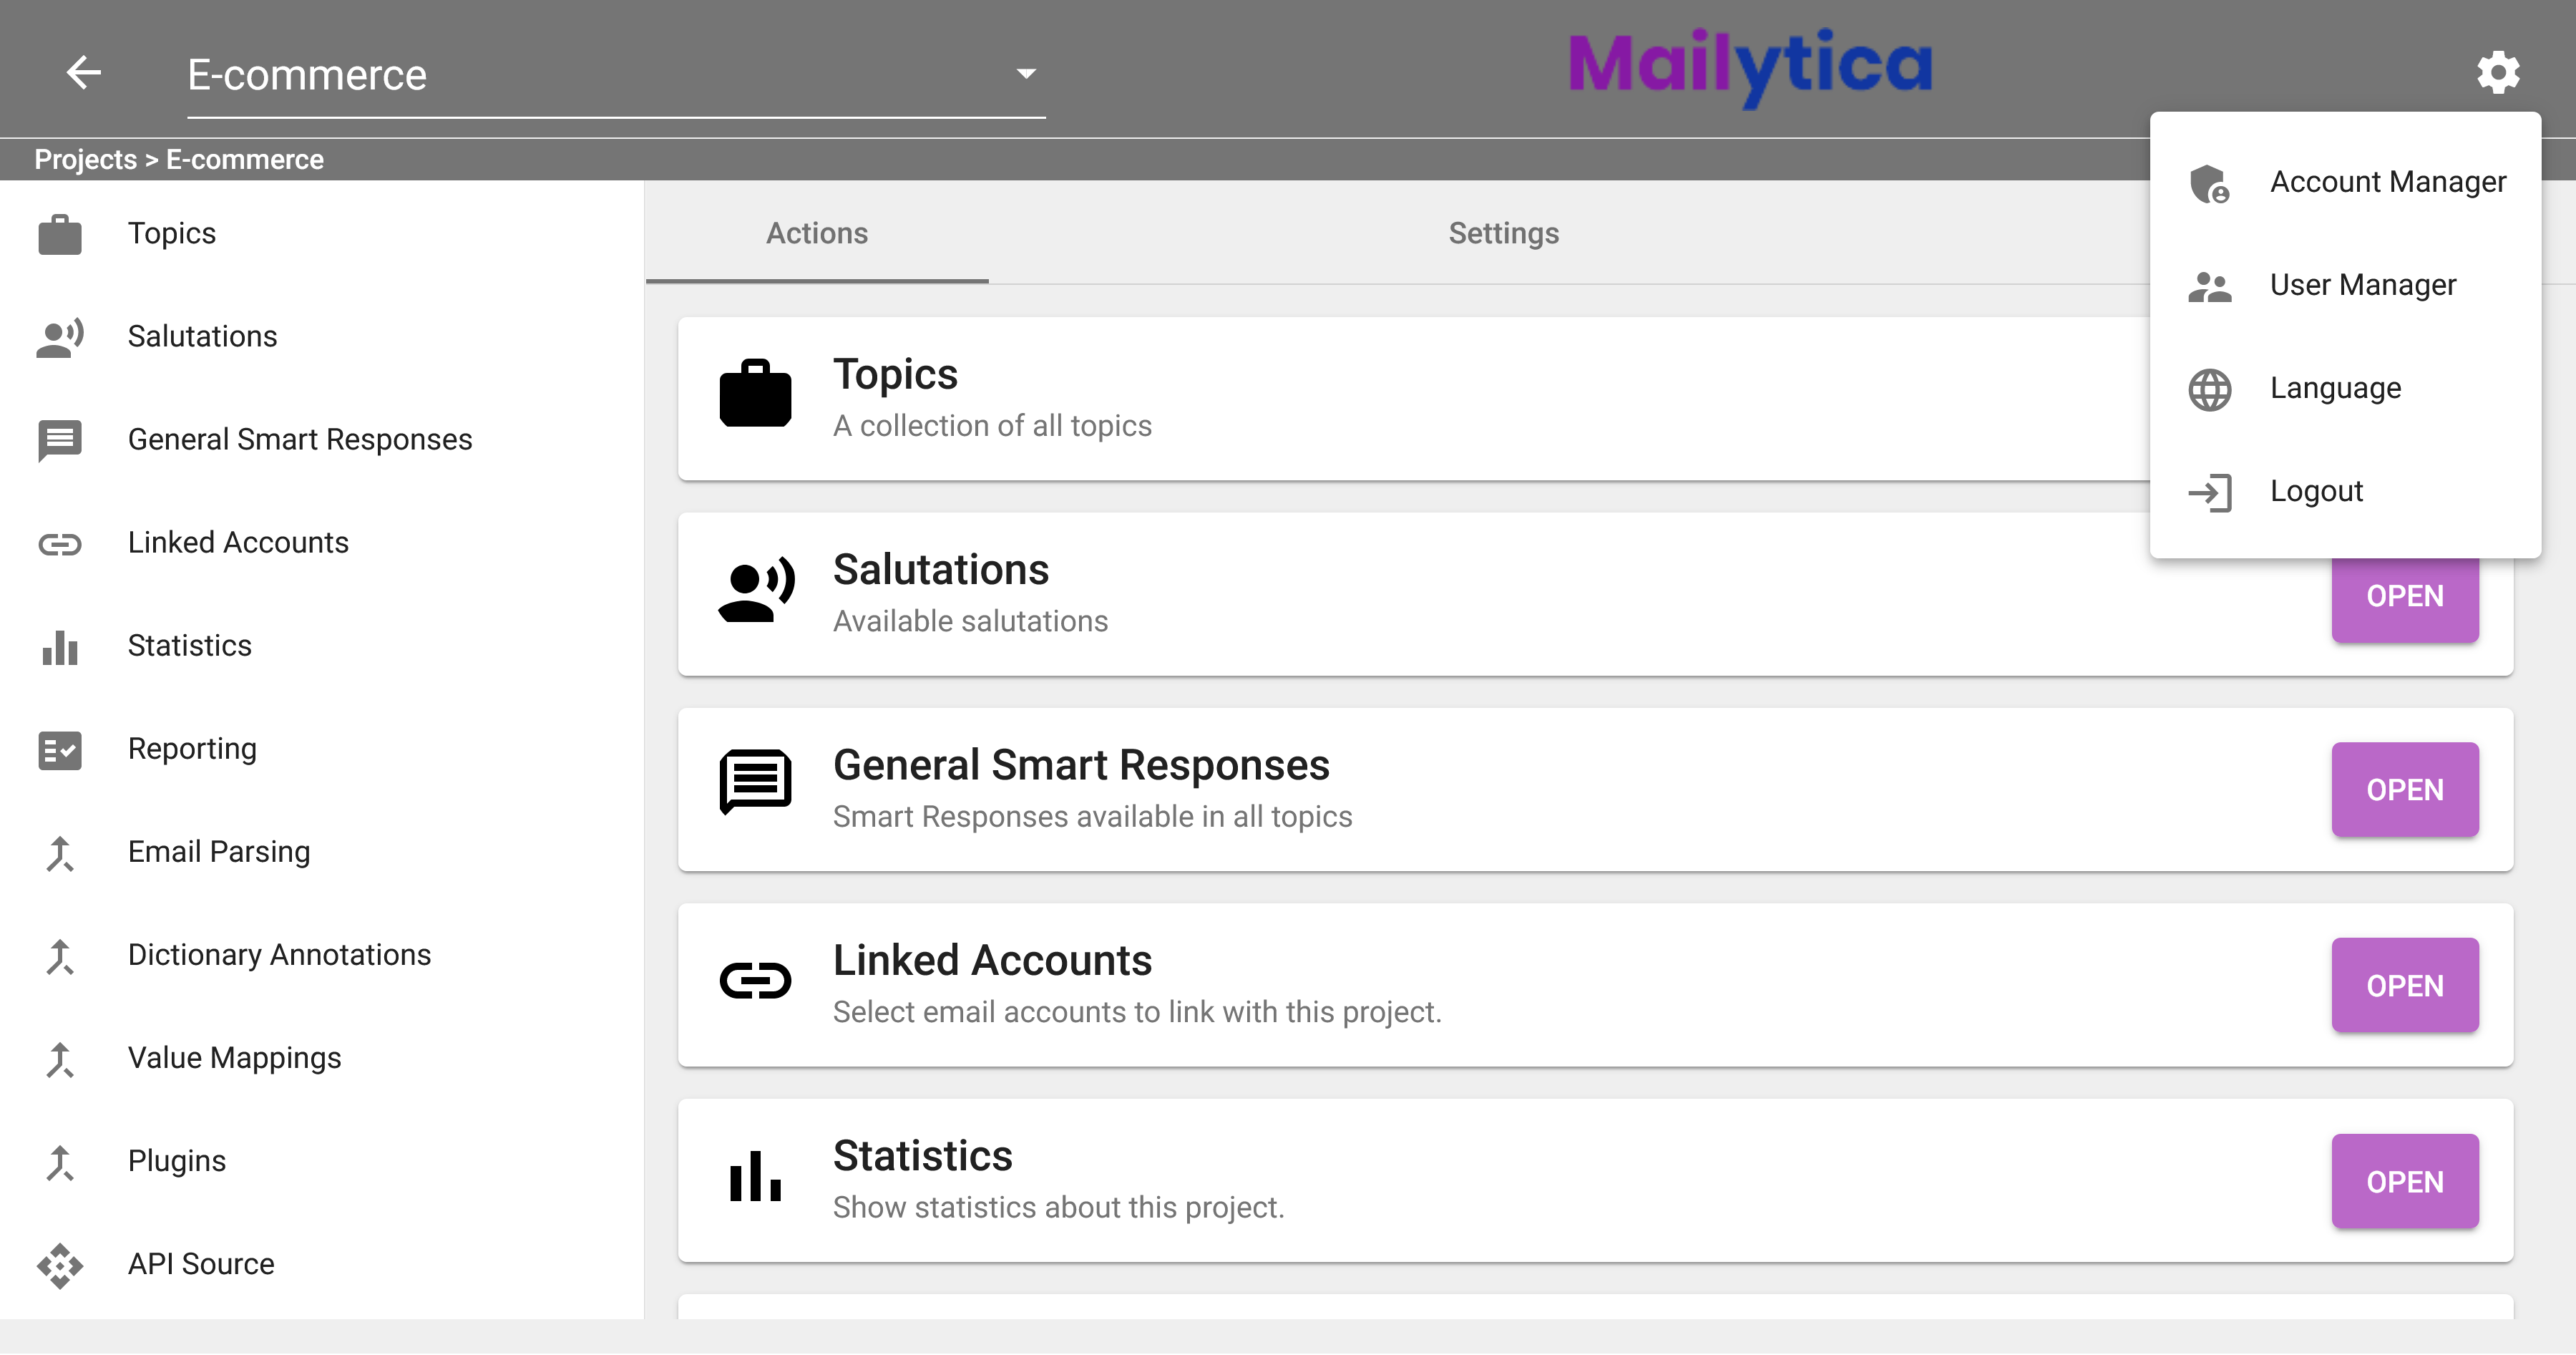
To connect a new email account to Mailytica, first log in to the Online Platform at mailytica.ai. Then, in the top right corner, click on the button to access the settings, and select Account Manager.
The Account Manager screen will appear. Here, you can add new accounts or edit existing ones.
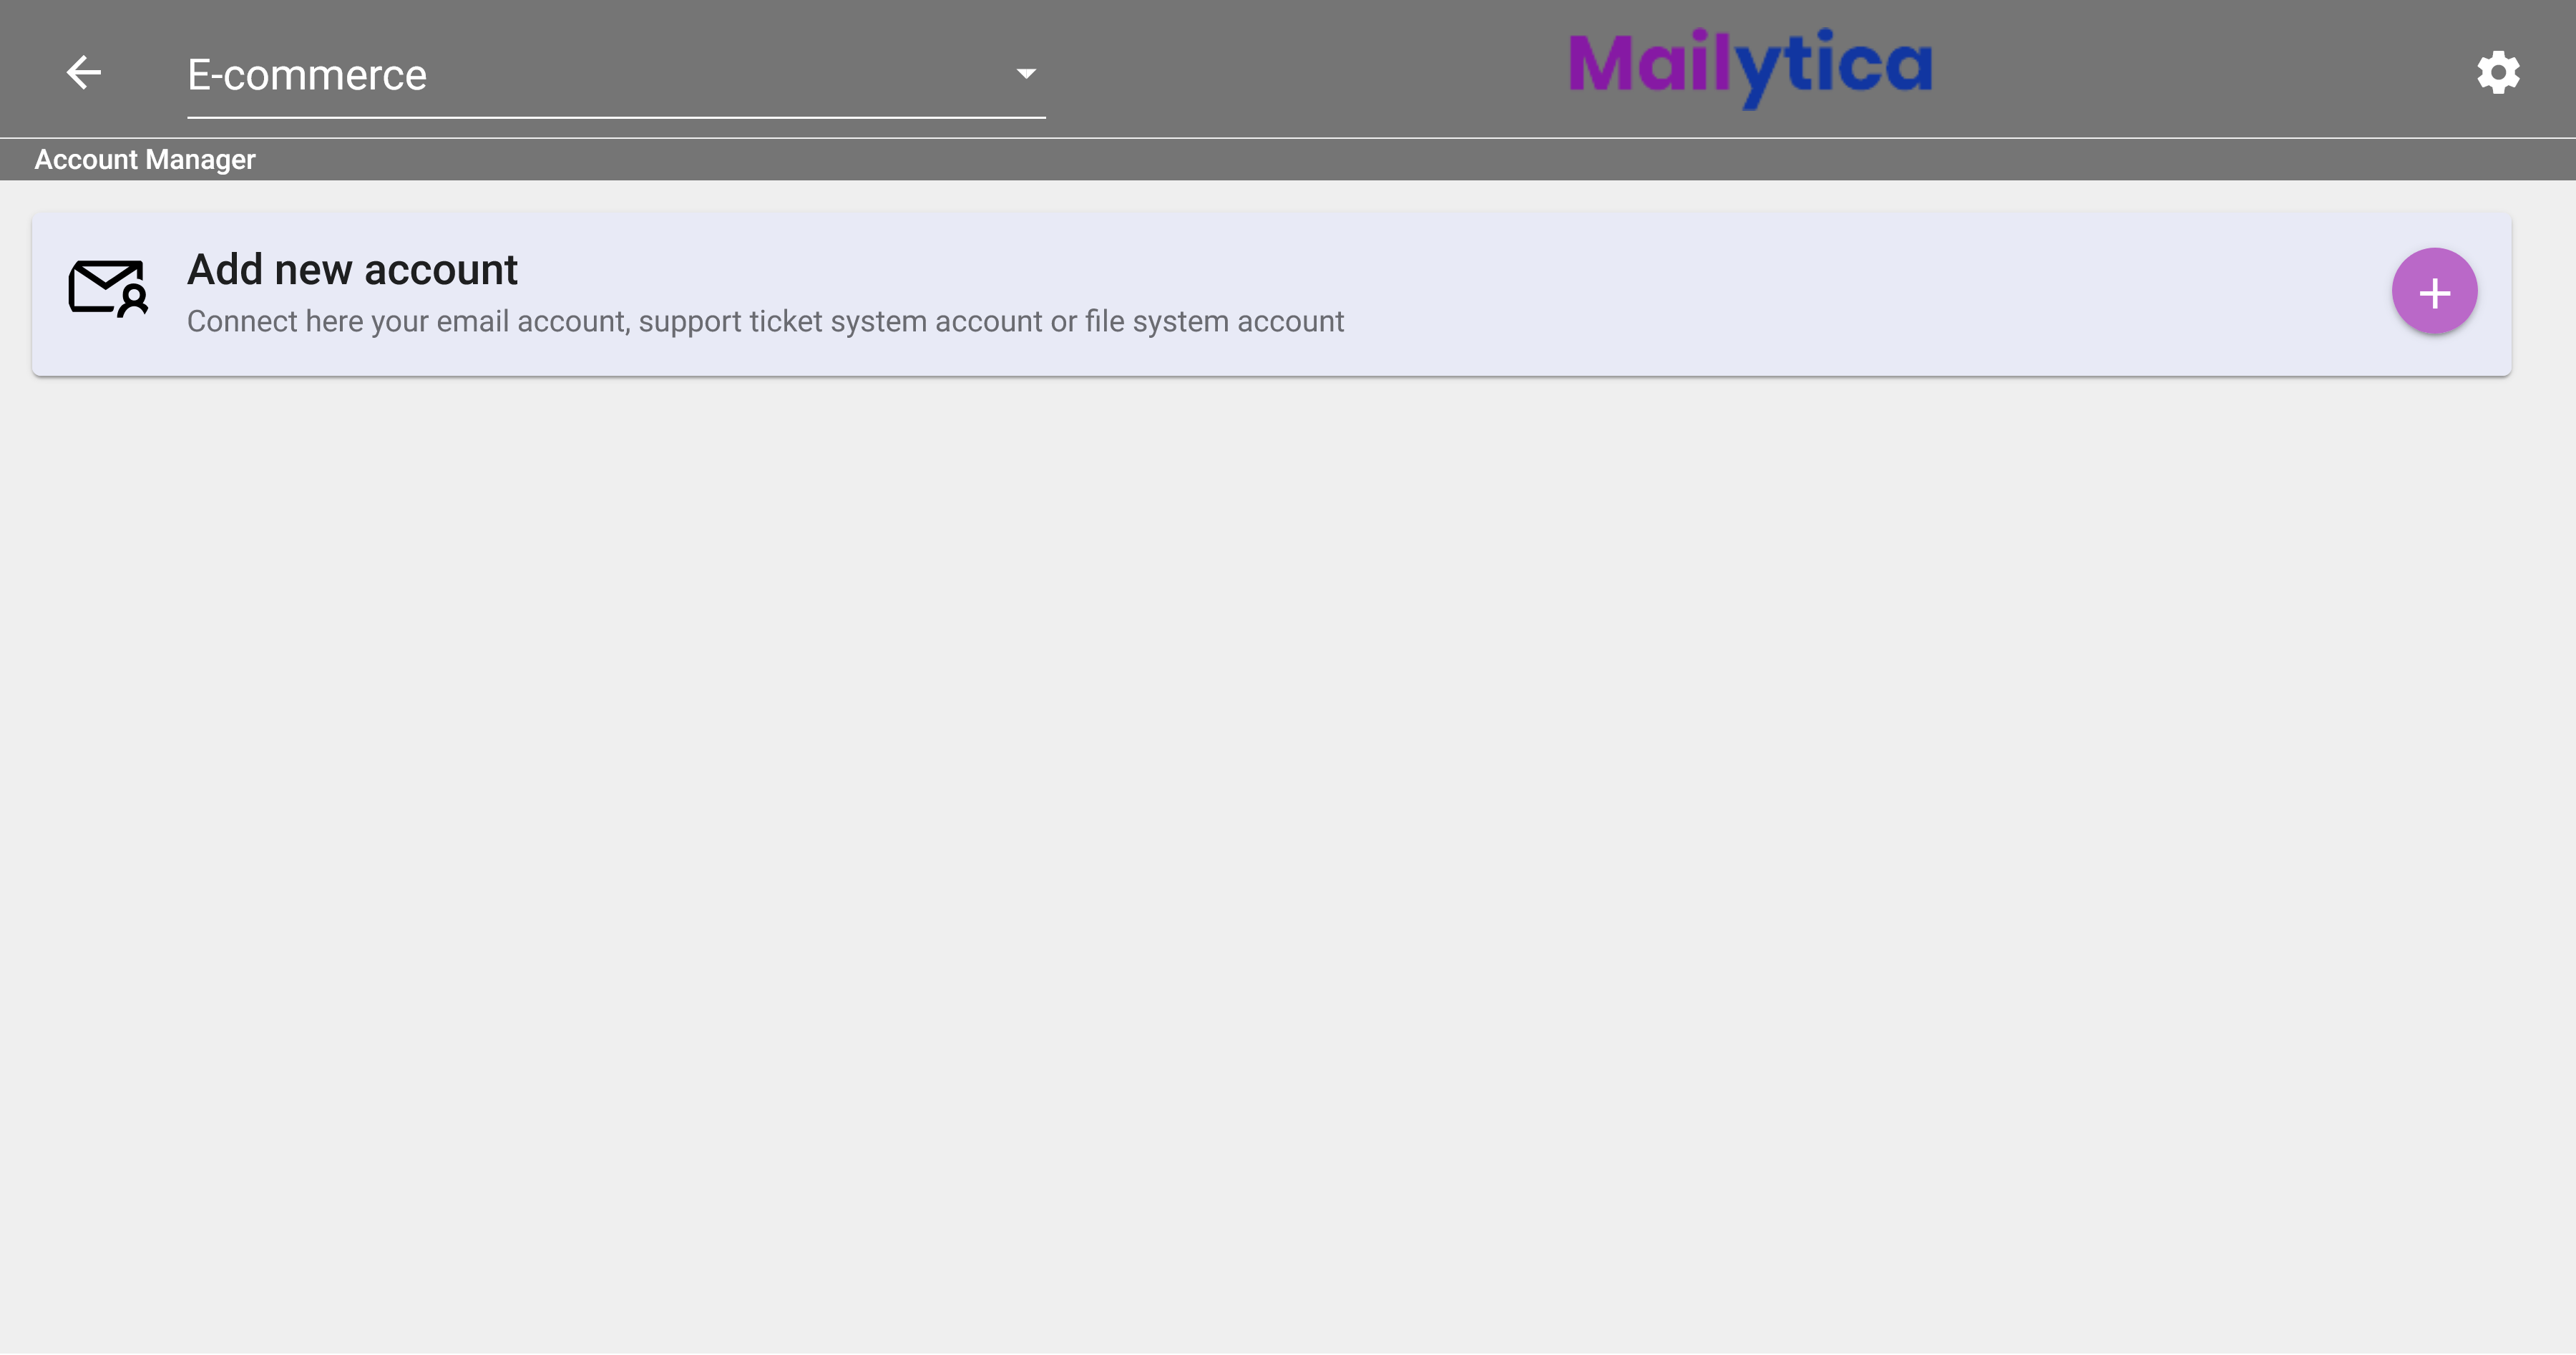
To set up a new email account, first click the button next to Add new account. Then, select the type of account you want to add. You can choose from Microsoft Exchange, IMAPs Account, SMB v3 Account, Klara ePost, Spinoco, Gmail, and Zendesk. You will then be prompted to enter your account information and preferences.
Tip
For details on how to set up each account type, please visit our Connectors section.
Once you add the new account, it will appear on the Account Manager screen. From here, you can add additional email accounts to your Mailytica project by clicking on the button next to Add new account and repeating these steps.
You can edit your account settings any time by clicking on the name of your account from the Account Manager, and clicking the Edit button in the lower right corner. Similarly, you can delete an account from your dashboard by choosing Delete from that same menu.
User Manager#
The User Manager is a utility that allows you to add, edit, and manage user accounts. User accounts are necessary to access Mailytica’s Online Platform (mailytica.ai) in order to add or edit projects, topics, smart responses, API connections, etc.
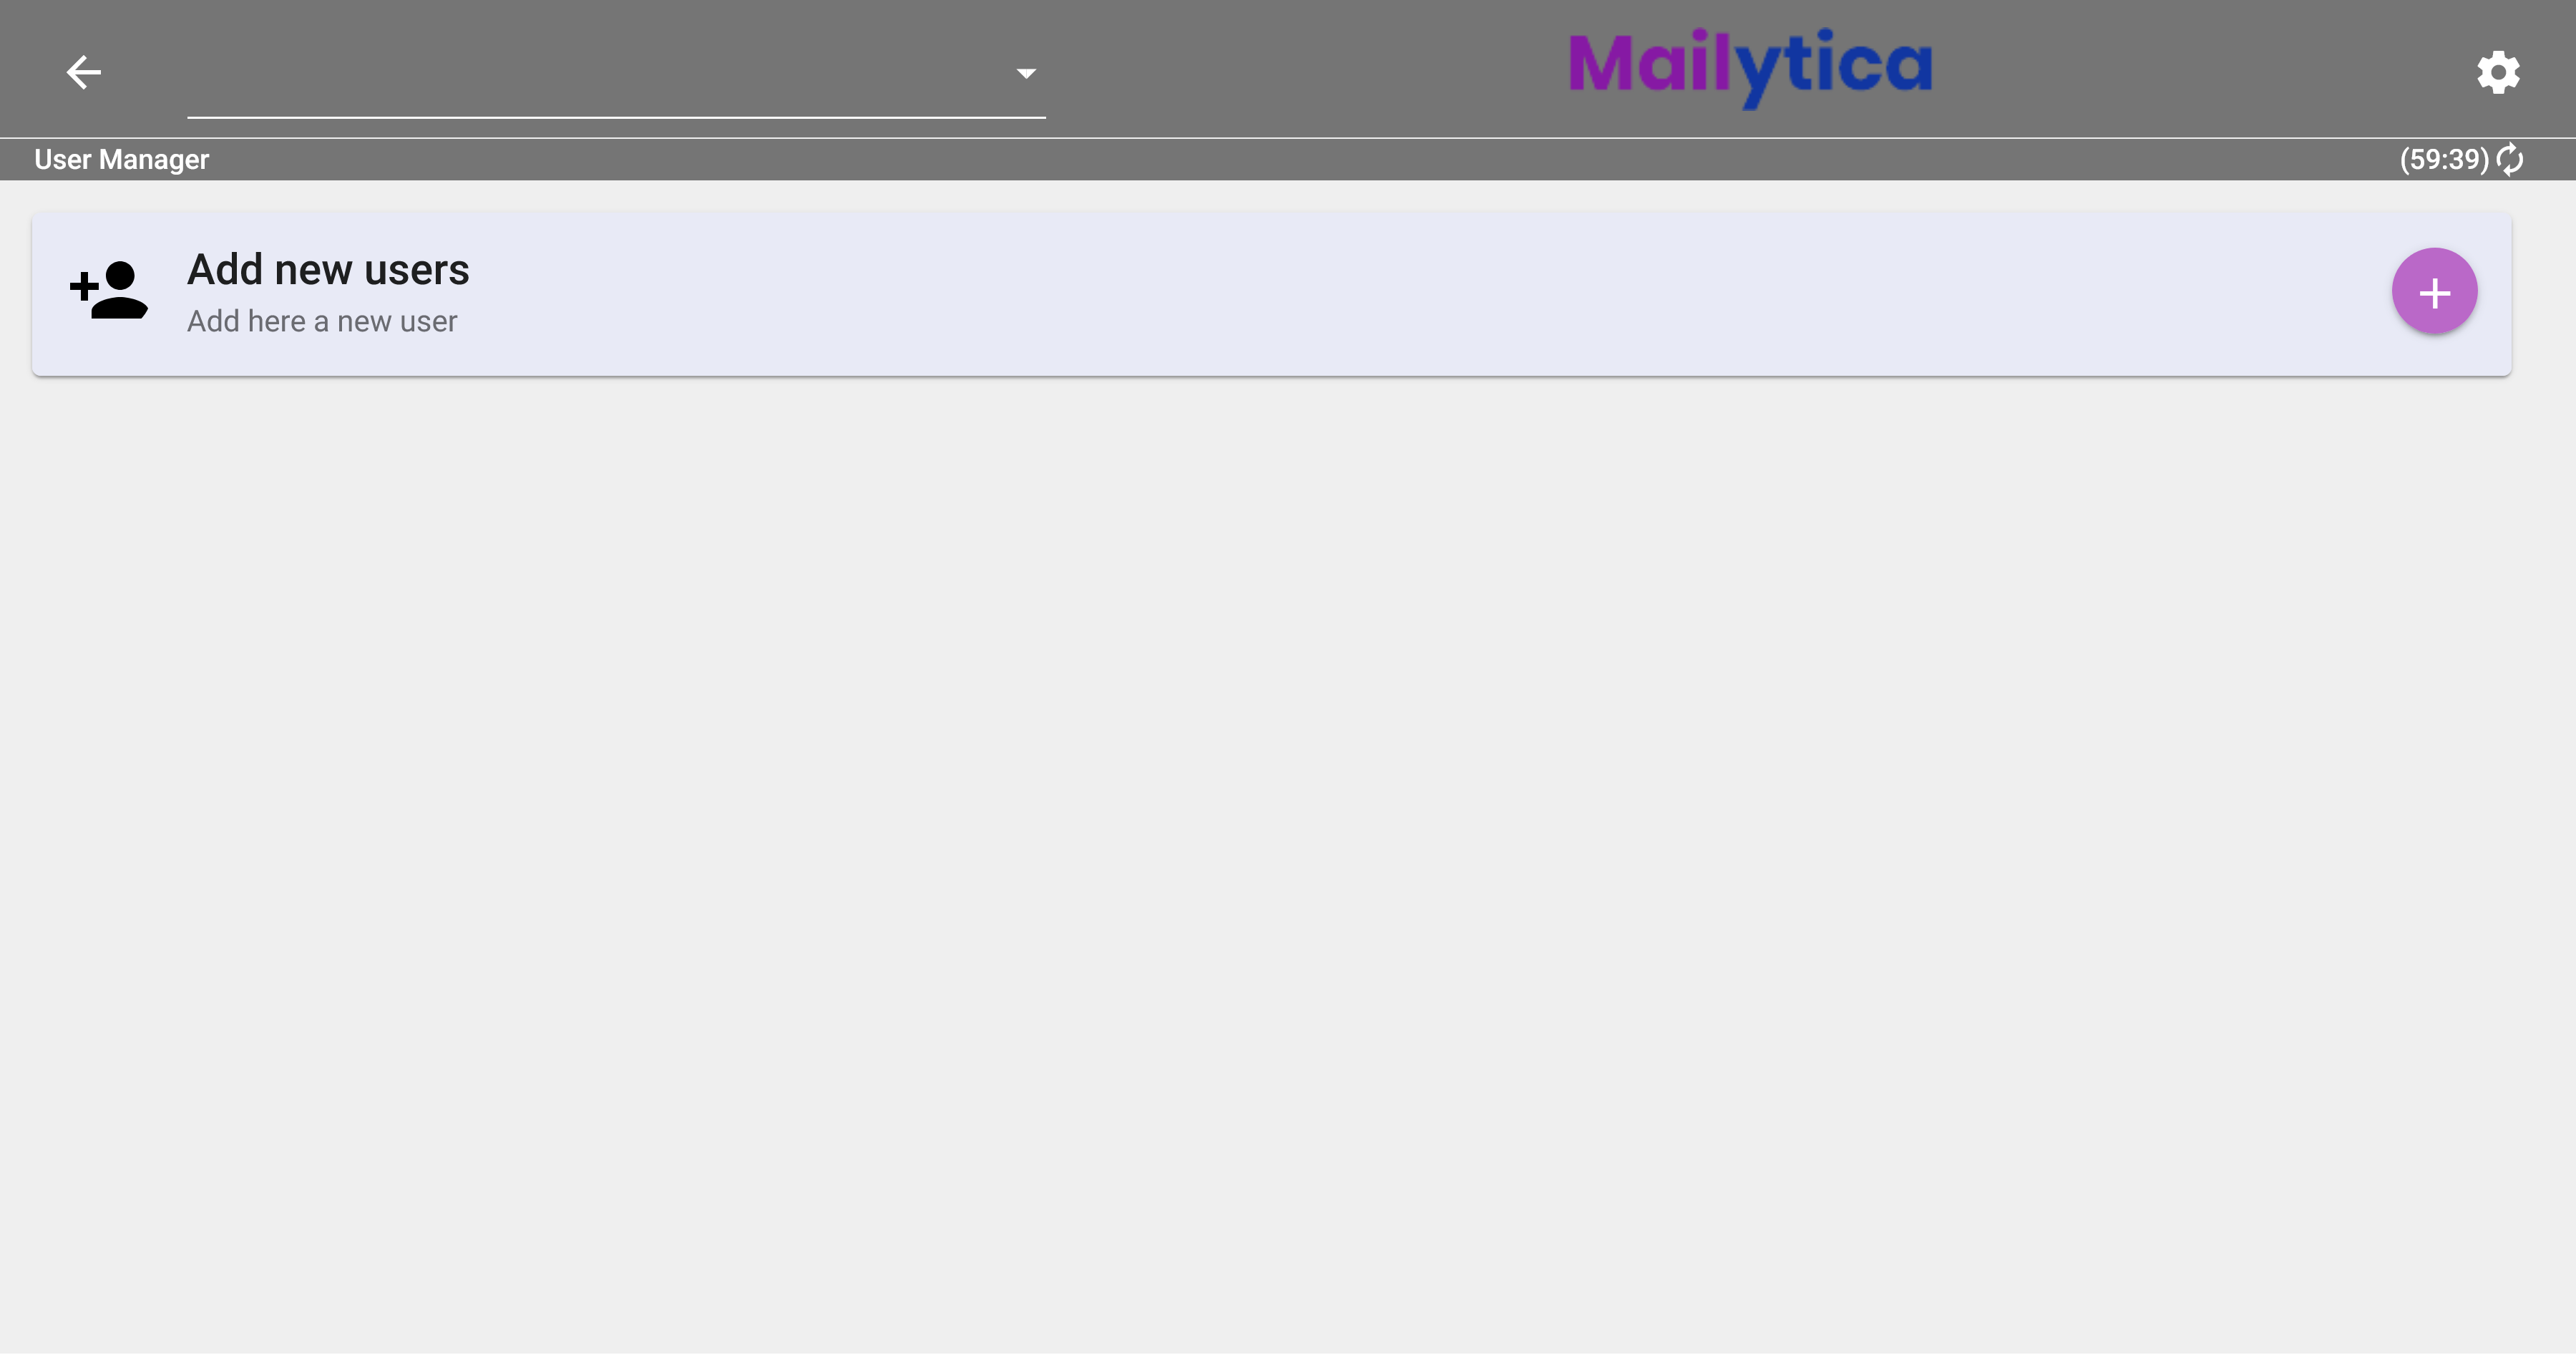
The User Manager can be accessed via Mailytica’s Online Platform. After login in, in the top-right corner, click on the button and select User Manager. The User Manager screen will show you a list with all the users that have been created.
Add New Users#
To add a new user, click on the button next to Add new users.
Start by typing the person’s Email Address that will be associated with the new user in mailytica.ai.
Warning
You cannot register the same email address for more than one user account.
Then, an initial Password will be automatically generated. This password is intended for first-time login purposes only. Here you can also decide whether the system should automatically notify the new user of their account creation via email.
Tip
Before confirming the new user, make sure to copy the generated initial password from the dialog box to securely share it with the new user.
You can also set the email notification feature to Active to send the new user an email with the account details, including a link to change their password during their initial login process.
Under User Role, you can assign permissions to the new account. The available options are:
Admin: The Admin role has all the possible permissions and can modify settings, add new users, and manage existing ones. Therefore, admin accounts should be reserved for people who will be managing the system, such as your organization’s IT department.
Key User: The Key User role is a middle ground between the Admin and Agent roles. It’s designed for users who need more access than an Agent but less than an Admin.
Agent: The Agent role restricts a user from making any configuration changes or creating Topics, Smart Responses, etc. They are only able to access their own account and see which tools have been implemented. The agent role is best suited for people who will be using Mailytica’s functionalities, but don’t need access to any of its technical aspects (such as your organization’s sales team for example).
Permissions
Within the User Role settings, you also have the flexibility to customize the permissions for Key Users and Agents according to your organization’s needs:
UserPermission: Create and manage other users’ roles and permissions. Reserved only for Admin users.
TestAreaPermission: Access and use the testing area.
ExportImportPermission: Import and export data such as projects, Smart Responses, models, etc.
FieldPermission: Access and edit the Fields / Variables functionality.
EntityMatcherRulePermission: Create and modify Email Parsing Rules.
DictionaryEntityEnrichmentPermission: Manage and apply Dictionary Annotations.
ContextEnrichmentRulePermission: Access the API Data and API Source functionalities.
ExportFileFormatPermission: Export files and data.
ClassificationModelsPermission: Access and modify the AI & NLP Classification Setup section.
LanguageModelPermission: View and modify the Smart Assist function.
PredictionMappingPermission: Create and edit Linked Accounts.
StatisticPermission: Access the statistics section.
AccountPermission: Manage account settings.
SmartResponsePermission: Create and manage Smart Responses.
SalutationPermission: Adjust salutations for messages.
ImportEmailsPermission: Import emails into Mailytica.
TopicPermission: Create and manage topics.
FolderTargetPermission: Add folder destinations.
EmailTagPermission: Add and manage email tags.
EmailForwardPermission: Set up and manage email forwarding rules.
ValueMappingPermission: Create and manage value mappings for field values.
PluginEnrichmentPermission: Manage custom plugins.
Always assign permissions with discretion to maintain system integrity. The assigned permissions should align with the user’s role and responsibilities.
Finally, click on the Add button and the new user account will appear in your user list.
Reset User Passwords#
Important
First make sure you have Admin permissions to reset passwords for other users.
Start by locating the user whose password needs to be reset in your User Manager.
Click on the user’s name to expand additional options. Click the Reset Password button.
After clicking Reset Password, a dialog titled Reset User Password will appear. The system will automatically generate a new, secure password for you.
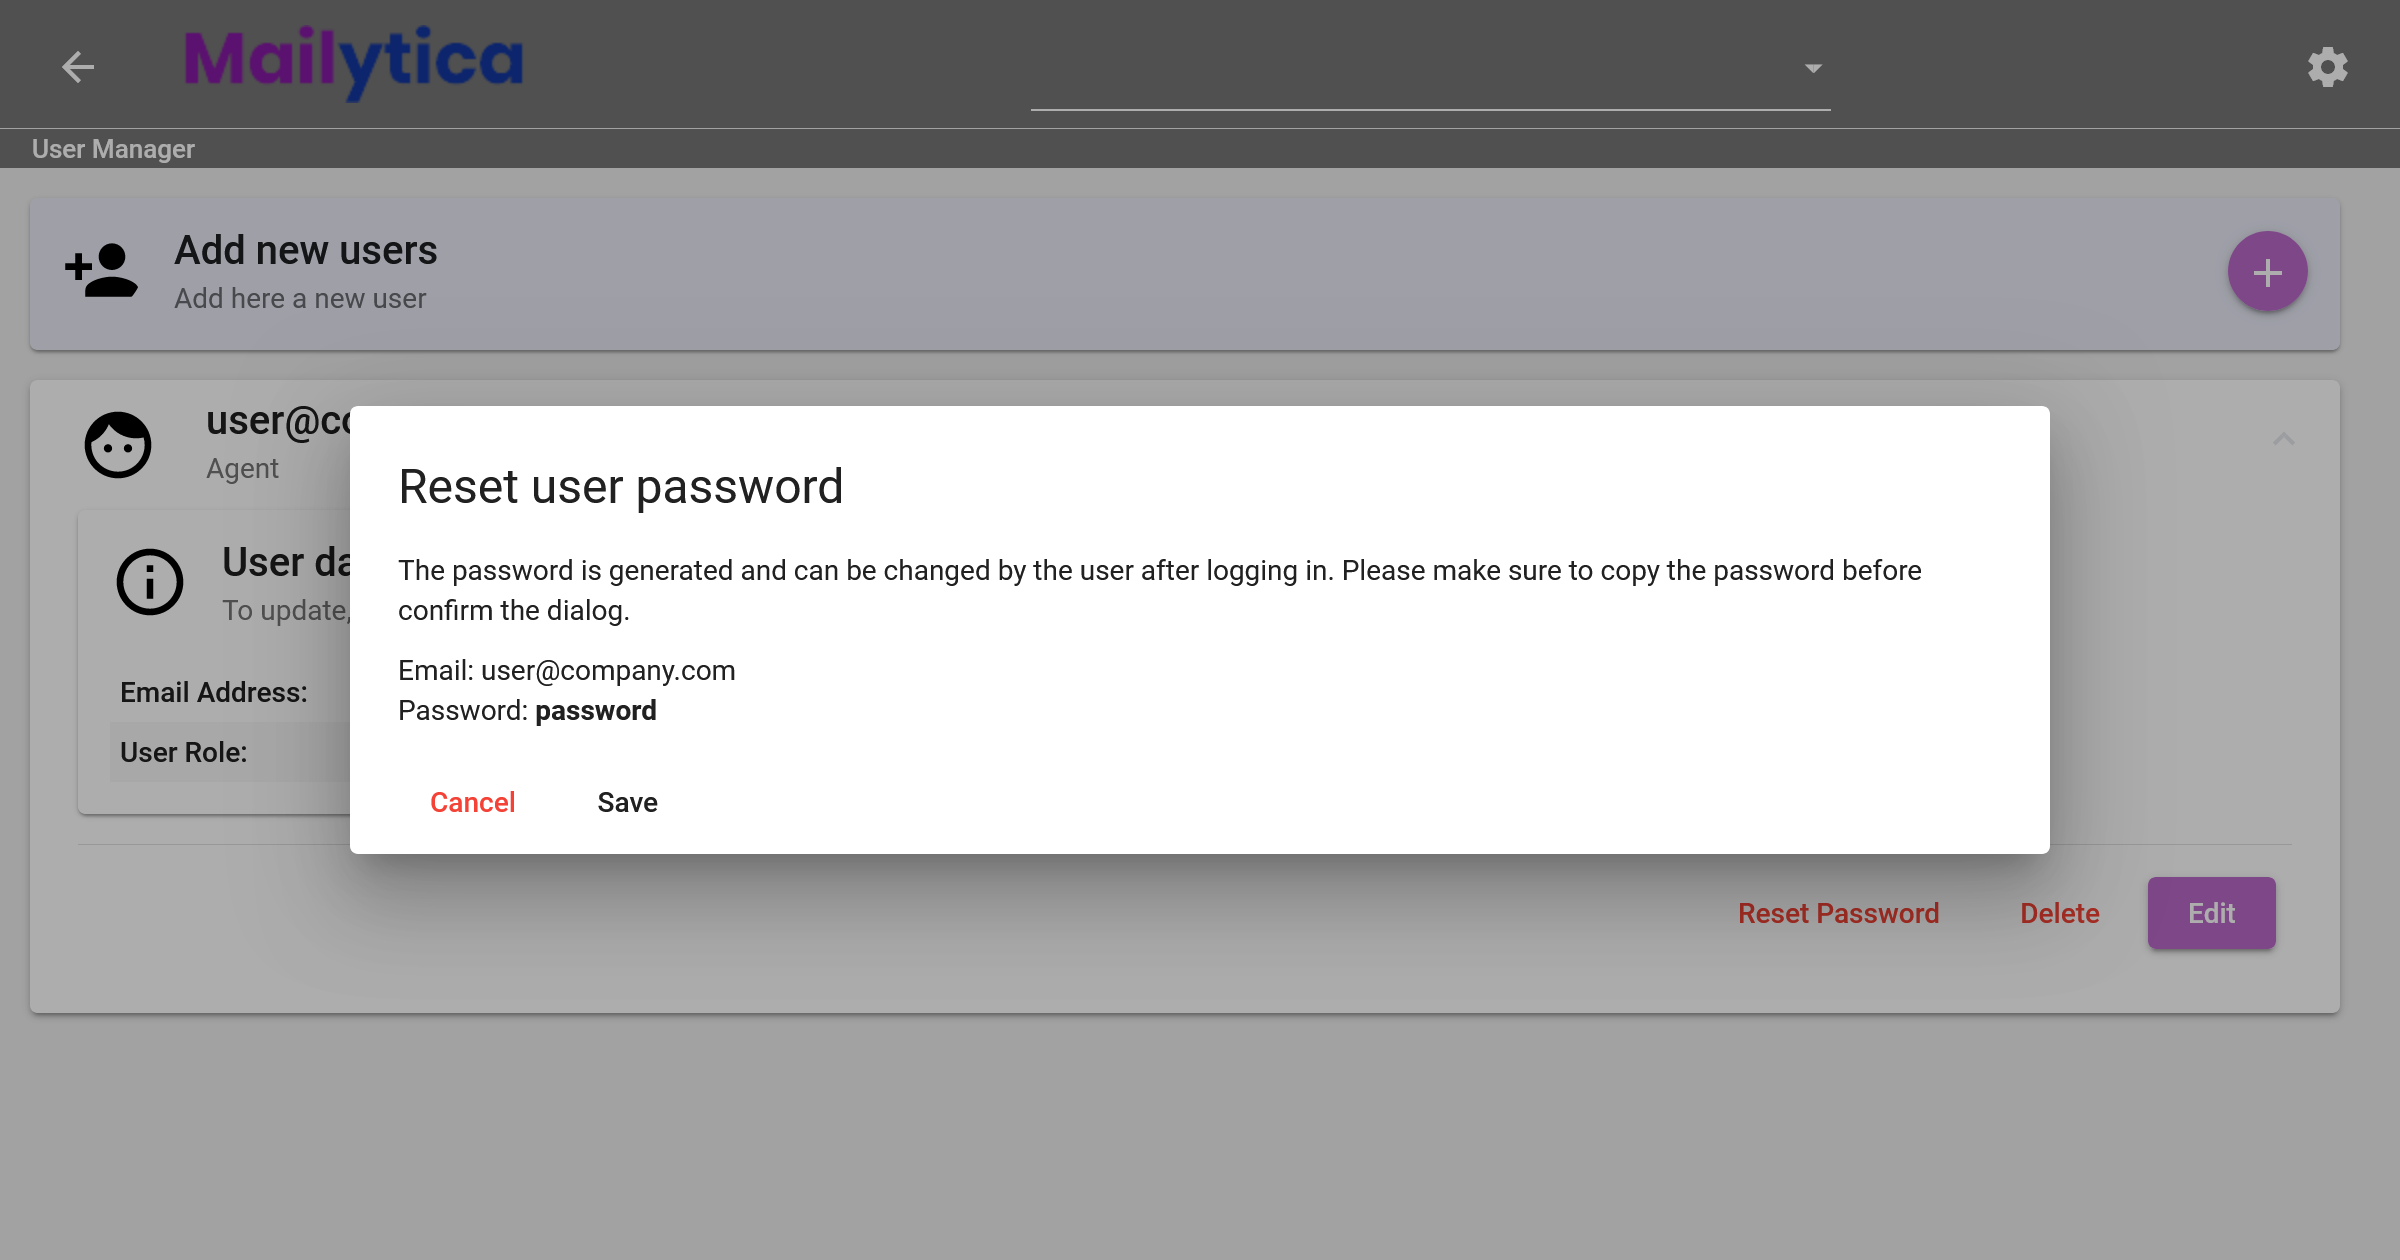
Copy the new password and click Save. This password will not be displayed again so it’s crucial to copy it before you close the dialog box.
Important
Remember, the user should replace this temporary password after they log in. Always communicate the new password securely with the user for privacy and protection.
Display Language#
To change the language displayed in Mailytica’s Online Platform (mailytica.ai), first log in to your account. In the top right corner of the screen, click on the icon to access the settings menu.
Click on Language, and a new pop-up window will appear where you can select your preferred language from the dropdown.
Click Change to set this as the default display language for Mailytica’s Online Platform.