Topics#
Topics is a Mailytica feature that helps you draft and send emails faster. With Topics, you can automatically identify recurrent themes in your inbound and outbound email messages. At the same time, you can also create topics tailored to a specific project. In this section, we will explain the step-by-step process of creating and editing email topics.
Add a New Topic#
Log-in to Mailytica’s Online Platform and select your project.
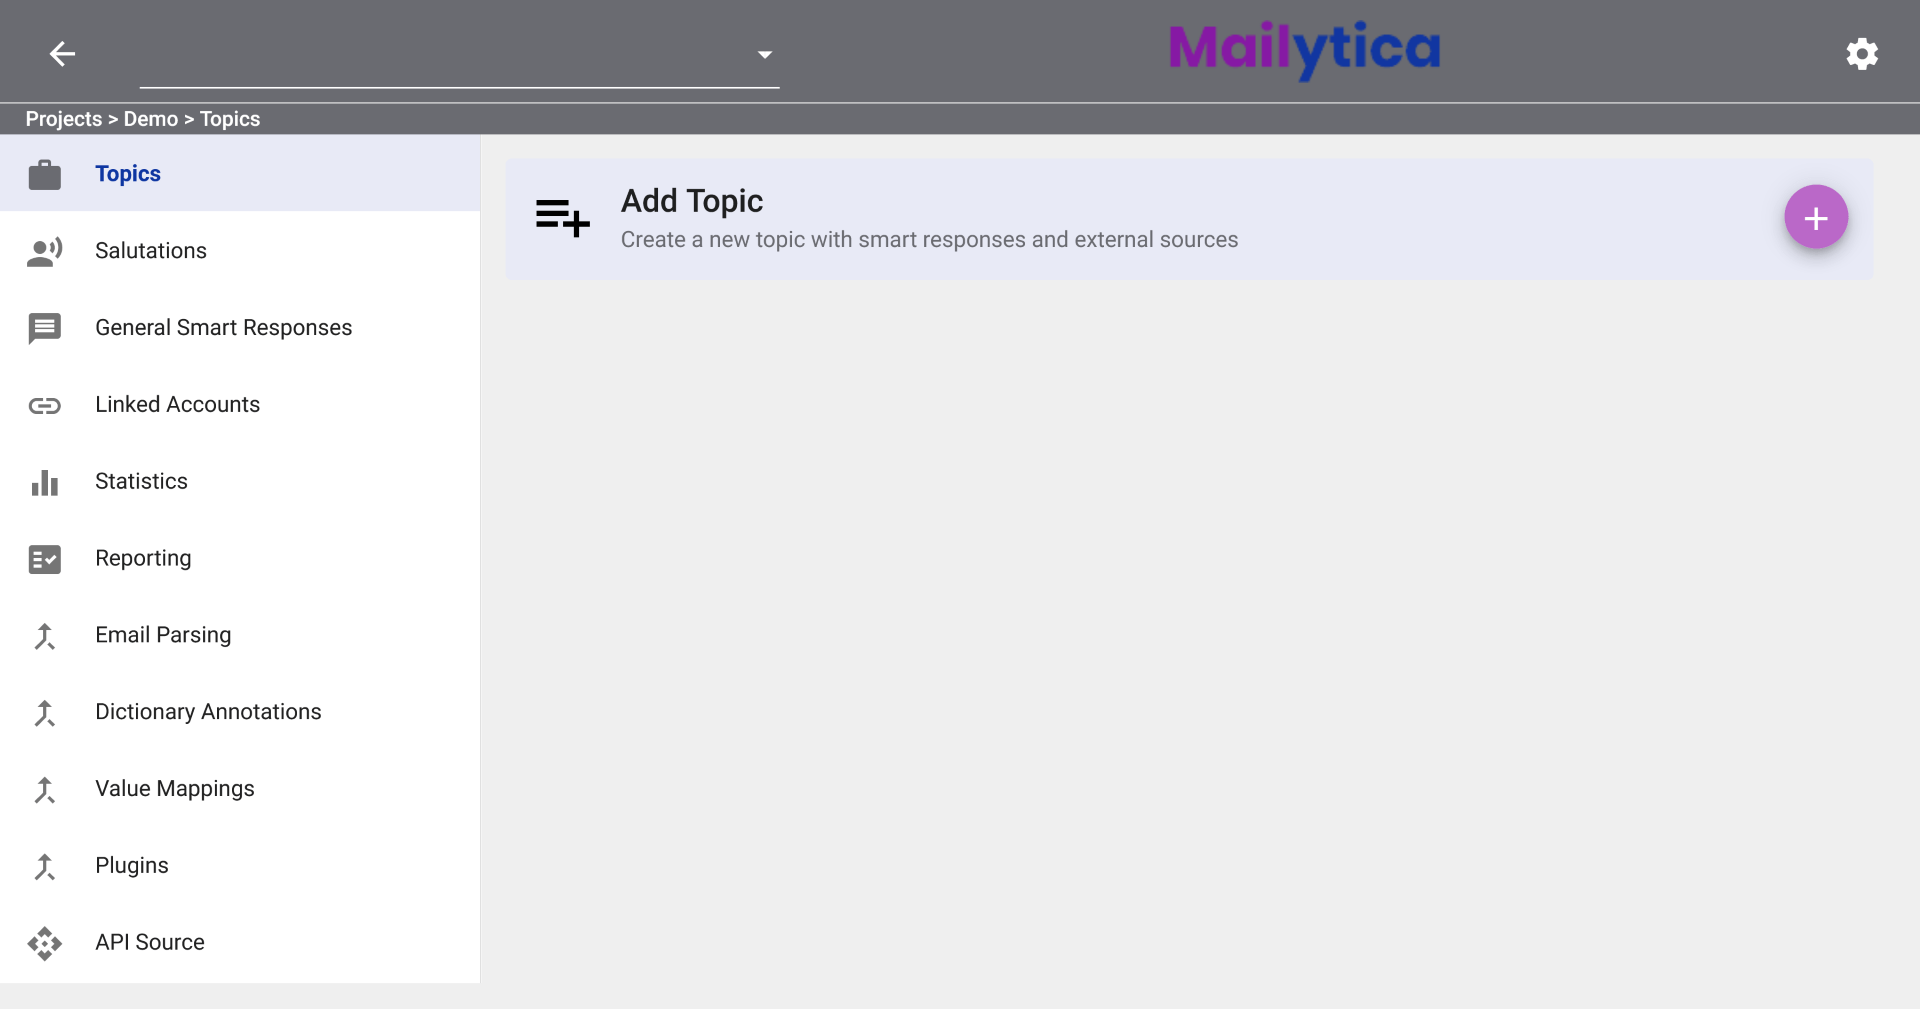
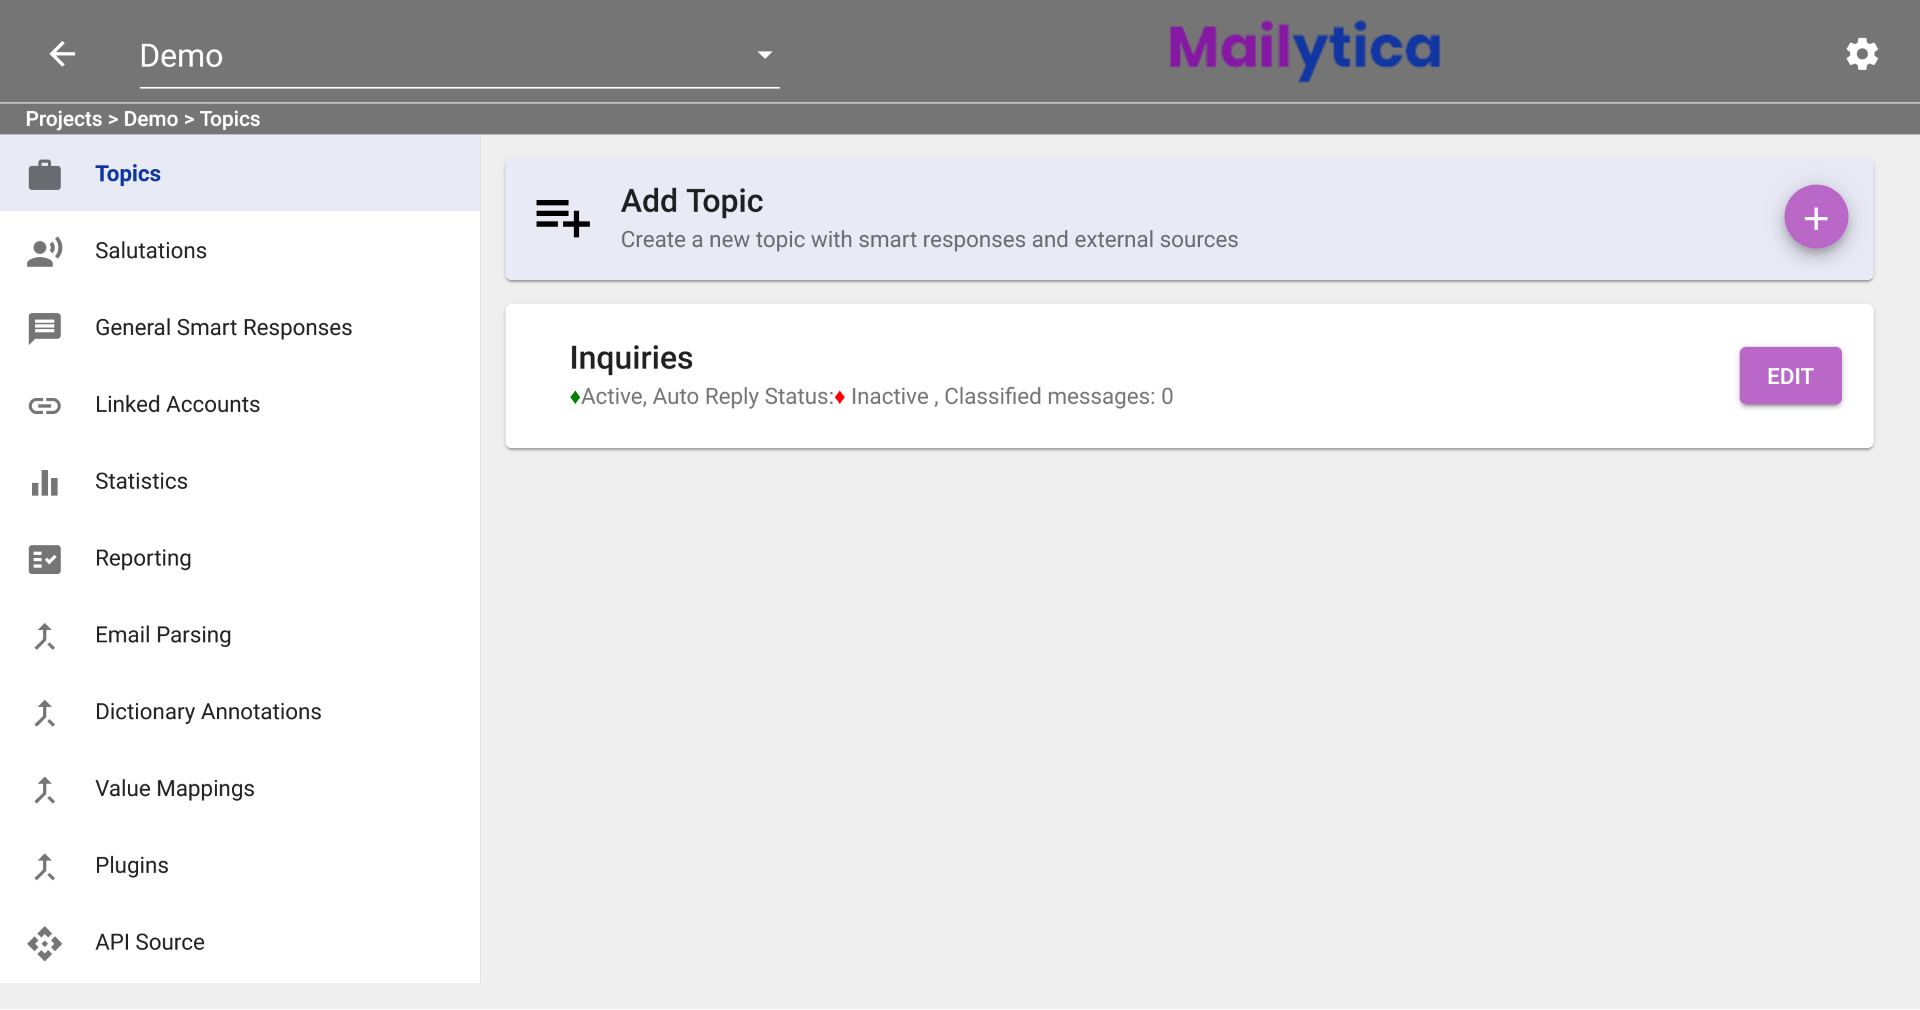
Click on the Topics tab on the left sidebar. Then click on the button to add a topic.
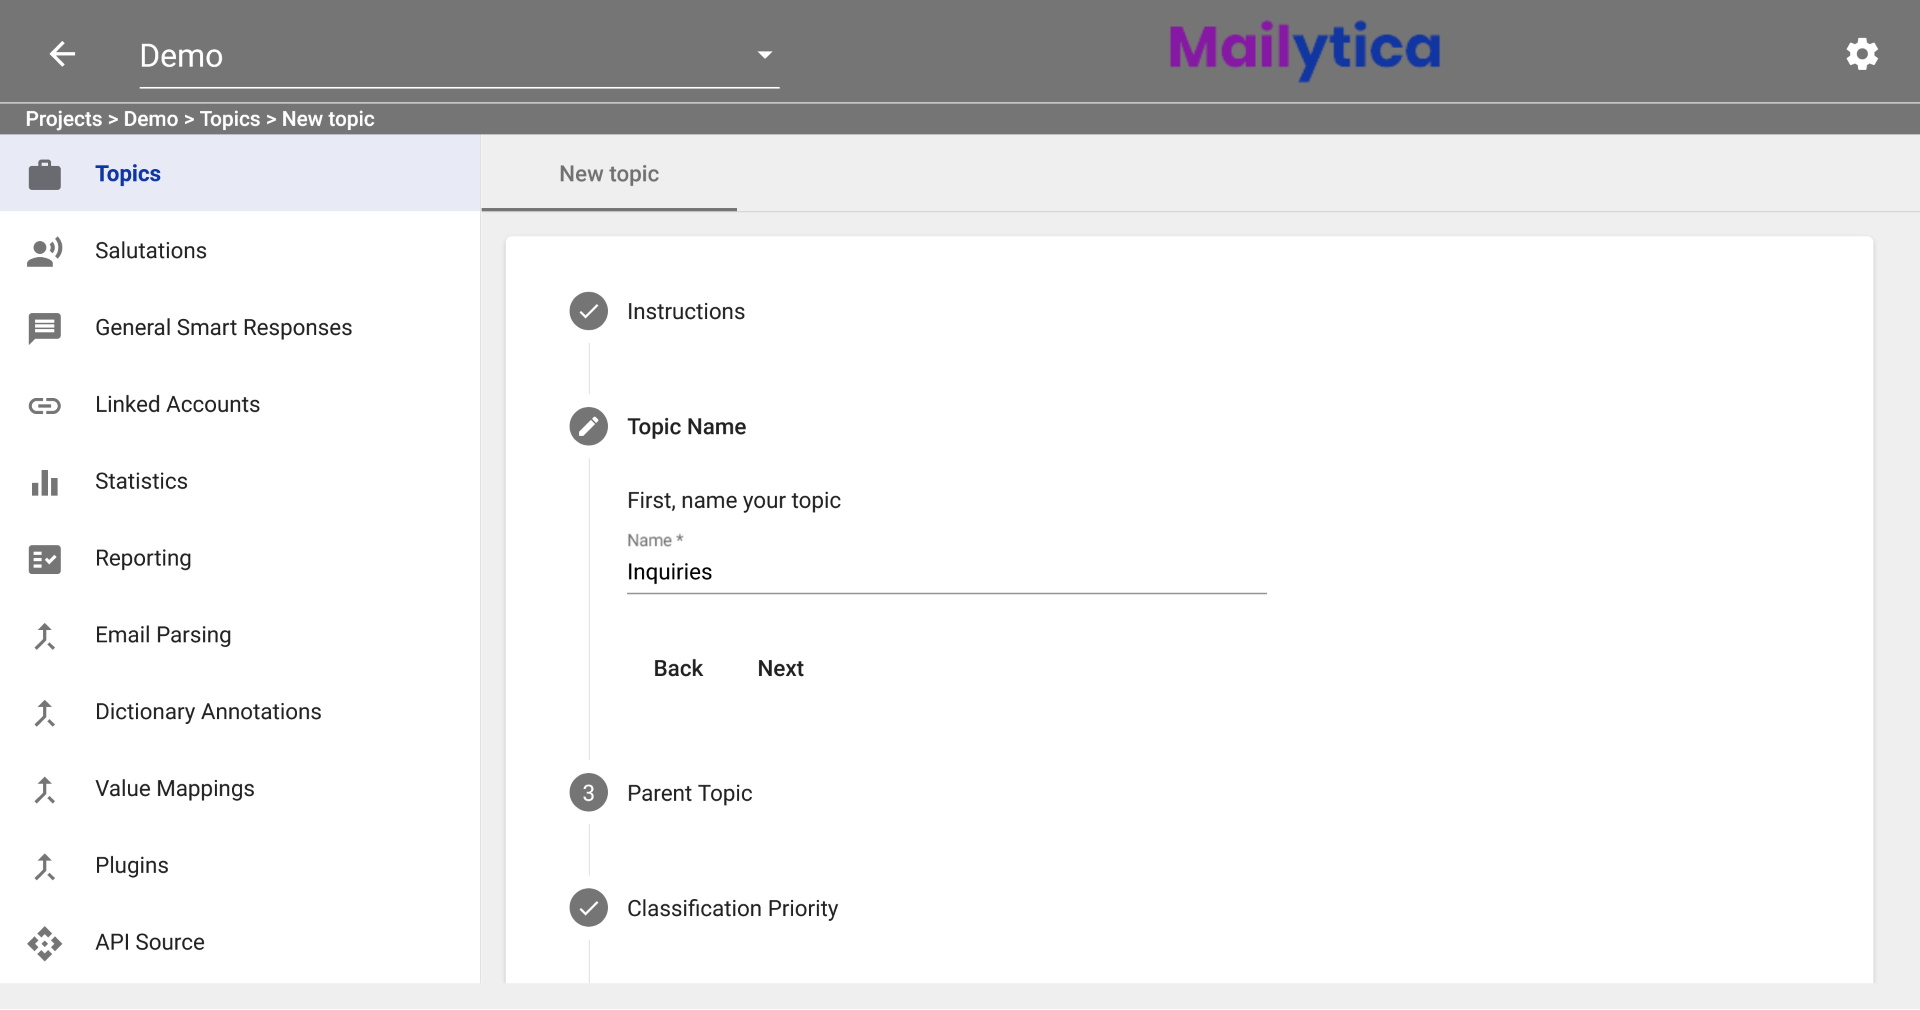
The New Topic tab will show you the instructions on how to create a new topic. Click Next, and it will prompt you to type a name for your email topic. Your topic name should be unique and descriptive of the content of your email messages. For example, we’ll create a new topic named Inquiries to classify all emails related to customer inquiries.
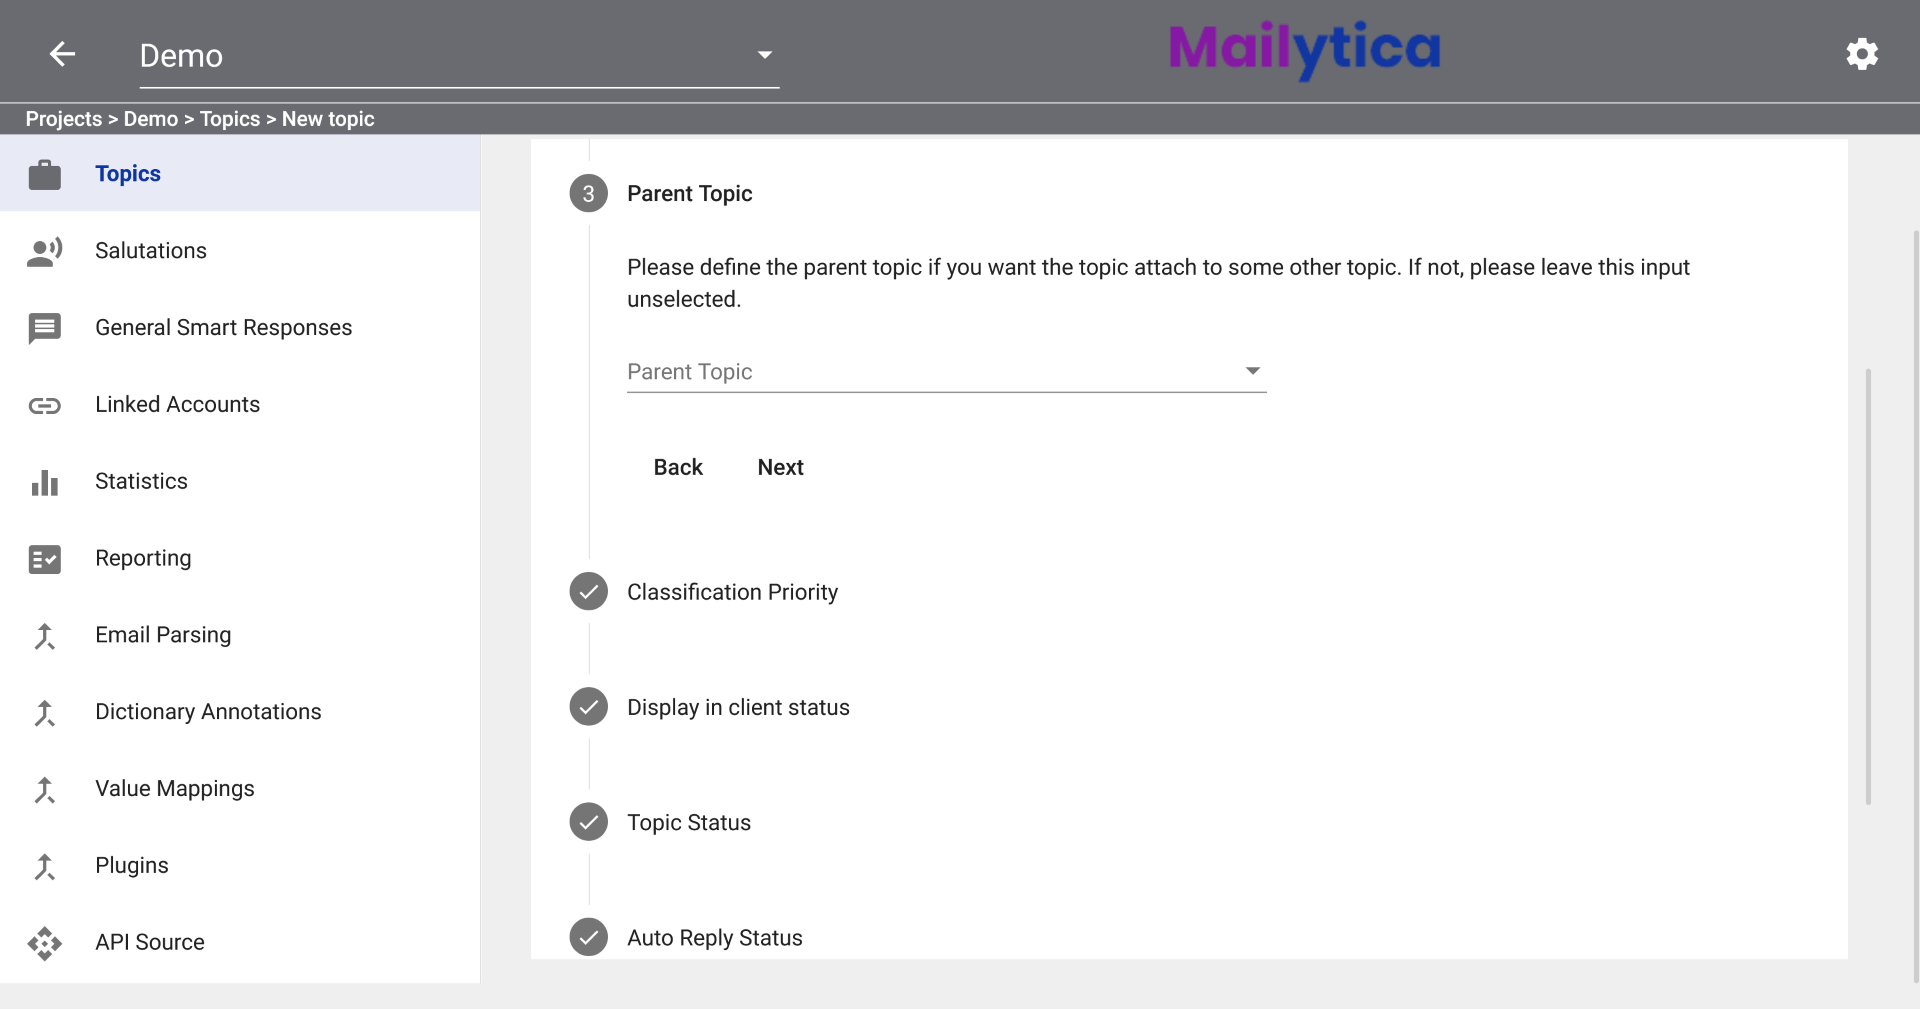
In the next box, you can select a Parent Topic. A Parent Topic is used to organize topics you have created for your project. If you have not set up Parent Topics, you can leave the selection prompt empty. For more information on Parent Topics, please refer to the Parent Topics section.
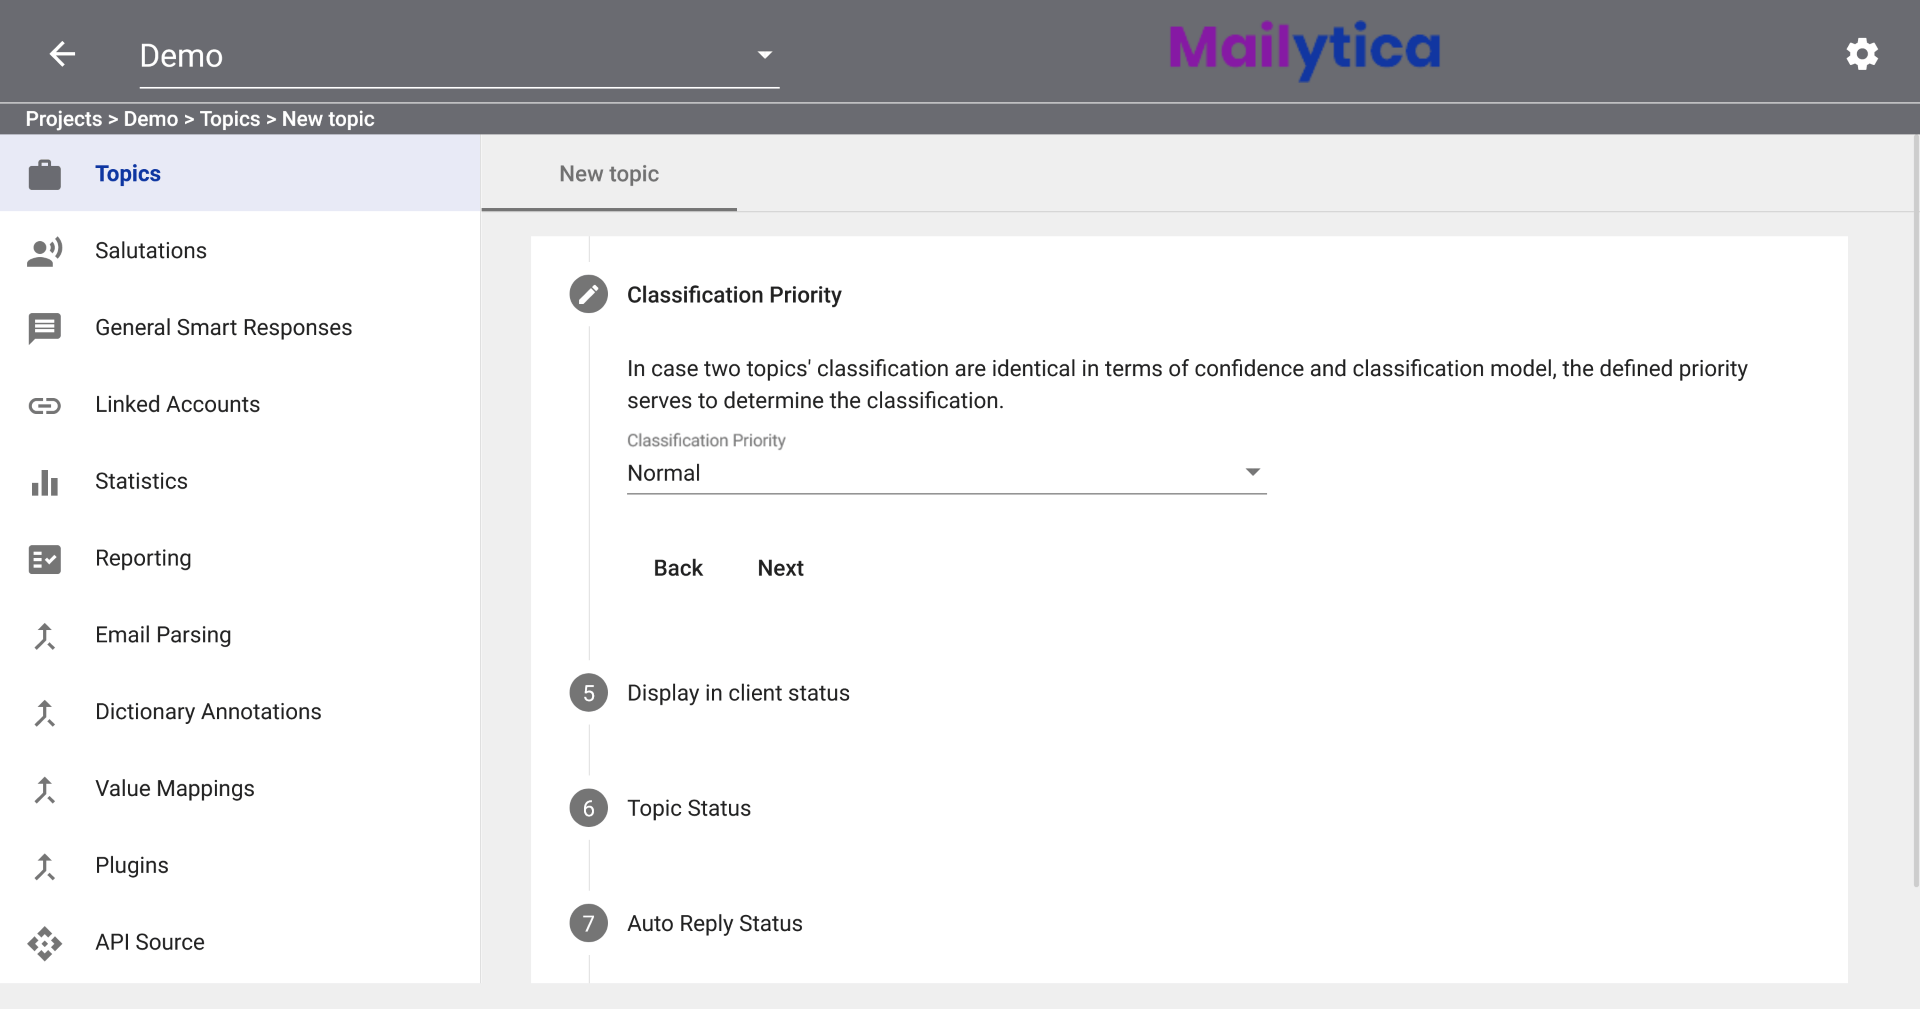
Afterward, you will be asked to choose the topic’s Classification Priority. Classification Priority is relevant if an email message is classified with more than one topic. If this occurs, then the topic with a higher classification priority will be chosen first. The recommended default value is Normal.
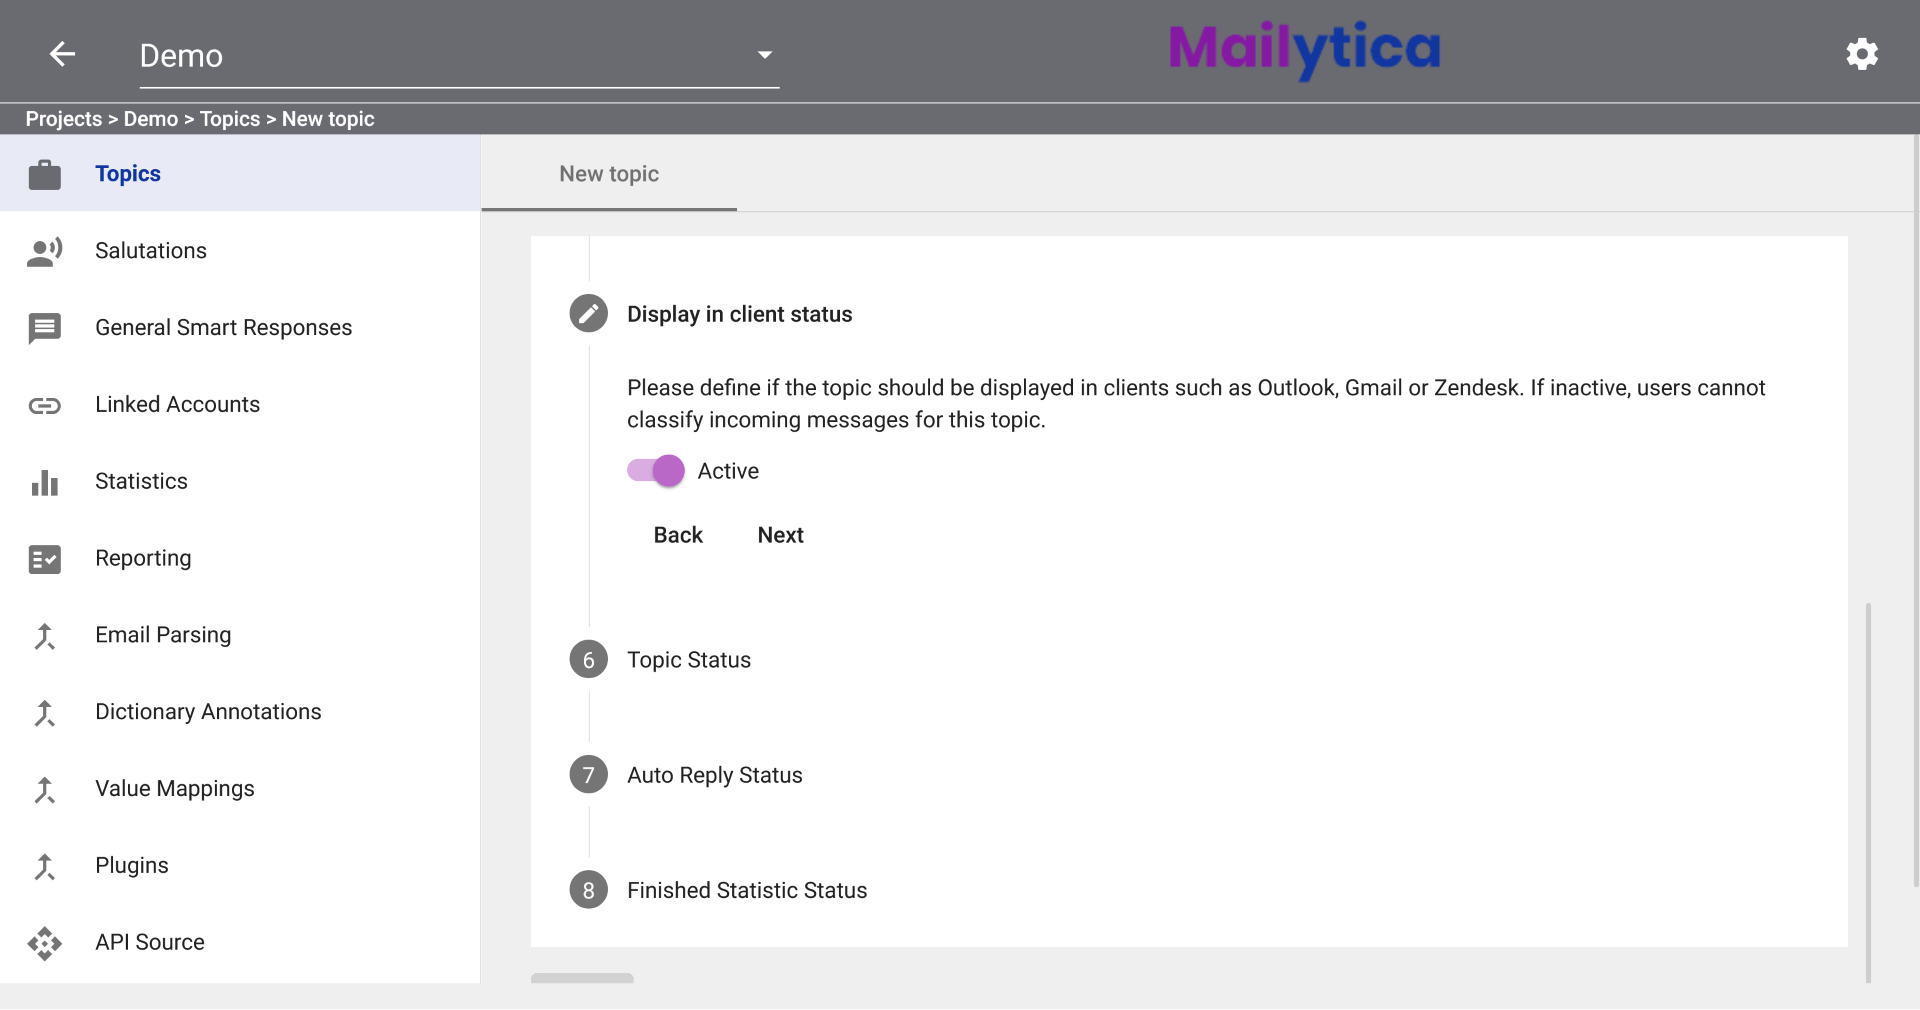
Following, the option Display in Client Status allows the topic to be displayed in any of Mailytica’s integrations such as Outlook, Gmail, and Zendesk. If inactive, users cannot classify incoming messages for this topic. The recommended default value is Active.
Then, Topic Status determines if the topic will be used for Smart Responses or Classifications. The recommended default value is Active.

Next, you can select the Auto Reply Status of the topic. If active, emails are replied to automatically without any user interaction. If inactive, they are suggested as a draft within the user interface. The recommended default value is Inactive.

Finally, you will be asked to select the topic’s Finished Statistic Status. If active, then you can mark your completed email messages as Finished. These messages will then be included in the statistics for both finished and unfinished messages.
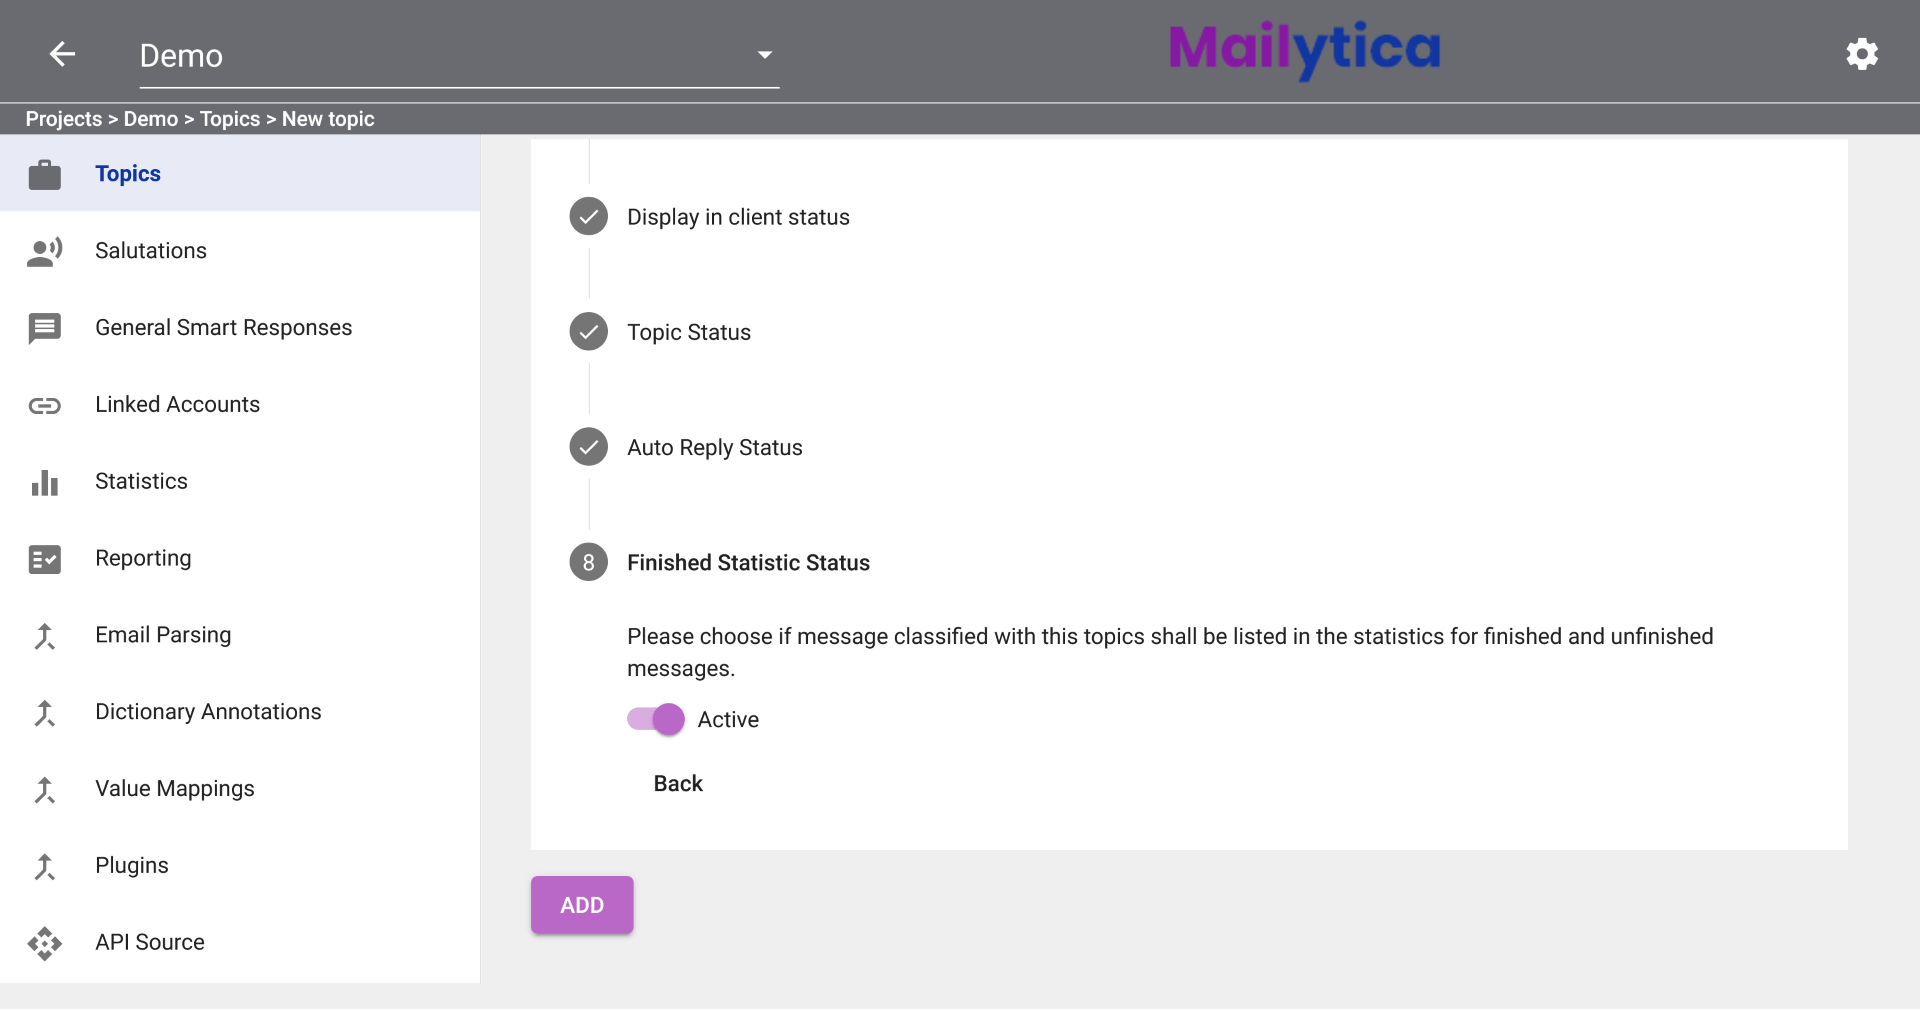
Click the Add button and you will have finished creating your first topic.
Tip
You can also import and export topics between Mailytica accounts.
Export: To export a topic, first navigate to your topic list and select the topic you want to export. Click on the Expert View option on the top tab bar. Locate the Export Topic box and then click on the Export button. A .zip file containing all data of the selected topic will be downloaded to your local computer.
Import: To import the previously exported topic, return to your topic list and click on the button at the top of the page. Now, locate and select the .zip file you exported earlier. The Mailytica topic, along with all its related data, will be imported into your new account.
Edit a Topic#
After adding a topic to the Online Platform, you can edit any of its settings with the help of the Update Topic functionality.
First, log-in to Mailytica’s Online Platform and select your project.
Click on the Topics tab on the left sidebar. Next, click on the topic you wish to edit. This will bring up a new screen with all the options that you can edit on your selected topic.
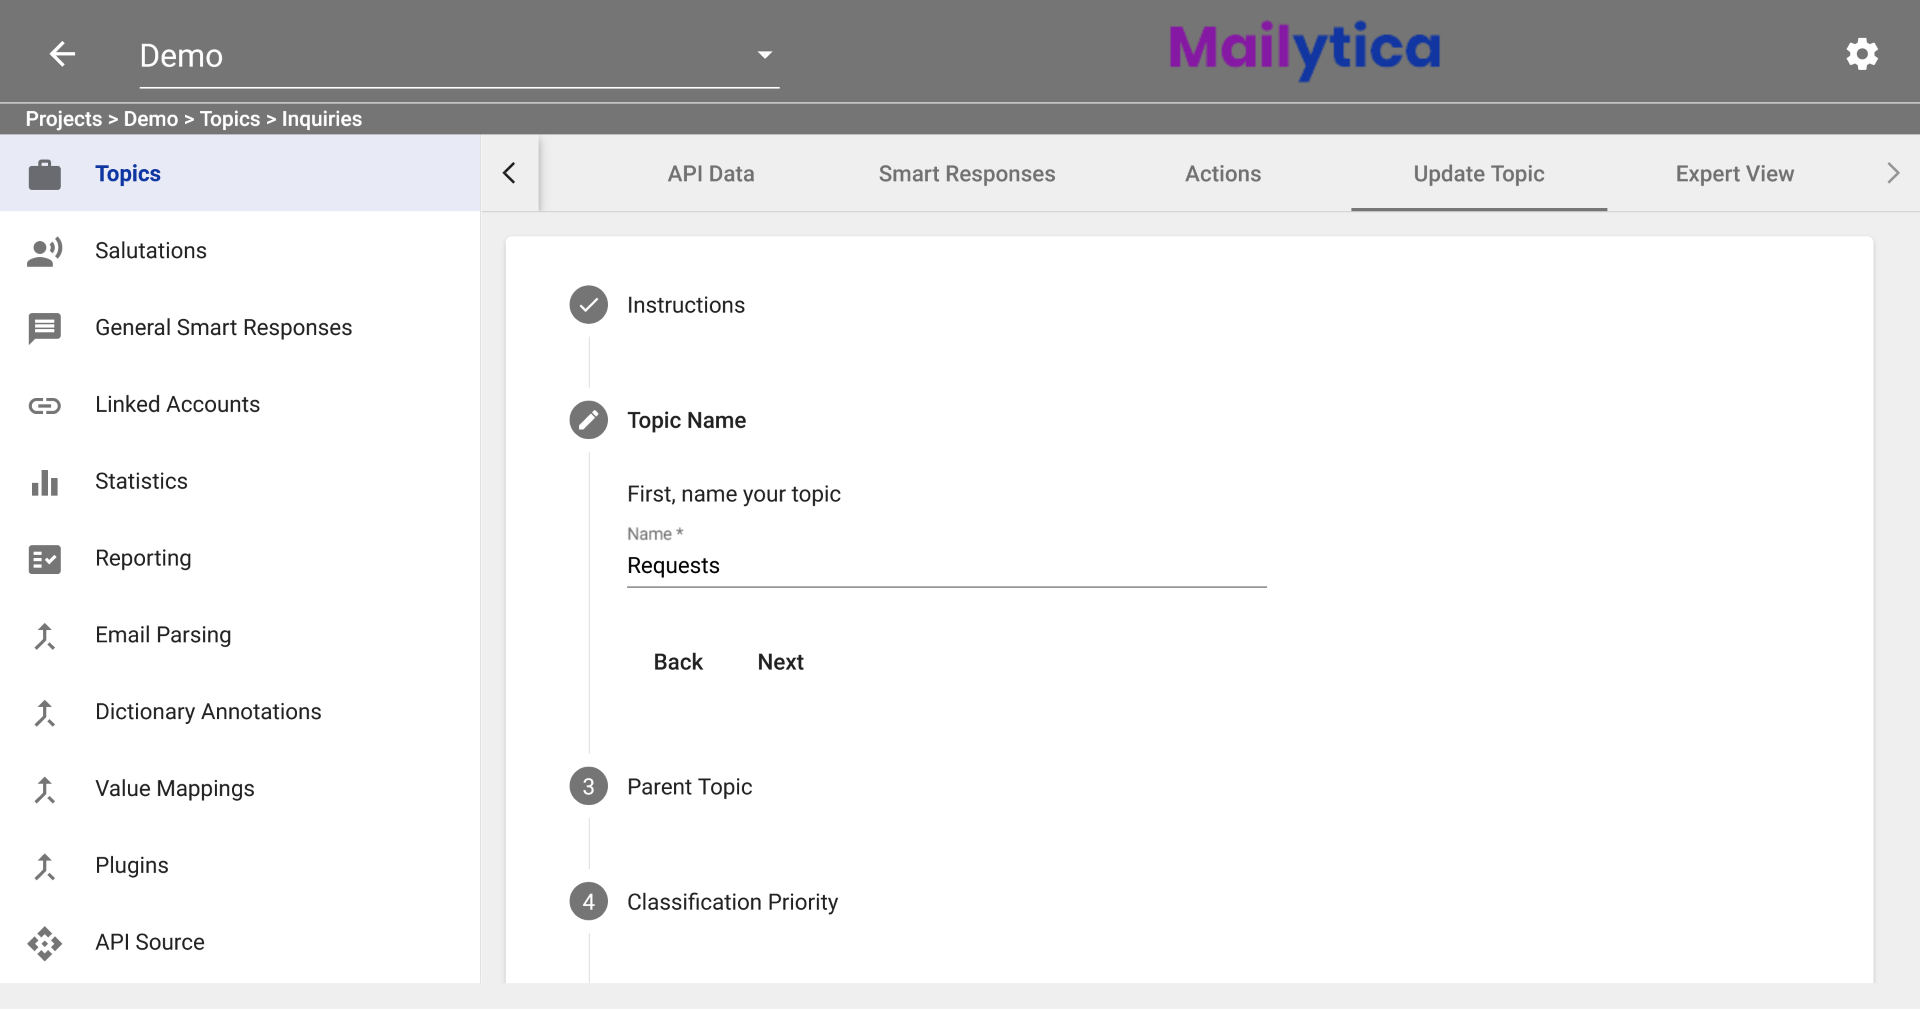
In the Edit section of your topic, select Update Topic from the top tab bar to see instructions on how to update an existing topic.
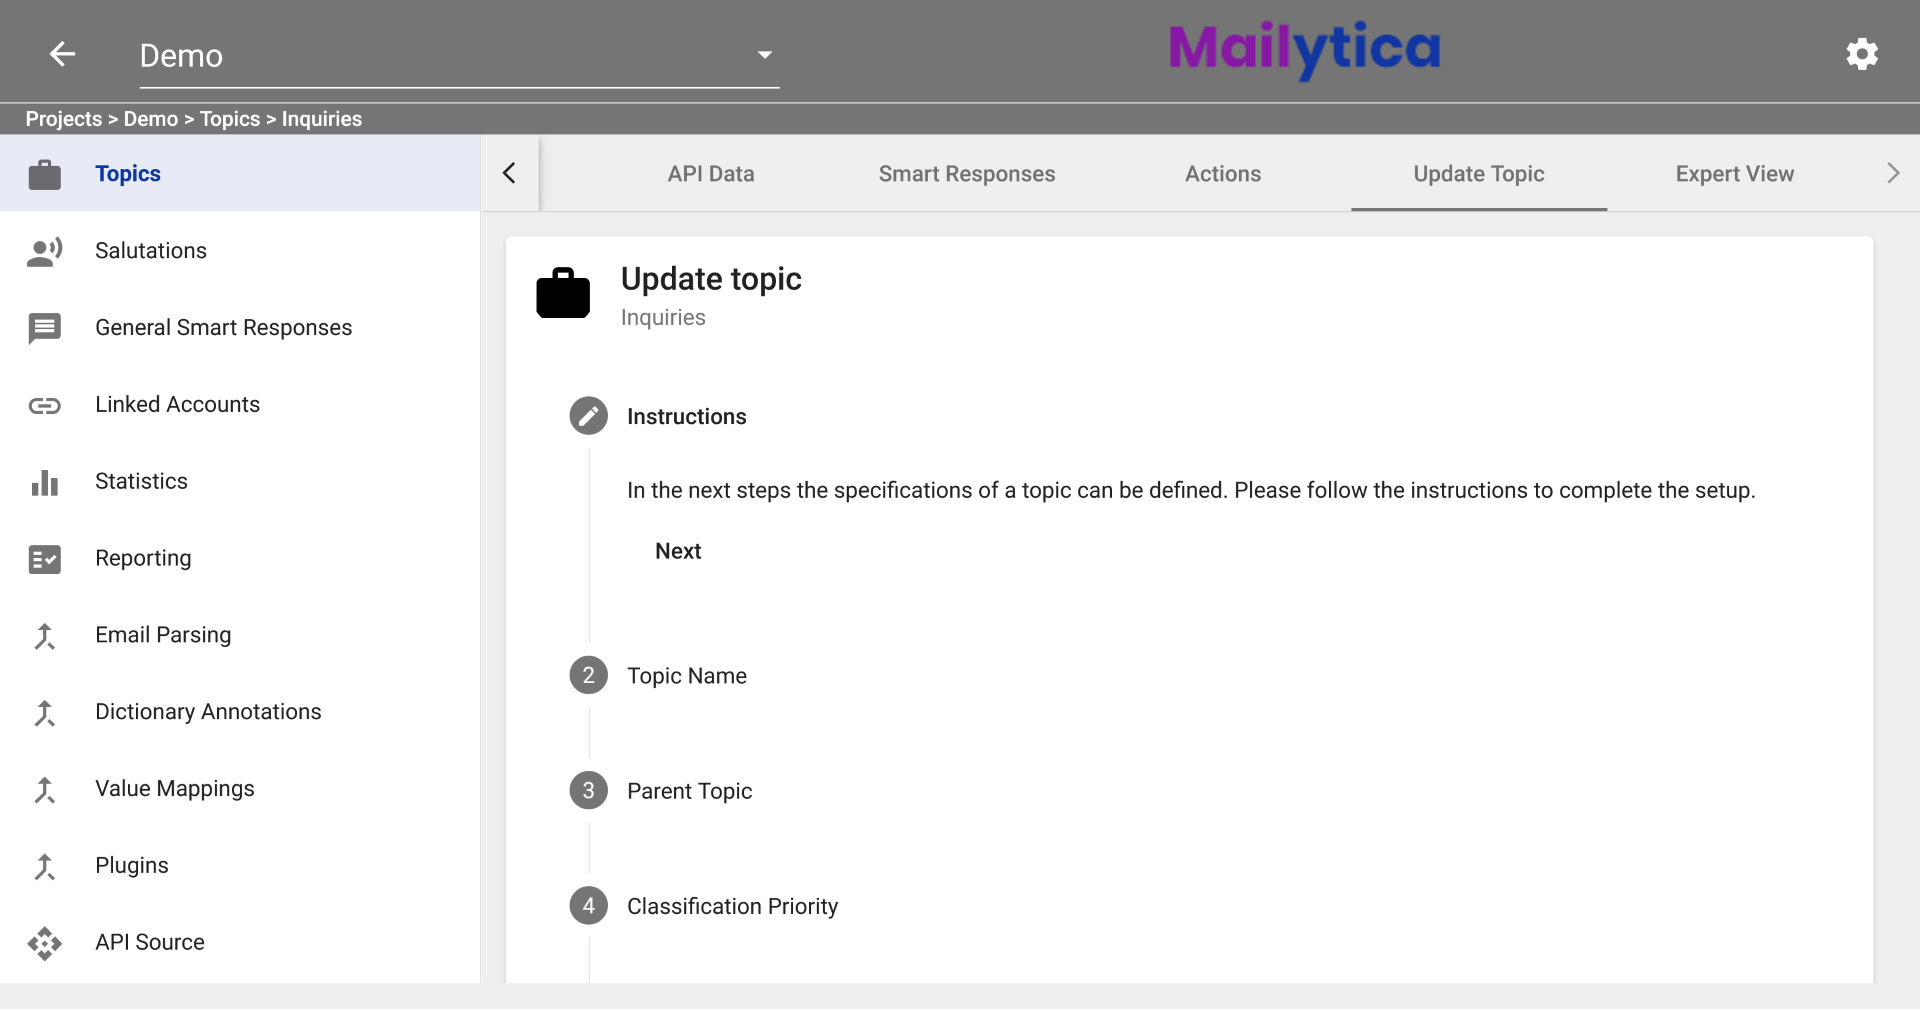
Click Next and it will prompt you to enter a different name for your topic. Just type in the new desired name and click on the Next button. For example, we can rename our Inquiries topic for Requests. If you don’t want to rename your topic, simply click Next.
Then, you can edit the Parent Topic configuration. A Parent Topic is used to organize topics you have created for your project. Your topic can be assigned to a different Parent Topic by selecting it from the drop-down menu. Or, you can remove it from a Parent Topic by selecting the blank option at the top of the drop-down menu. For more information on Parent Topics, please refer to the Parent Topics section.
Afterward, you can edit the topic’s Classification Priority by selecting it from the drop-down menu. Classification Priority is relevant if an email message is classified with over one topic. If this occurs, then the topic with a higher classification priority will be chosen first. The recommended default value is Normal. If you don’t want to edit the Classification Priority, simply click Next.
Subsequently, you can choose to set as Active or Inactive your topic’s Display in Client Status. This option allows the topic to be displayed in any of Mailytica’s integrations such as Outlook, Gmail, and Zendesk. If inactive, users cannot classify incoming messages for this topic. The recommended default value is Active. If you don’t want to edit the Display in Client Status, simply click Next.
Then, you can also change the Topic Status, which determines if the topic will be used for Smart Responses or Classifications. The recommended default value is Active. If you don’t want to edit the Topic Status, simply click Next.
Following, you can edit the Auto Reply Status of the topic. If active, emails are replied to automatically with no user interaction. If inactive, they are suggested as a draft within the user interface. The recommended default value is Inactive. If you don’t want to edit the Auto Reply Status, simply click Next.
You can then modify the topic’s Finished Statistic Status. If active, all messages classified with this topic will be listed in the statistics.
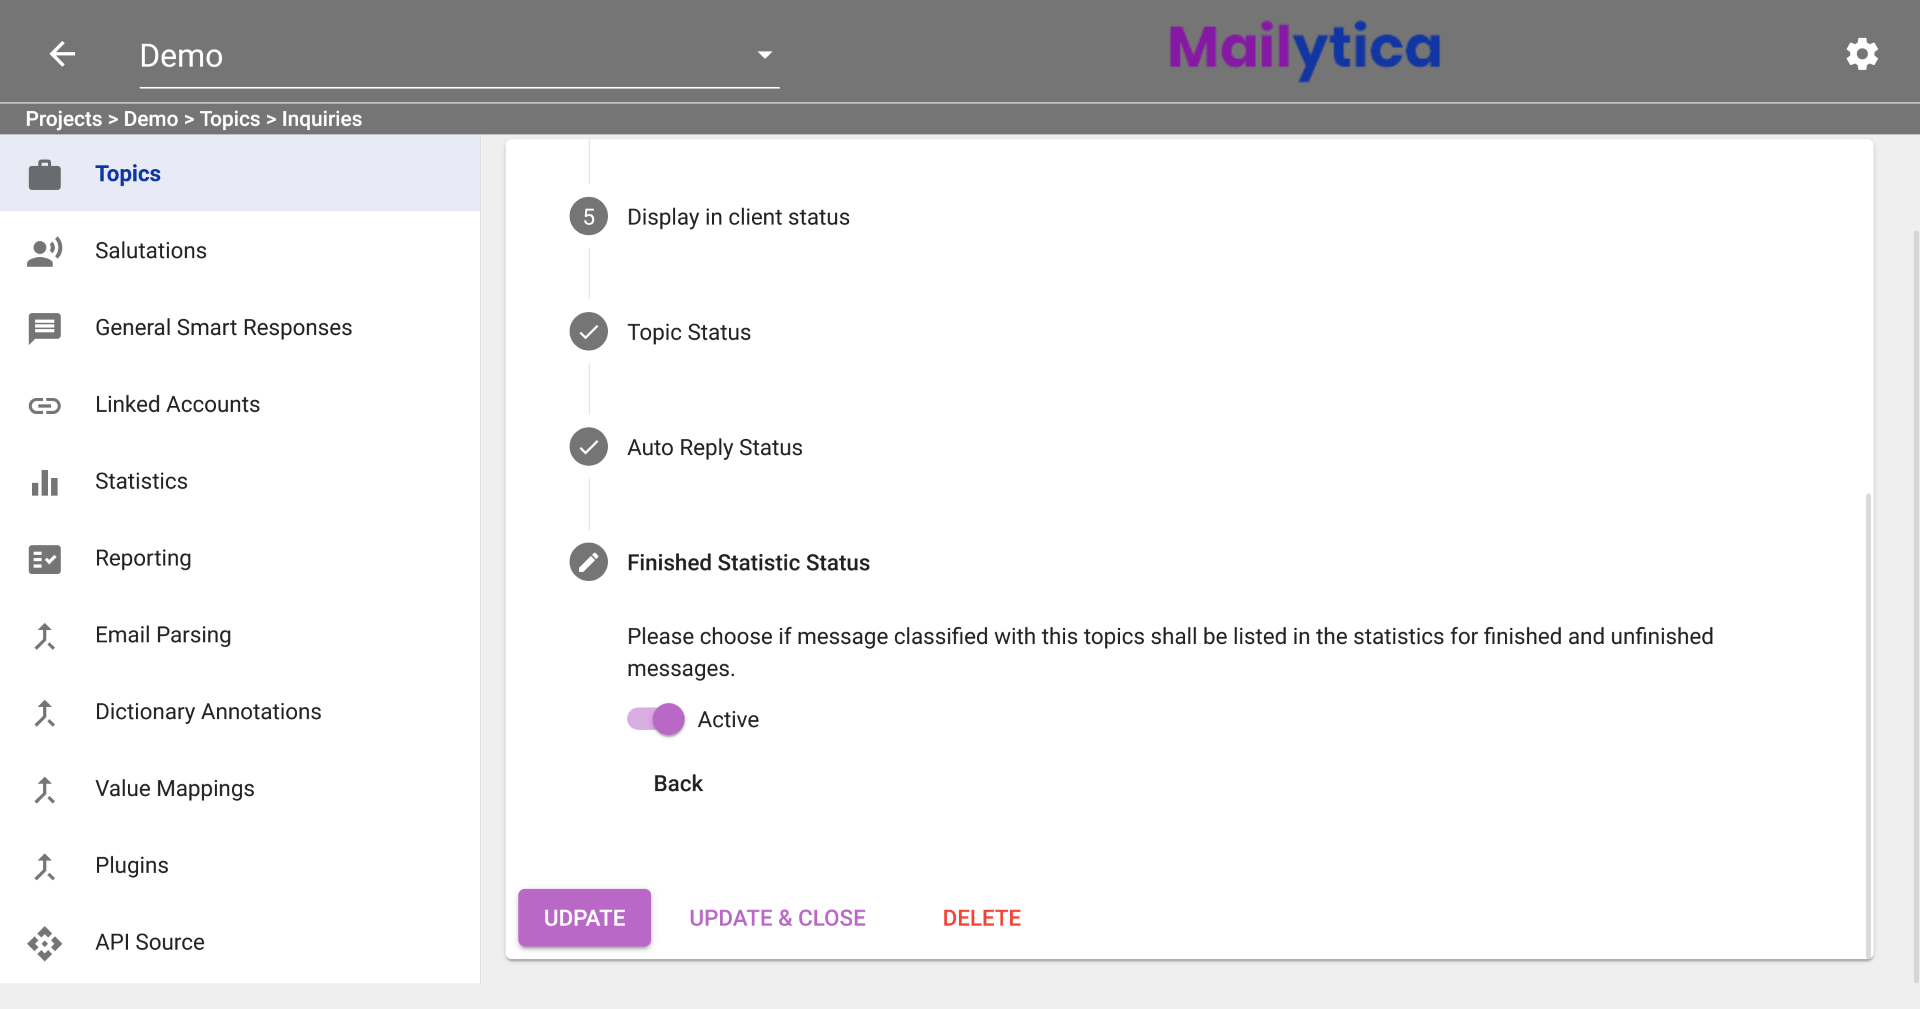
To save your changes, click on the Update button if you want to stay in the Update Topic section. Or, if you want to go back to your list of topics, click Update and Close.
Parent Topics#
You can also organise Topics into subdivisions by setting up a Parent Topic. Parent Topics provide a structure for your Topics, which can help organise your project or inbox more effectively. This is useful if you want to make a hierarchical classification in order to split a top-level Topic into different sub-level Topics for being more specific on your classifications.
Below is an example on how to set up a Parent Topic.
Summary
A Parent Topic is simply the main or general topic of the email message that is divided into subtopics.
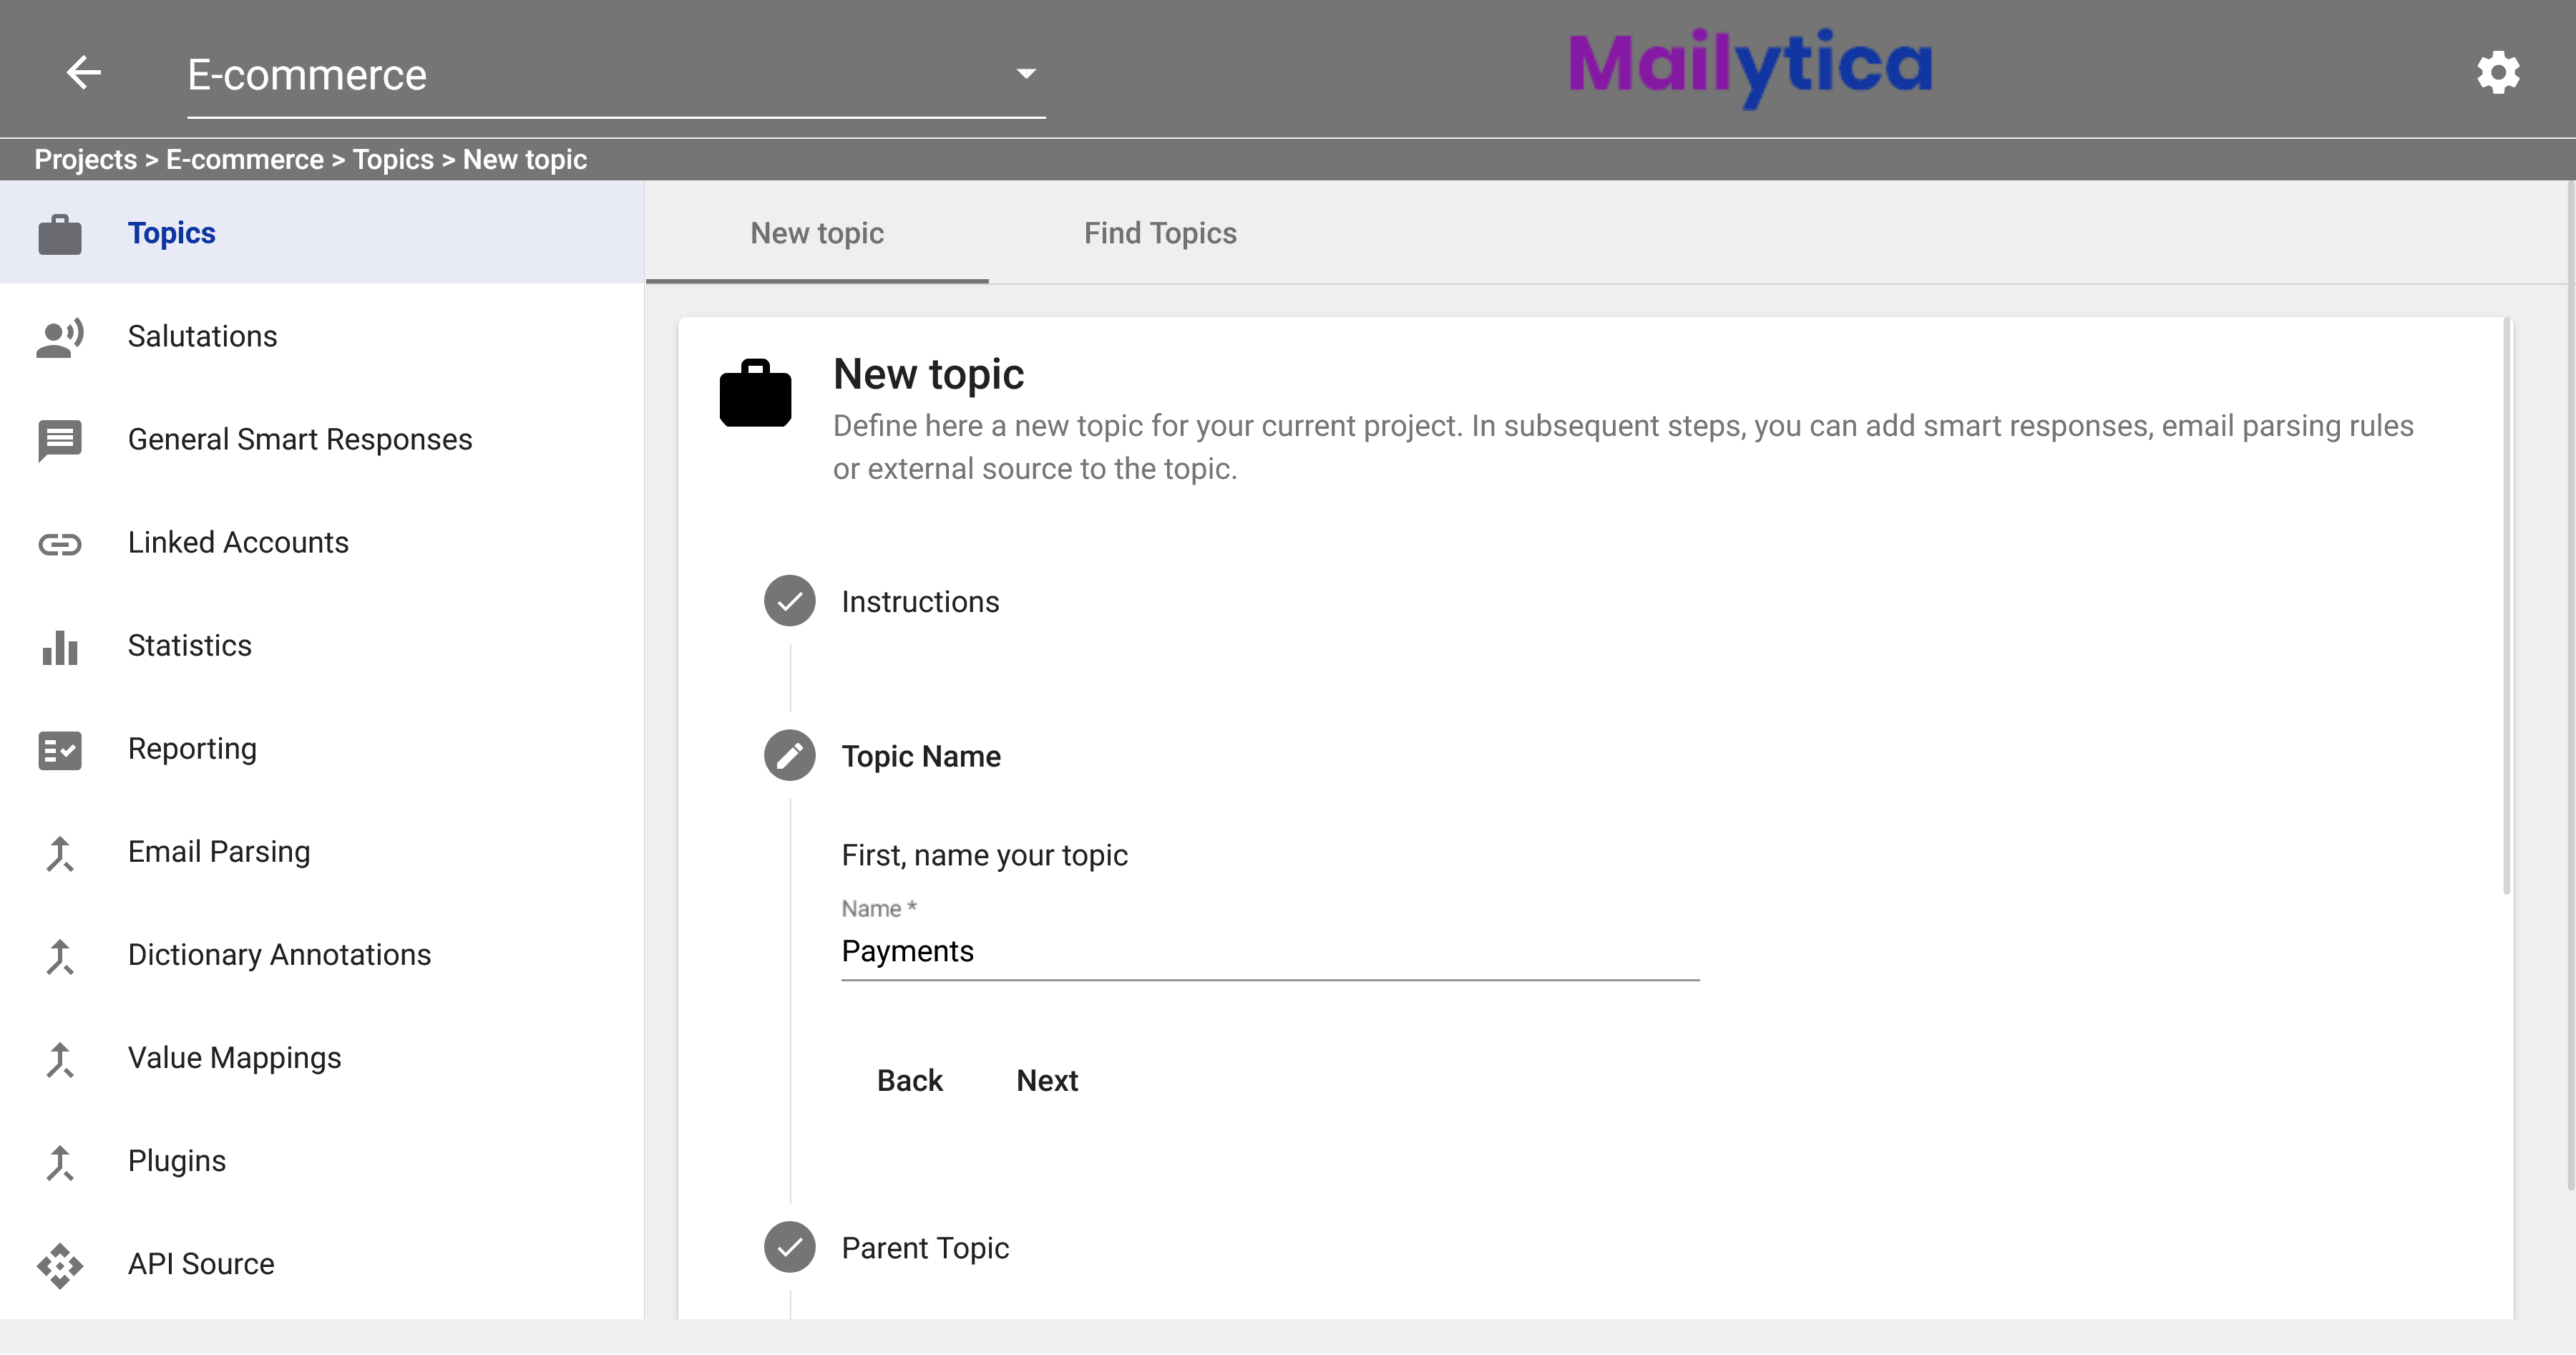
Let’s create a Parent Topic called Payments and use an artificial intelligence classification model to find all emails related to payments. For instructions on how to create classification models please visit Classification Setup.
Important
To add a new Parent Topic, follow the instructions in the Add a New Topic section, and make sure the Parent Topic field is empty (Step 4).
Following, we will create three different subtopics: Invoice request, Discount request, and Payment options. And we’ll set Payments as their Parent Topic. To do so, simply select Payments from the dropdown in the Parent Topic section when you are creating each new topic, as specified in Step 4 of the Add a New Topic section.

For each subtopic, we’ll create a simple dictionary classification model to find keywords related to invoices, discounts, or payment options. This way, the AI can correctly classify all emails related to payments, and afterwards, depending on the keywords, we can further classify our messages into our subtopics.
Once you have created your Topics and correctly assigned them a Parent Topic, the topic hierarchy will be visible on Mailytica’s Online Platform.
